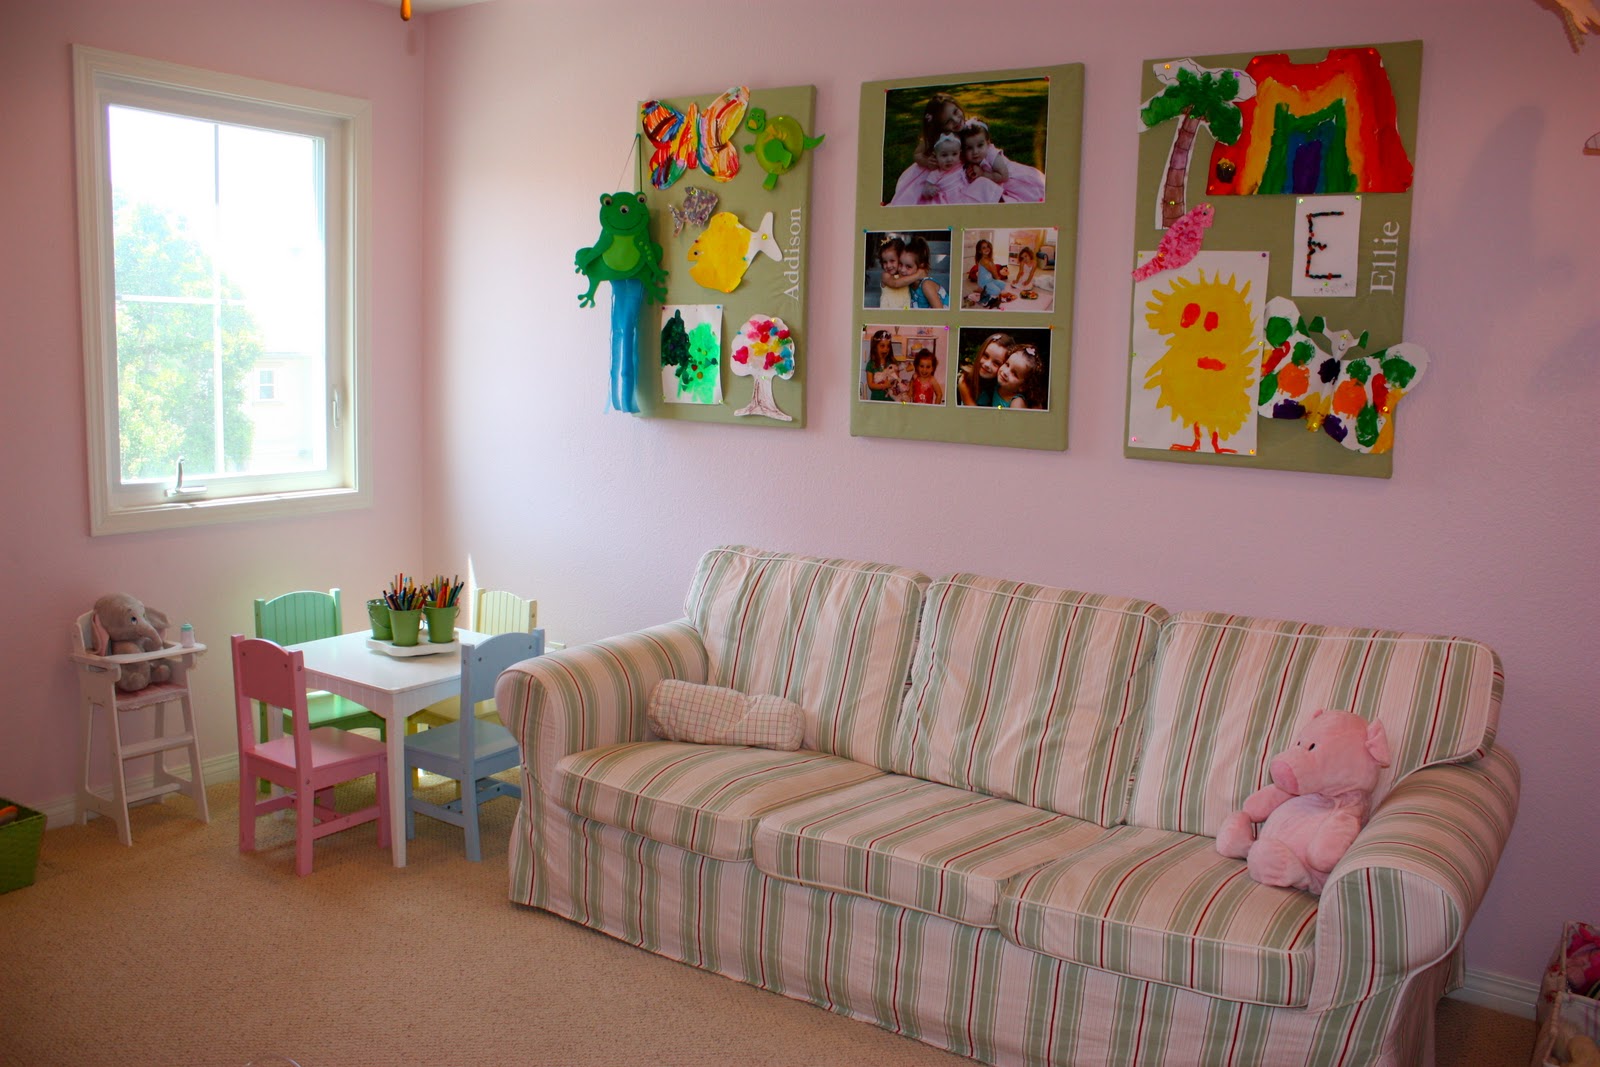
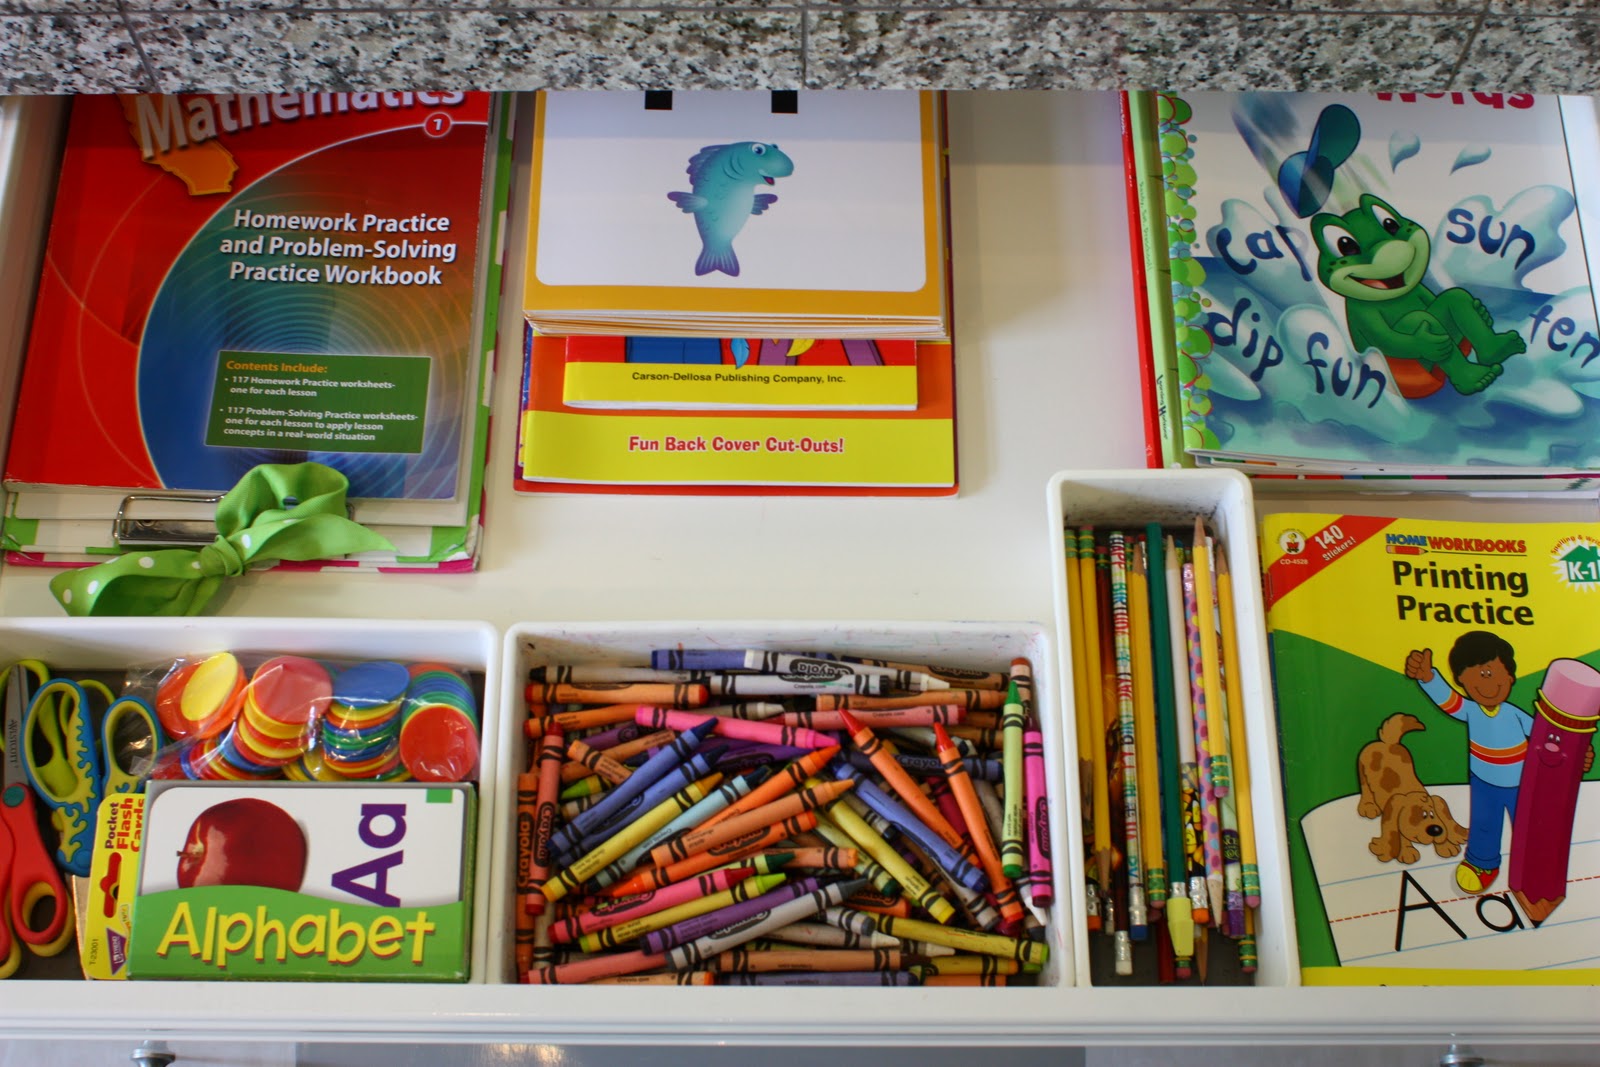
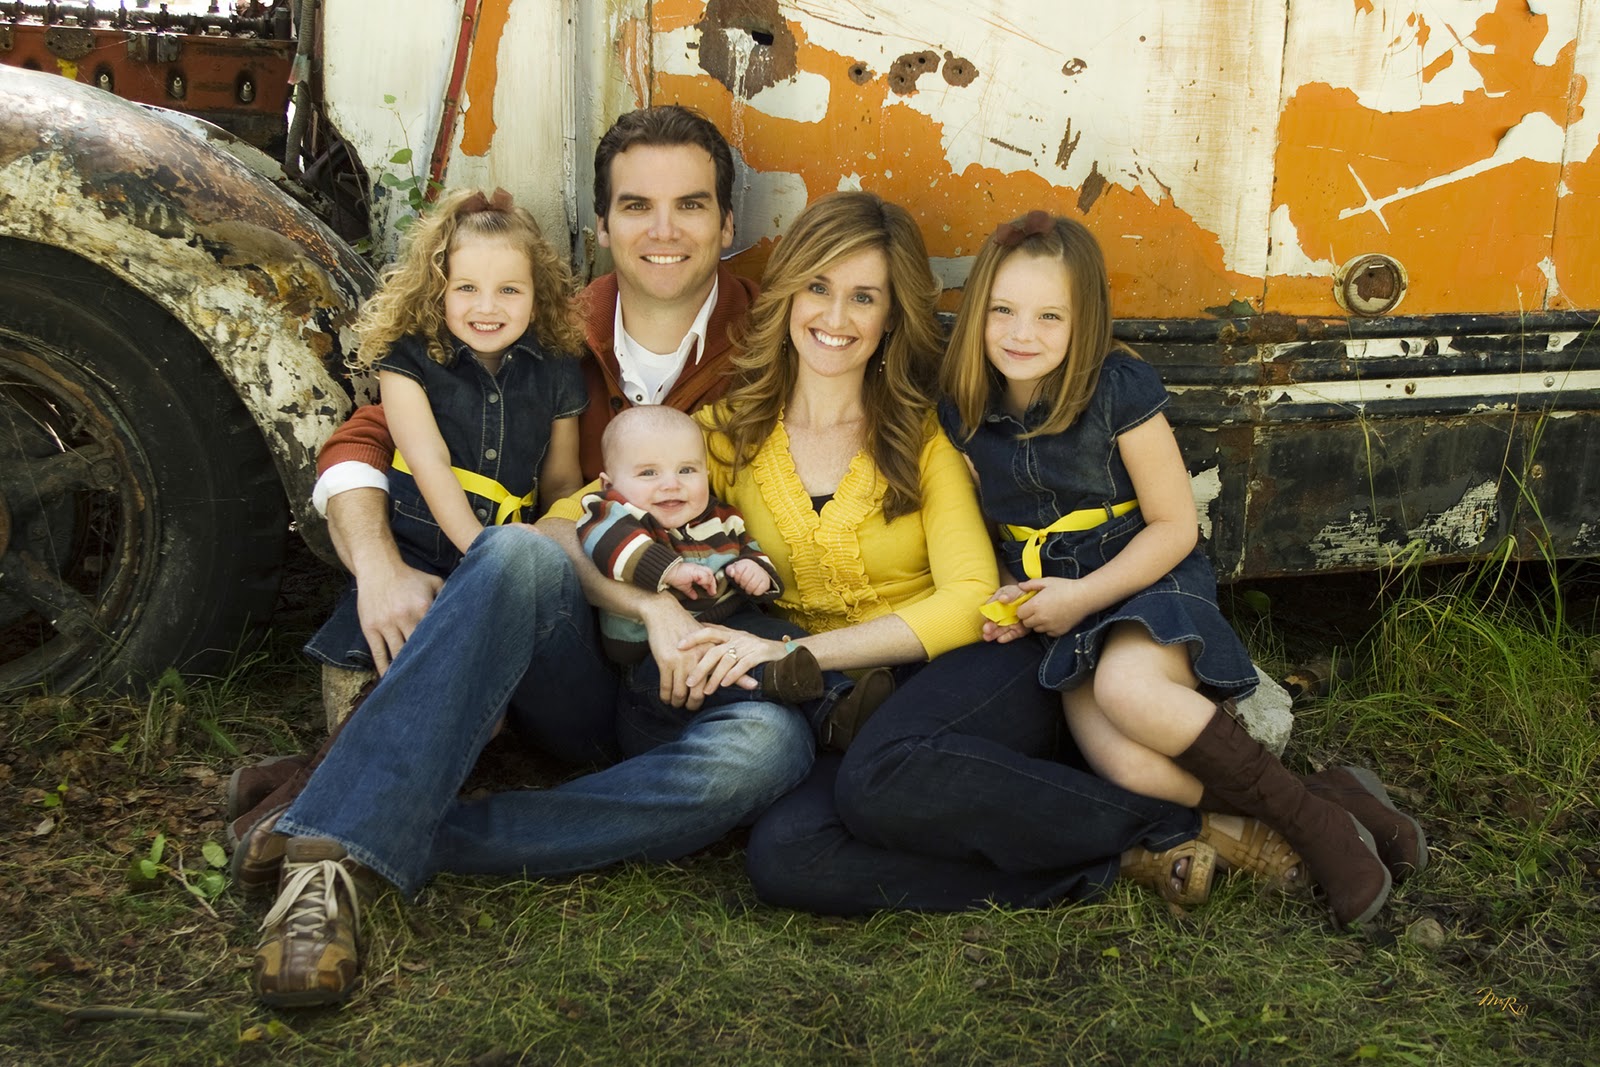
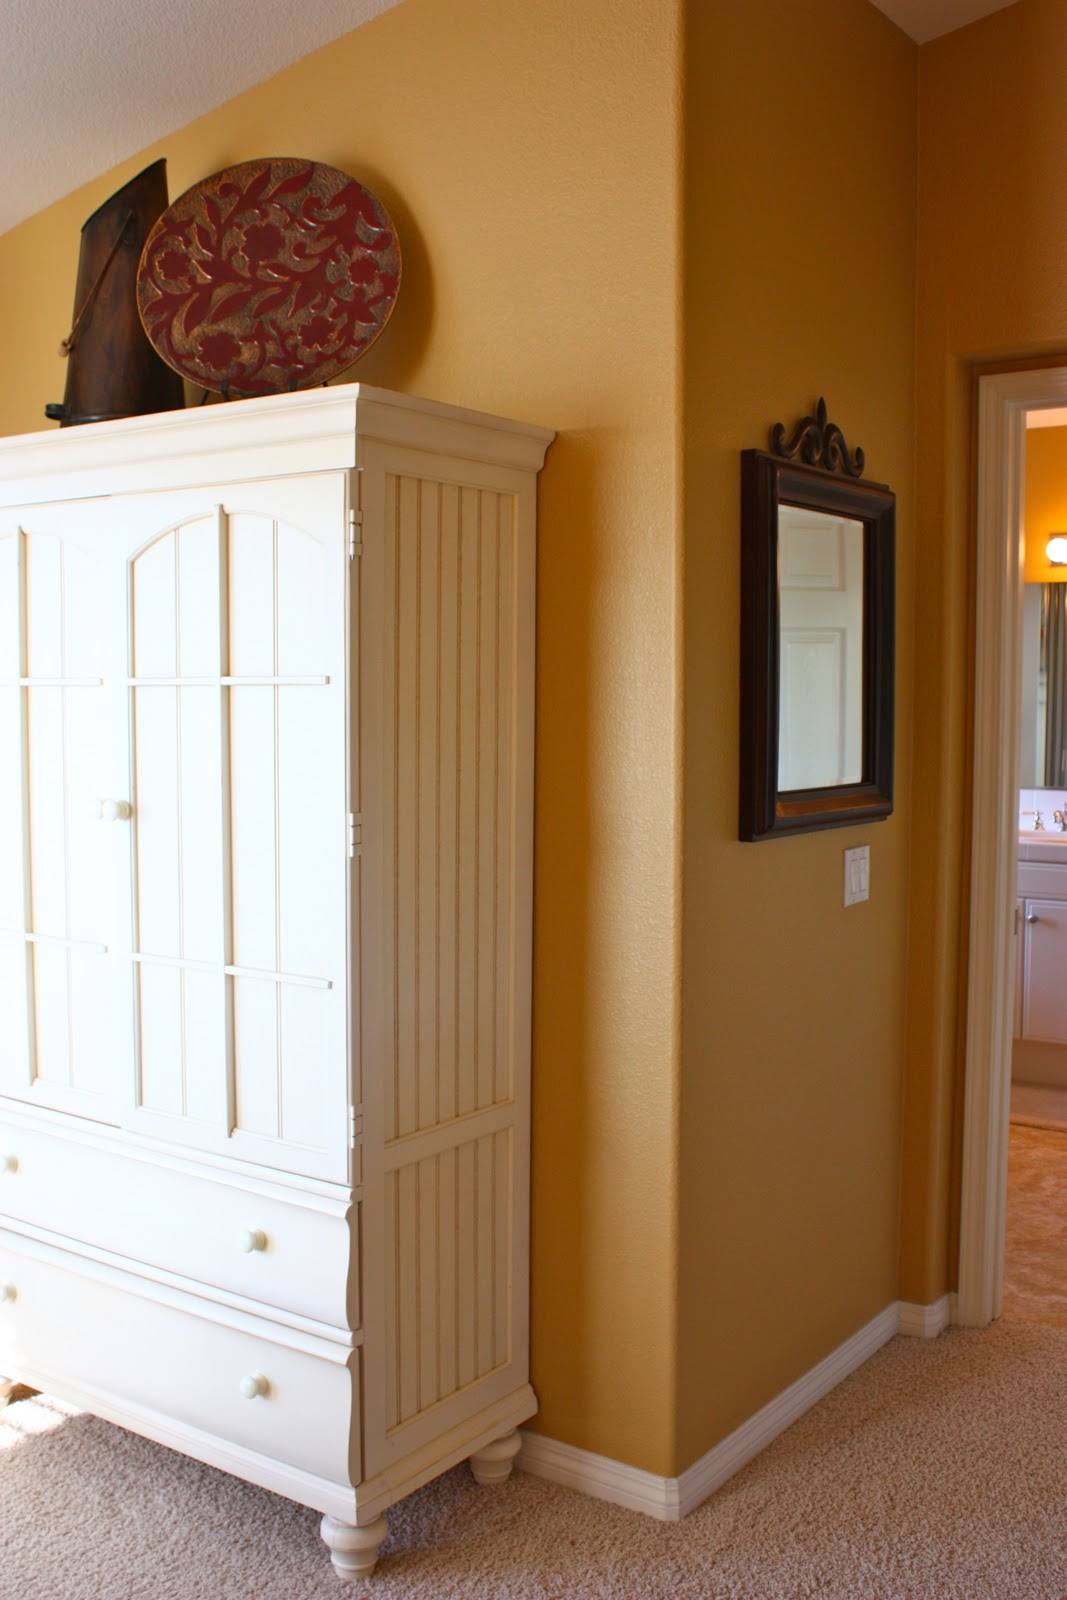
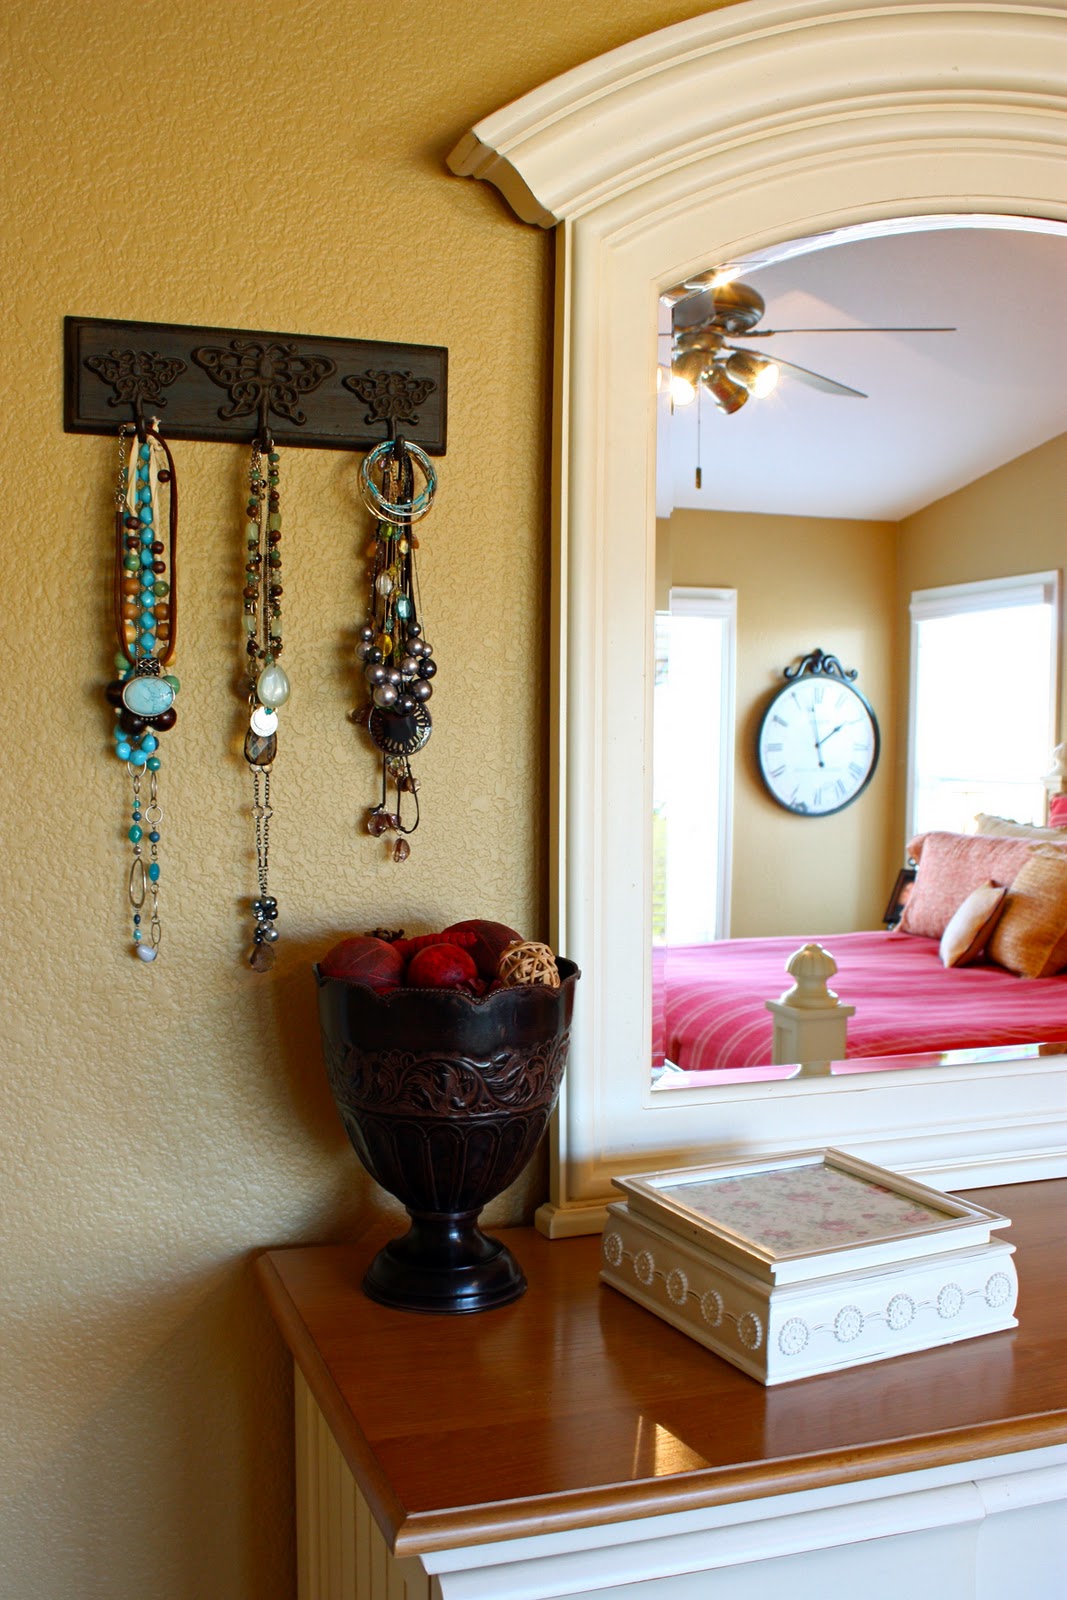
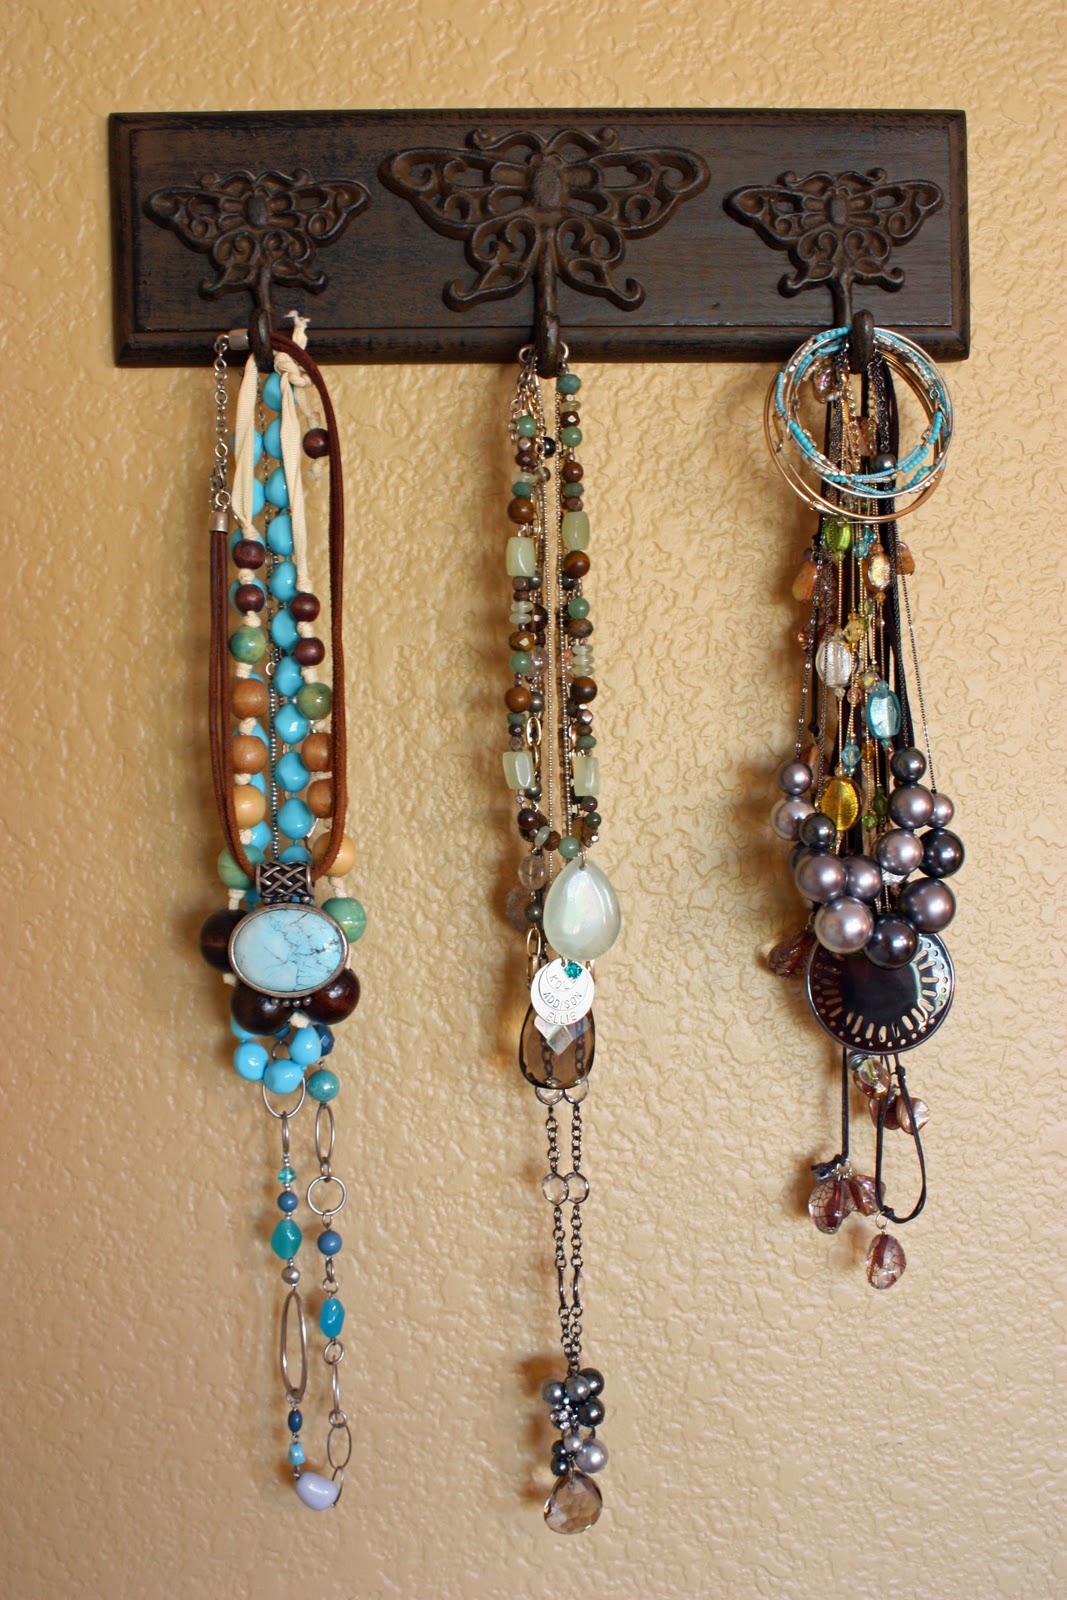
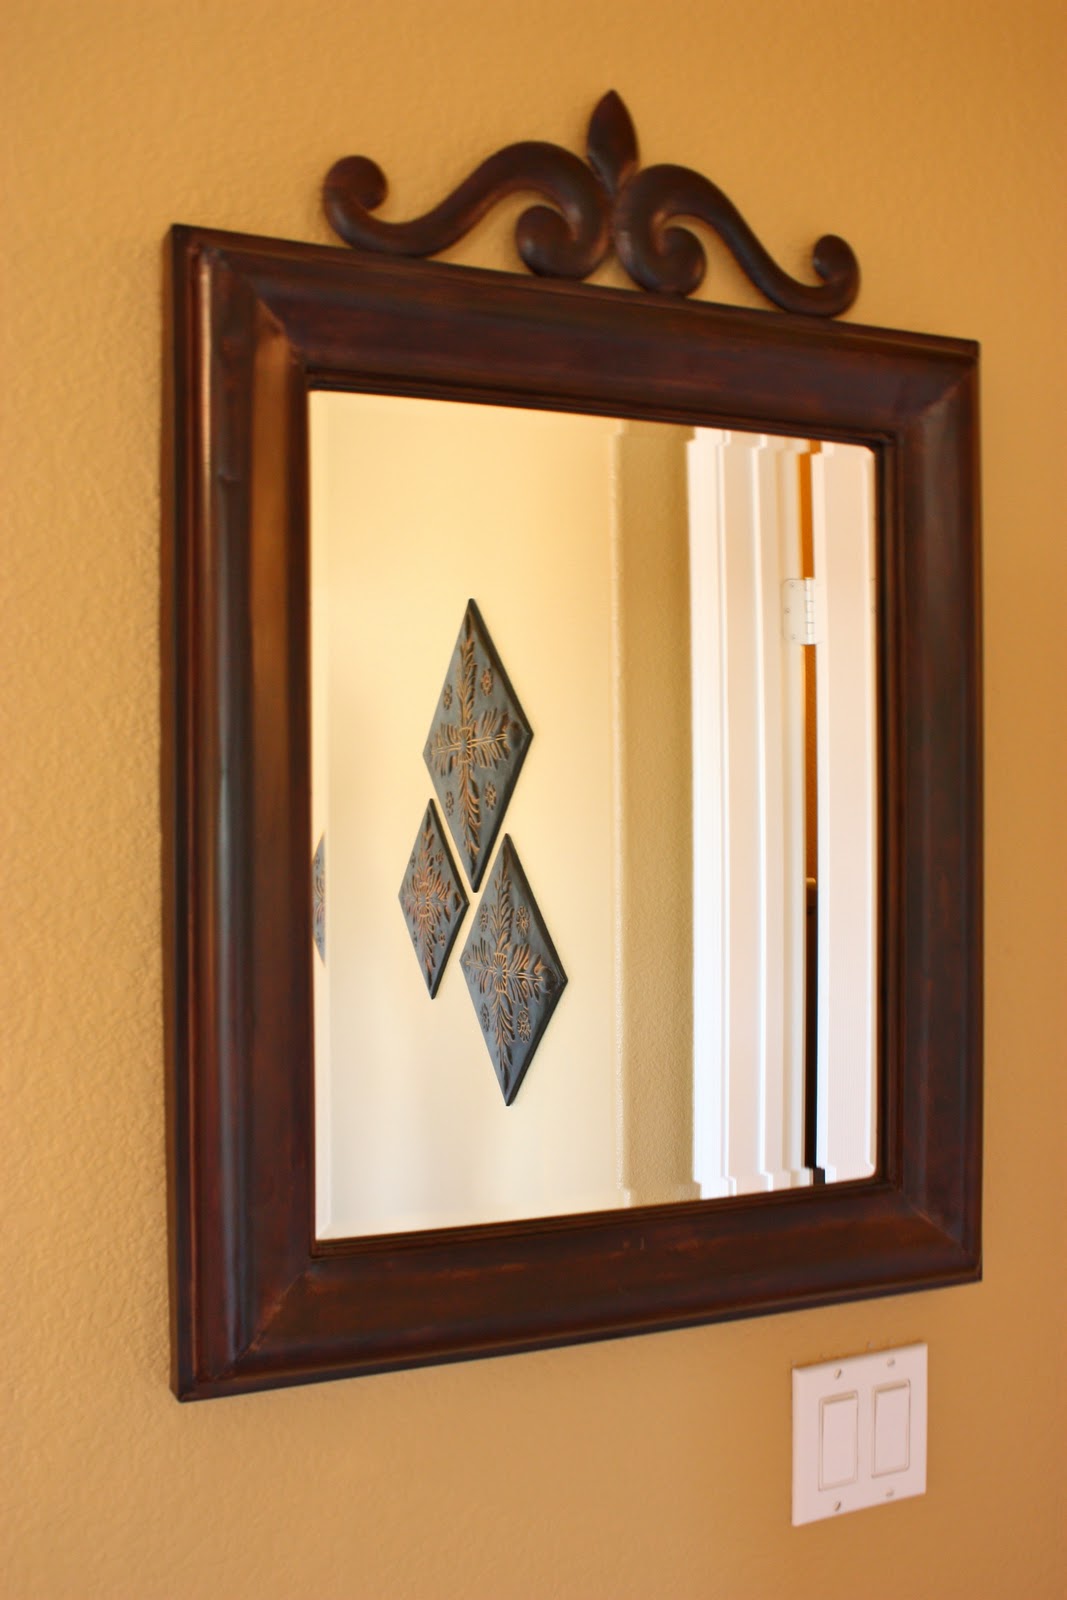
Hi friends! So the week isn’t even half way over and I’m exhausted. This week is so busy! A birthday party, parent/teacher conferences, play dates, one dentist appointment, two doctor appointments, several appointments with my realtor to look at homes, school registration forms due (for next year — already!?), summer camp deadlines…..the list goes on. Plus all of the regular running around we do. Bummer. All I really want to do is finish decorating for Spring! I’ve made some simple changes and my house is feeling so festive! I can’t wait to finish.
So it’s after 9:00 and the first time I’m sitting down for the day. I did want to do a quick post about my exercise routine though because so many of you have asked and have been very patient to wait for an answer. I mentioned before that exercise is a priority for me. It’s important to me for several reasons. First the obvious reason — keeping my skinny jeans from busting at the seams. But I also make it a priority each day because I love and enjoy exercise. It makes me happy. Must be all those endorphins!? I love to have a little “me time” in the morning to get lost in my music and work up a good sweat. Then I feel better about myself and I make better food choices. It just helps me start the day off right and I am a MUCH better/happier mom if I’ve exercised. And if mom’s happy, everyone is happy, right? :)
My workout routine varies depending on the situation with my kids. When Ellie was a baby I would get up and strap her in the baby jogger and we would walk/run together. Sometimes we’d walk with a friend and sometimes it would just be the two of us.
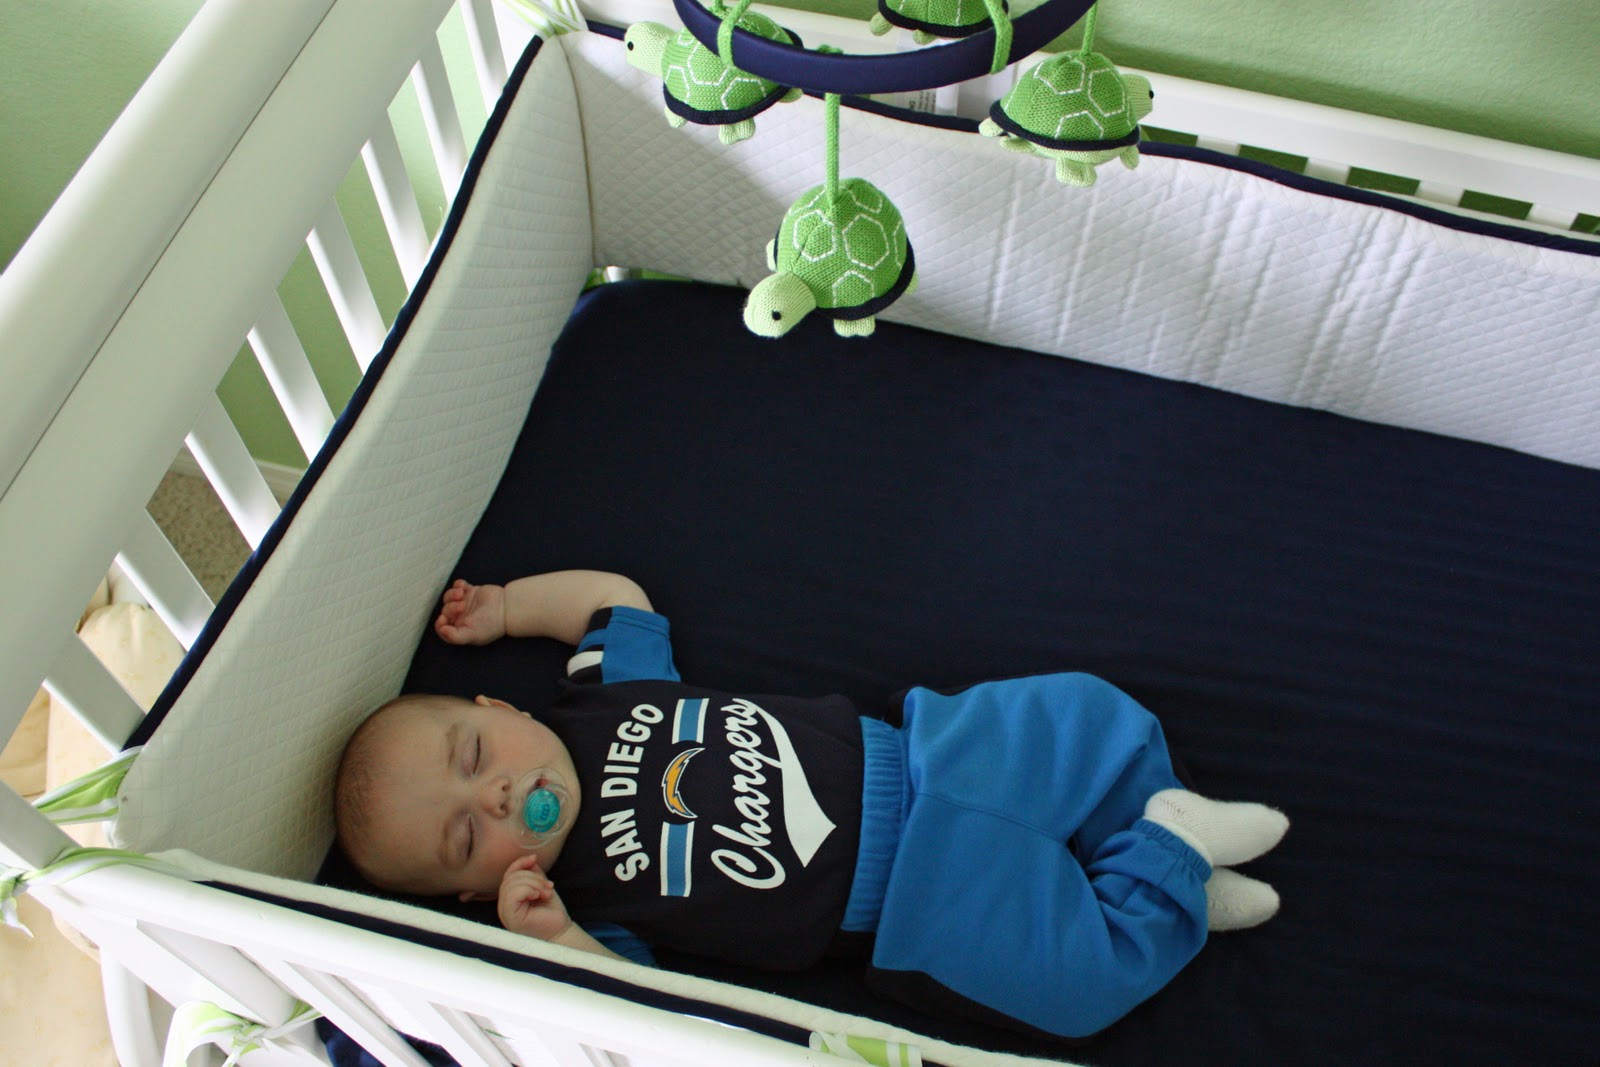
What a doll. :) Ellie was 6 months old in these pictures (2004). She would usually fall asleep during our walk and take her morning nap in the jogger. I did this every day until she turned about 15 months old when she just wouldn’t sit still for me in the jogger anymore. That’s when I joined a good gym with a great day care set up. Until Addison was born I took Ellie every morning to the gym and would do an hour of aerobics while she played. That worked out great….and then baby #2 came along.
(2006)
Upgraded the baby jogger to the double BOB jogger (LOVE this stroller by the way. By far the smartest and most used baby purchase we ever made). By this time Ellie was two and could look at books and sit still in the stroller again. Addison was a month old in this picture when I started walking each morning with the two of them. Same morning routine – waking and running with the jogger until Addison was older (I think around 9 months) and then I started going to the gym again.
If I can make it work with my schedule to do a morning aerobics class, that is my favorite. I LOVE aerobics. I danced my whole life all the way through college and aerobics gives me my “dance fix.” I love Kick Boxing, Hip Hop, Step, Zumba (anyone tried this? It’s SO fun)…anything cardio that gets you moving. I’ve always thought it would be a blast to teach aerobics classes someday. If I go to the gym at a time when there isn’t a class, I get on the treadmill for 30 minutes, the elliptical for 15 minutes, and then do weights for another 15 minutes. (I’m a cardio junkie but HATE weights.) Nothing fancy, but that is my routine for the gym.
Right now, I just can’t make it to the gym. I’m currently still in the “year of the baby” which translates to mean “survival mode.” Currently my family all wakes up around 6:30 a.m. I get Kole fed and changed, the girls dressed and fed, hair done, and lunches made. Kenny takes Ellie to school on his way to work around 7:30. I throw on my gym clothes, slick my hair back in a ponytail, and 20 minutes after they leave I take Addison to pre-school. Then I come home and put Kole down for his morning nap and hop on the treadmill in my garage. It’s not ideal (I’d much rather work out at the gym) but my motto with exercise has always been that something is better than nothing. I make that 30 minutes count. I blast my workout mix on my i pod and walk really fast up a huge grade (like I’m walking up a big hill). I hold 2 pound weights and punch the air while I walk. Yes, you heard me. I practice my kickboxing punches while I walk — forward jab, cross jab, upper cut… I look like a total dork! Kenny walked in on me mid-workout once and laughed for 20 minutes. Then for months he teased me by imitating my boxing moves. He can laugh all he wants. Deep down he knows he wouldn’t want to cross paths with me in a dark alley.
Two days a week Addison doesn’t have pre-school and is home with me all day. On those days I get Ellie off to school, get Kole down for a nap, and turn on “Little Bear” for Addison. She watches it for half an hour (exact time of my workout) and then we do some crunches and lunges together. You don’t want to mess with Addison in a dark alley either. ;) As soon as I can hold Kole’s morning nap off a little longer I’ll start going to the gym again in the morning and taking the kids with me.
Like I said in my previous post – it’s all about priorities. I try not to make appointments and schedule things early in the morning. I like to exercise as soon as I possibly can because I know if I don’t do it early, it won’t happen. A lot of days (especially lately) I exercise and then never even change out of my gym clothes. Today was one of those days. I stayed all sweaty in my gym clothes with no make-up on all day. I was running around in ten different directions and didn’t get a chance to shower until 8:00 at night when all of my kids were in bed and asleep. Oh well! I got that 30 minutes of exercise time done this morning and that’s what matters to me! Aside from keeping my kids fed and alive, exercise is my #1 priority.
K – I said that would be quick and instead it was long and boring! I hope that post answered your questions. If you have other questions, leave a comment and I’ll answer your questions in my comments too. How many times did I just say “questions?” It’s late. And I need to get to bed because I have an early morning date with my treadmill. :)
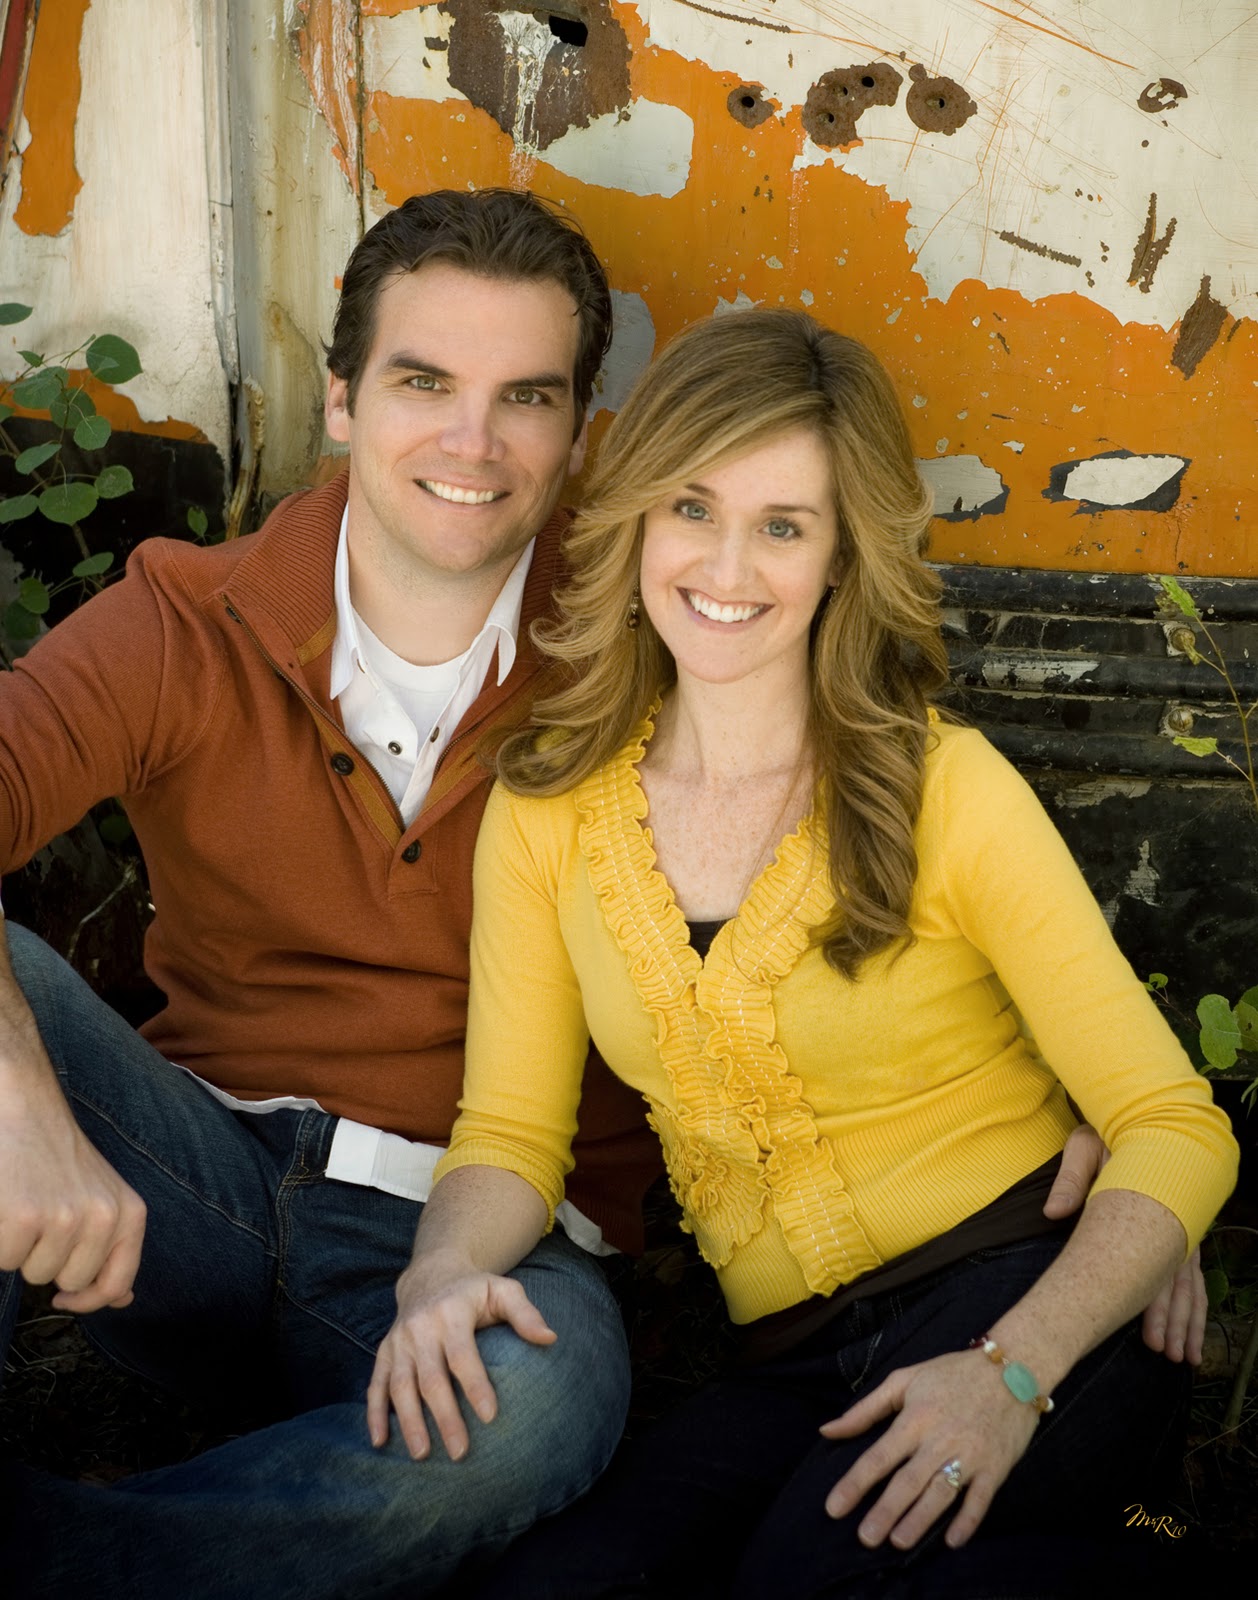
xoxo, Erin