SO excited to share my new mudroom with you today! This is such a beloved space for me that I can’t believe we’ve been in the new house six months and I haven’t posted pictures of it yet! Must be because of the post traumatic stress from moving my family of five. ;) I took way too many pics so I’m warning you that this post is a novel. You might want to grab a snack. I’d suggest pretzels. Or yogurt. Or both. That’s what I’m snacking on right now. Ok! Enough rambling. Time to talk mudroom. Most of you know that in our previous house my garage worked as my mudroom…
And it worked great. But I always had dreams of a real mudroom. With lockers and drawers and hooks. A place for our family to dump all of the shoes, jackets, and backpacks that wasn’t next to the garden tools. :) So after much planning and thought this is what I came up with:
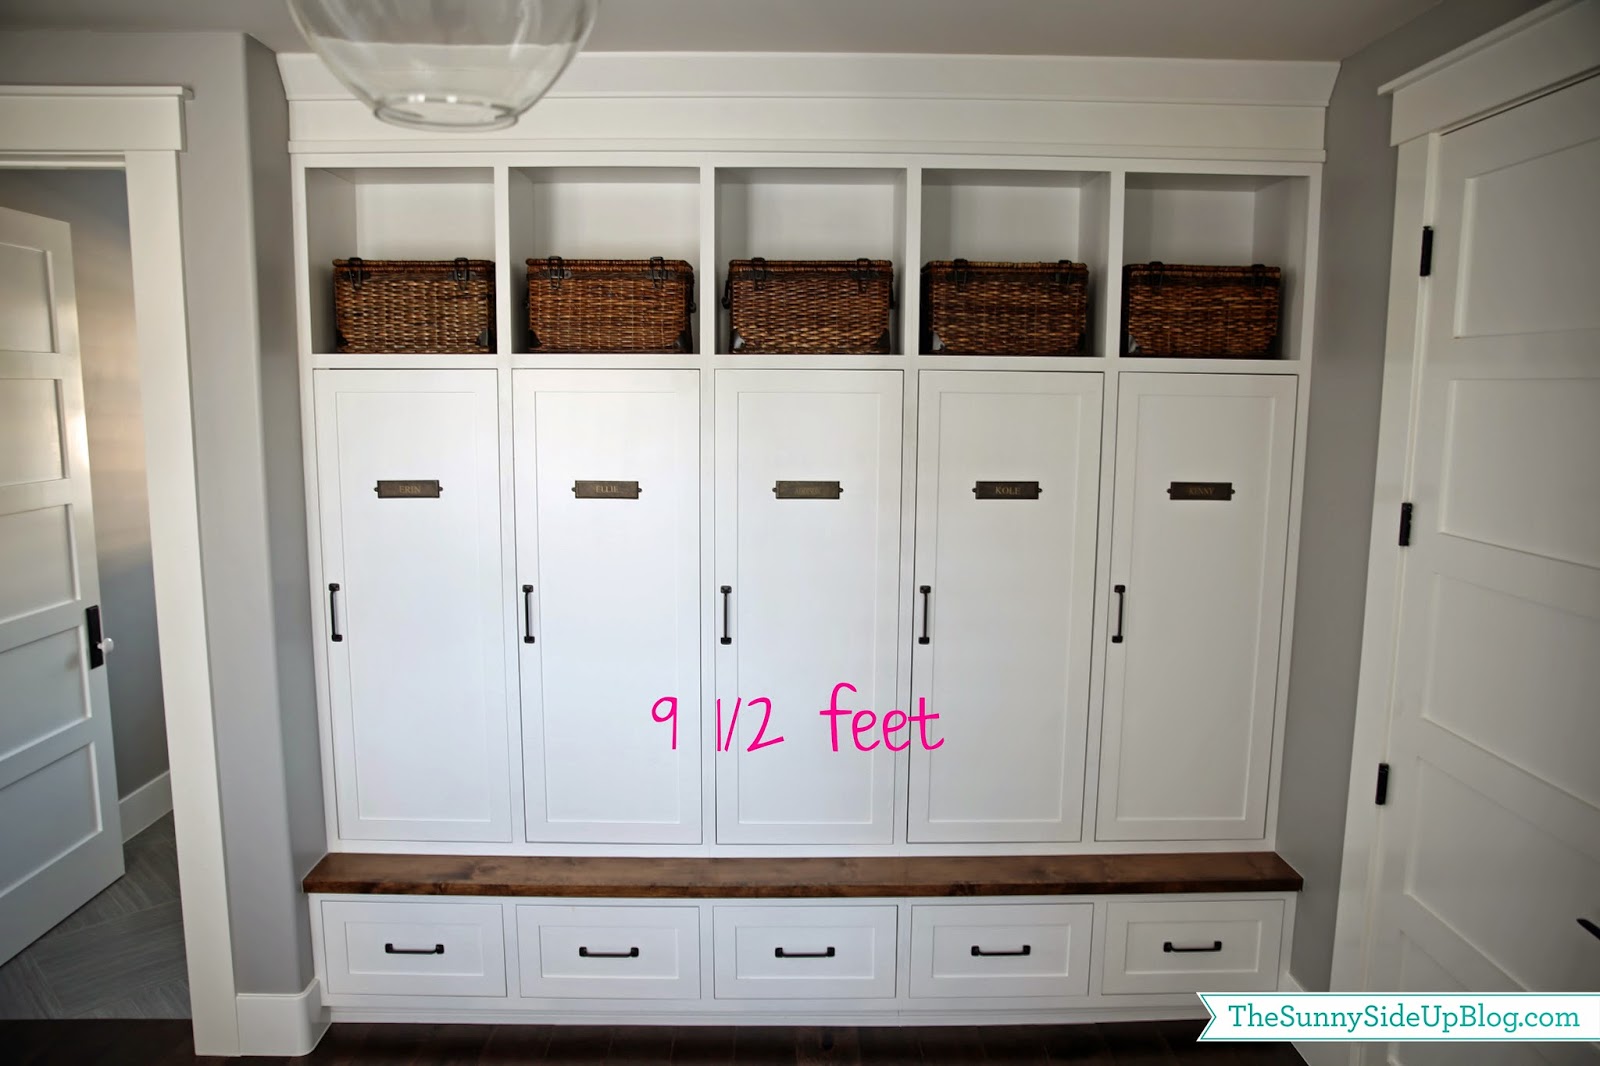
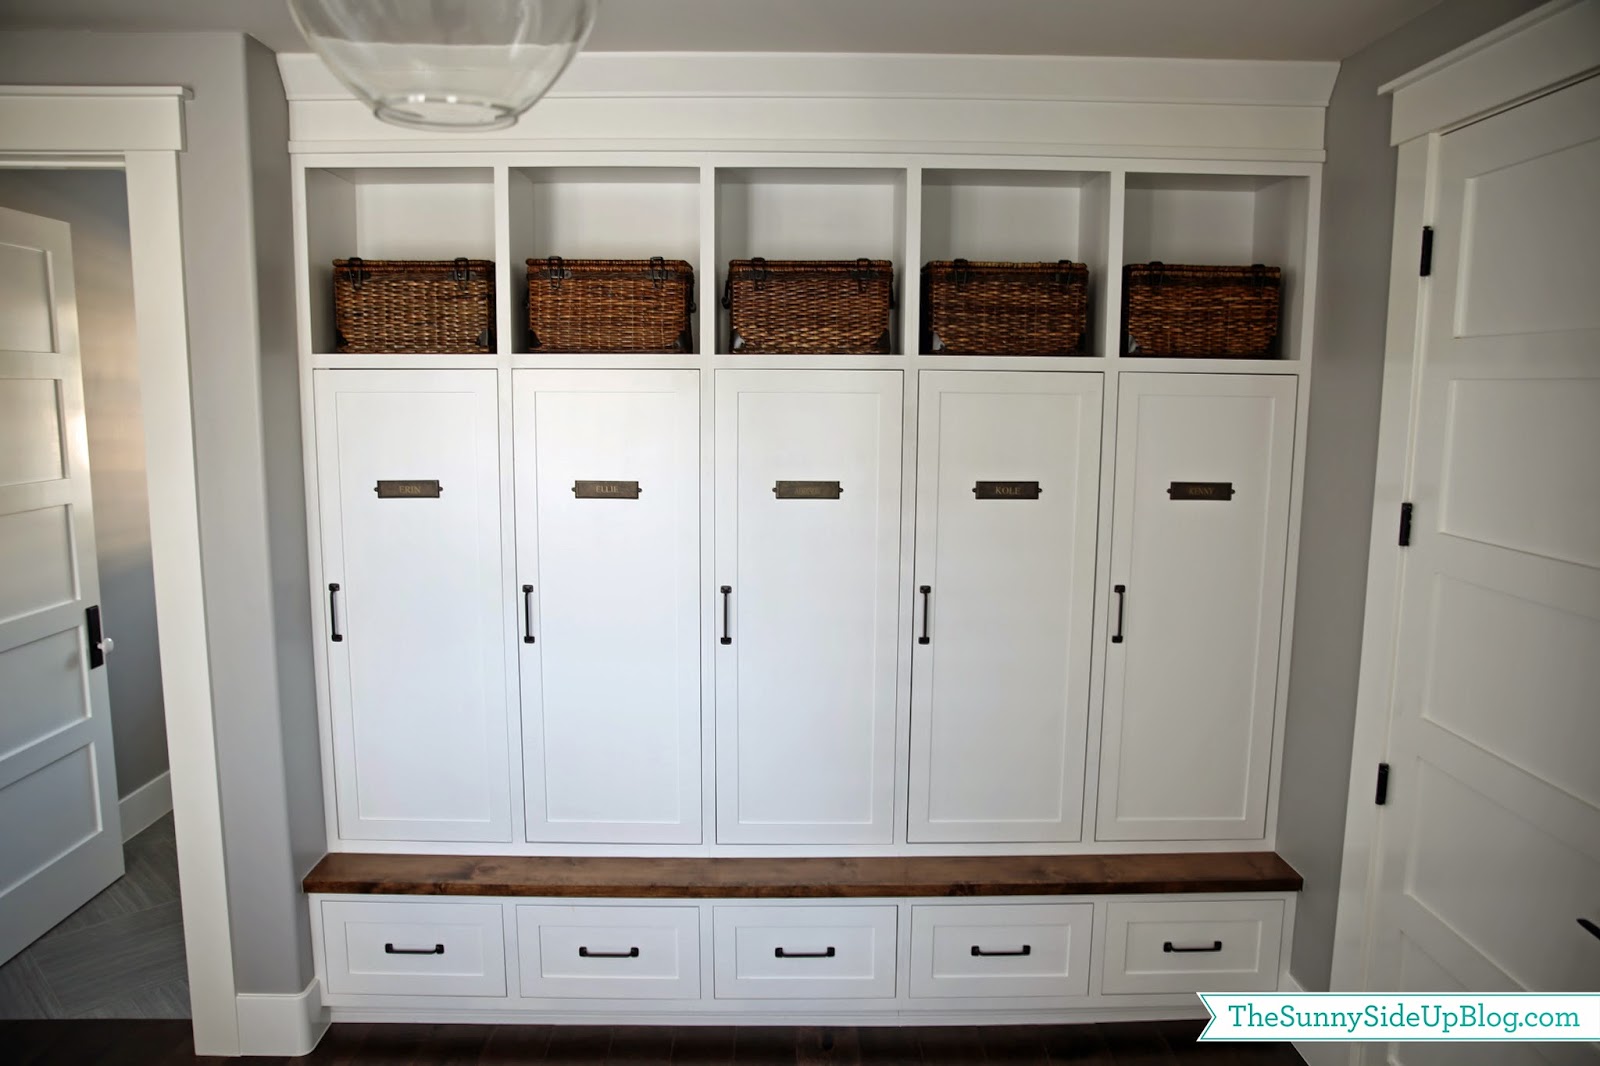
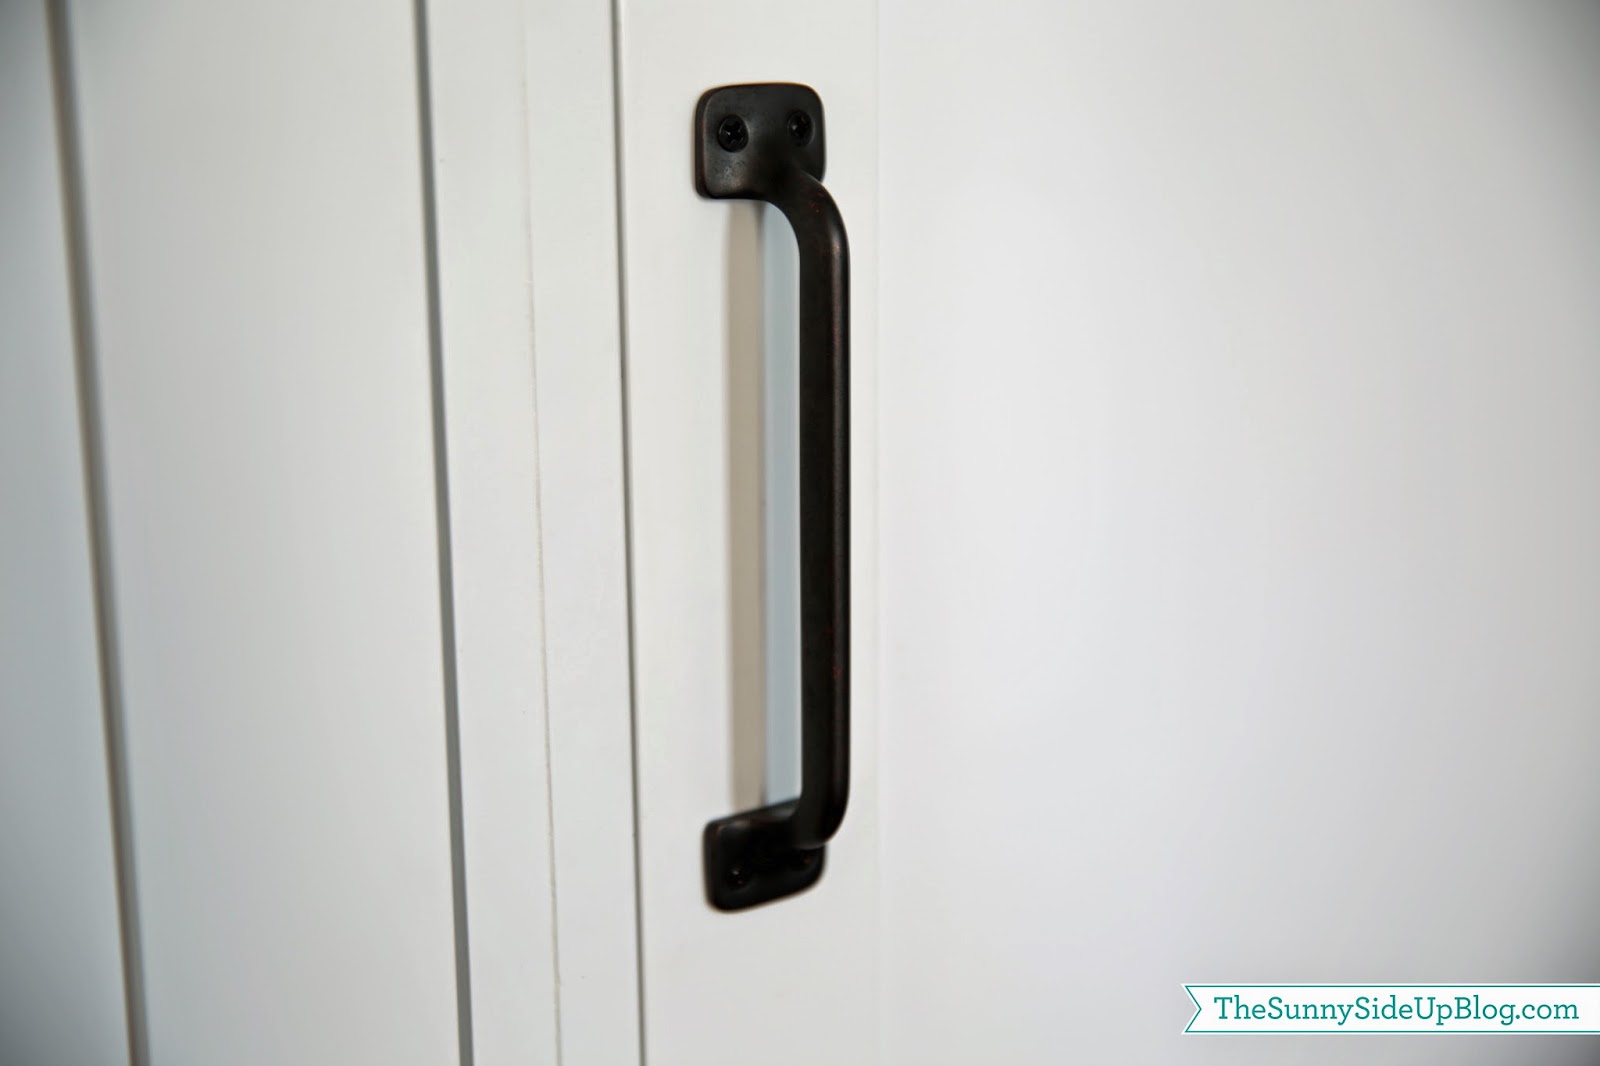
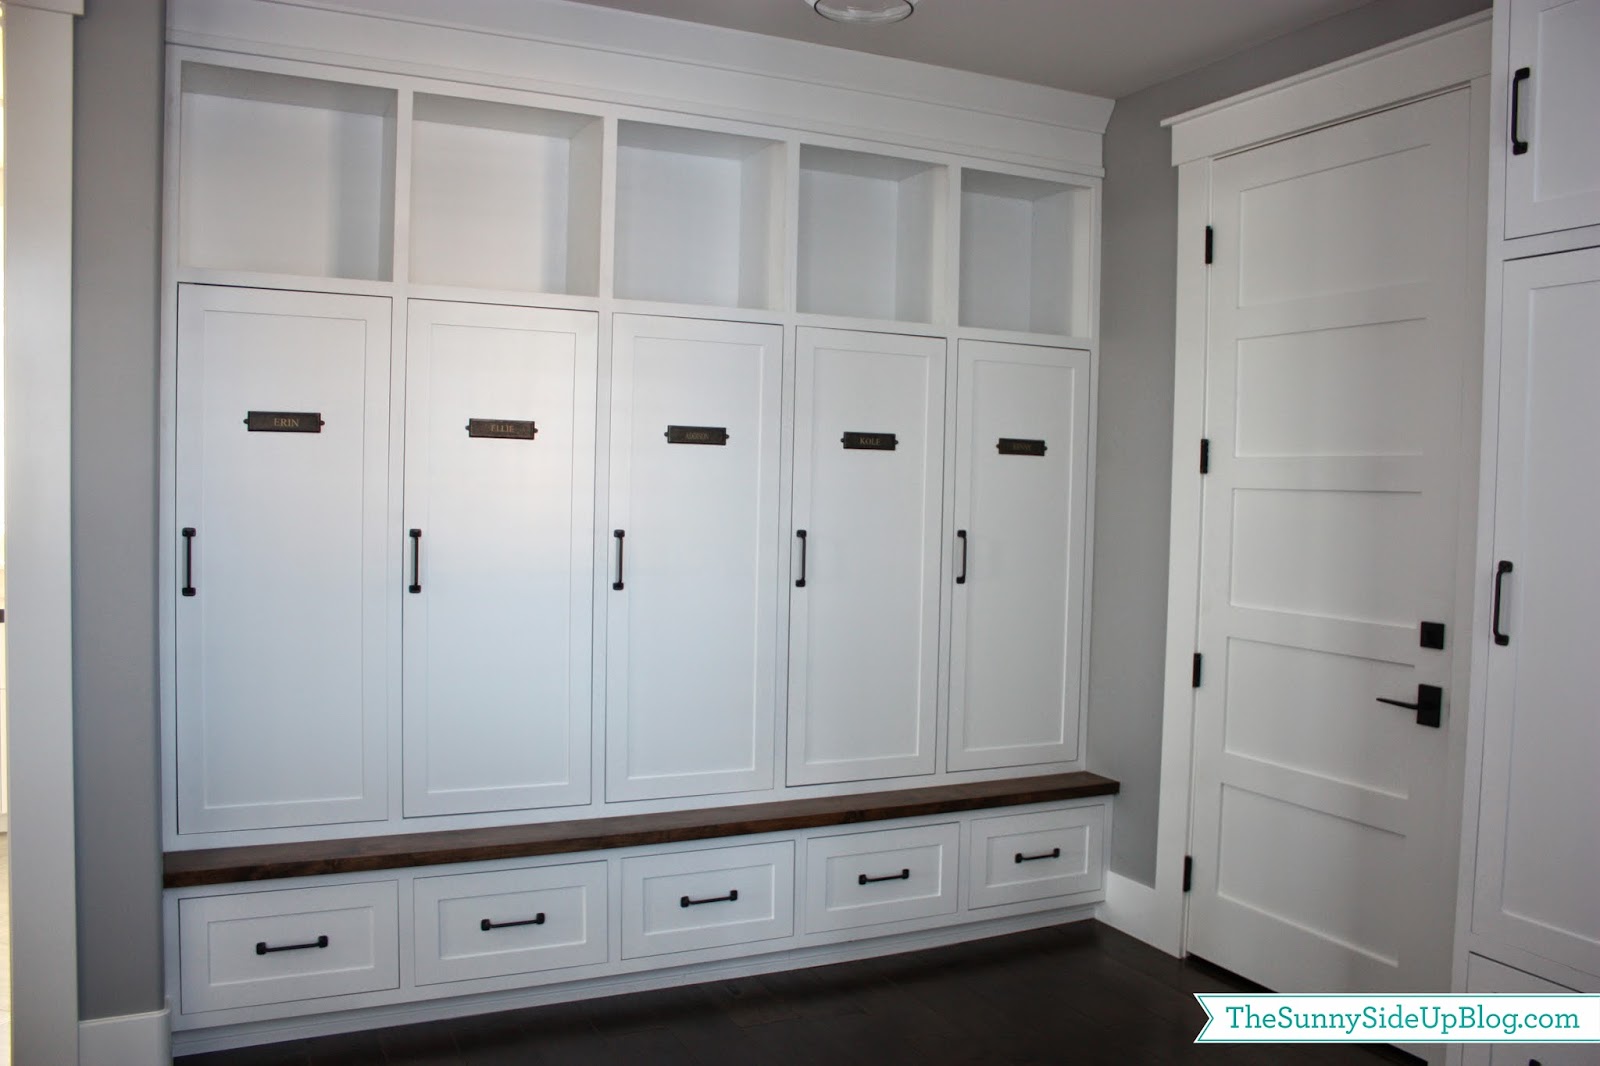
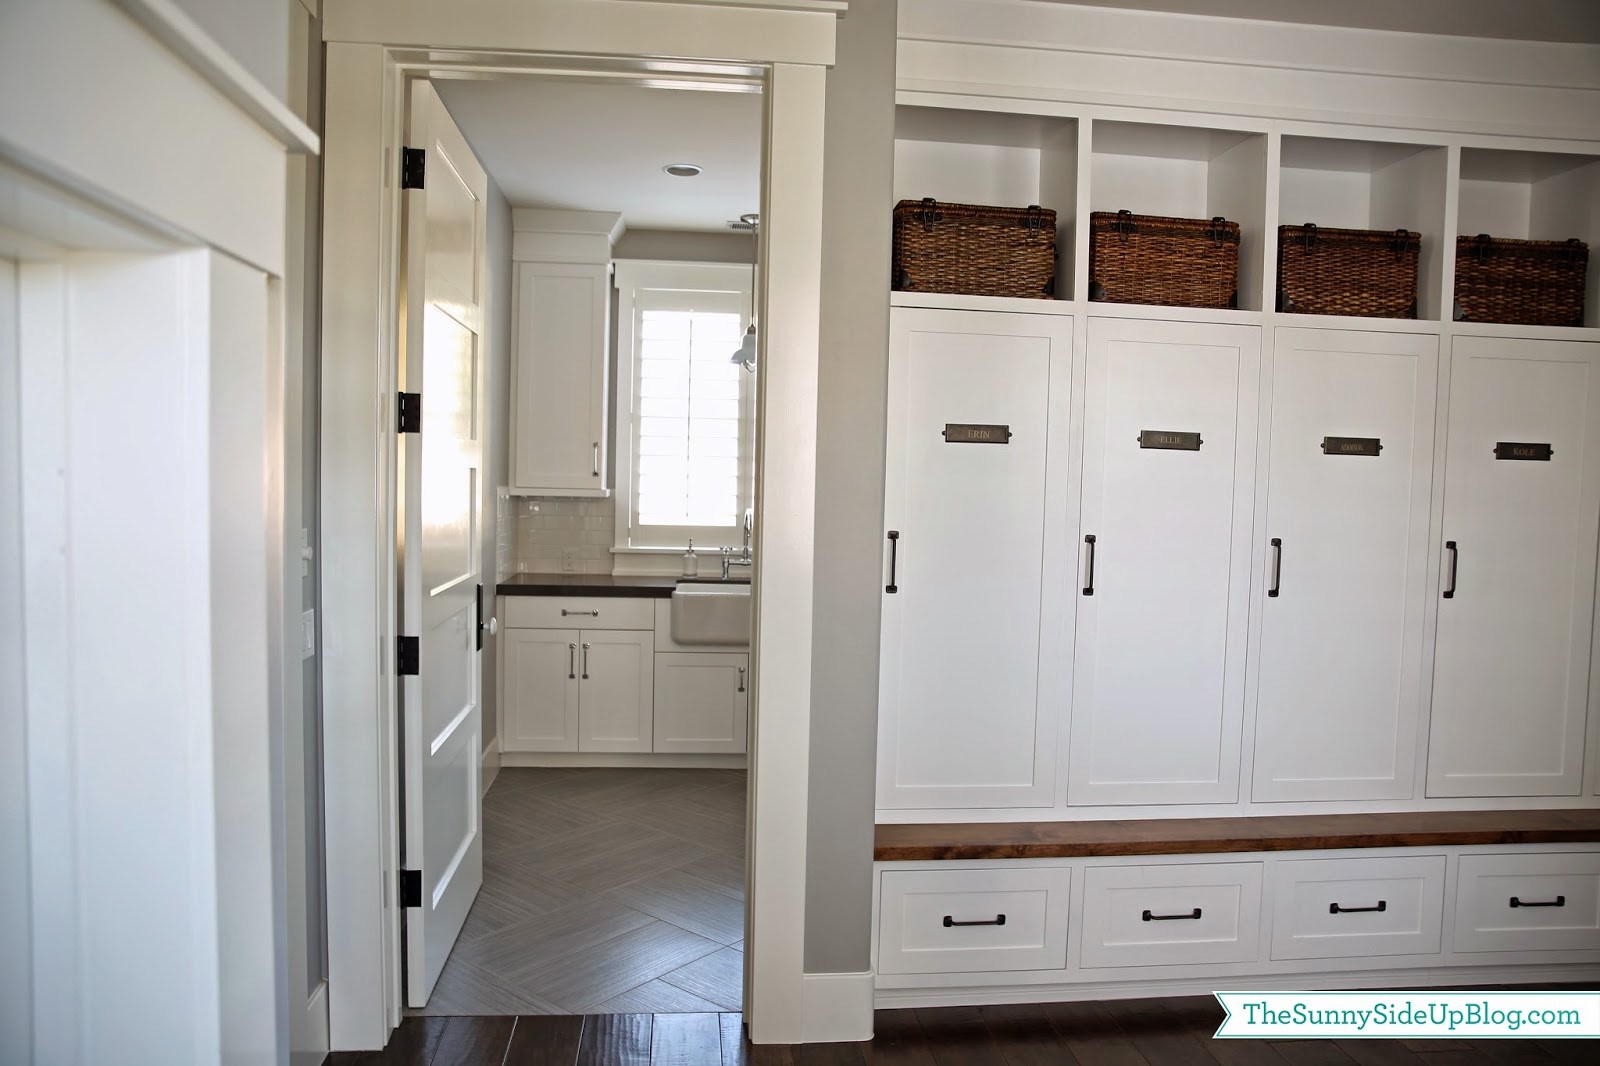
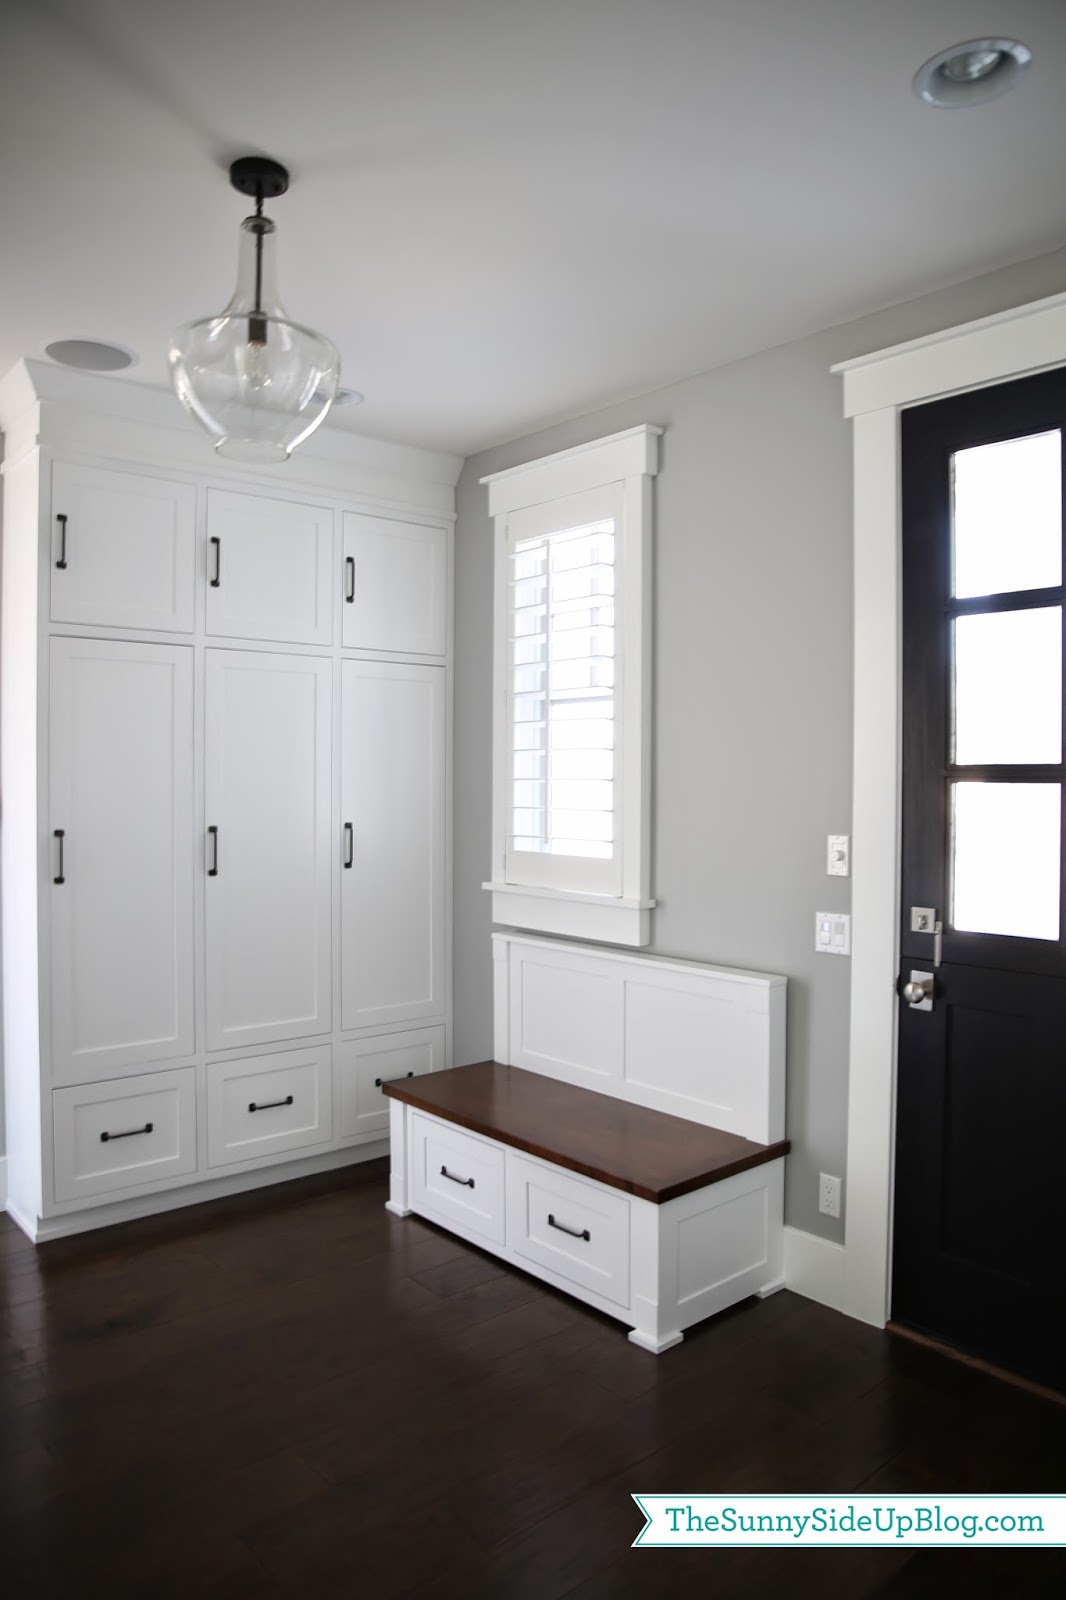
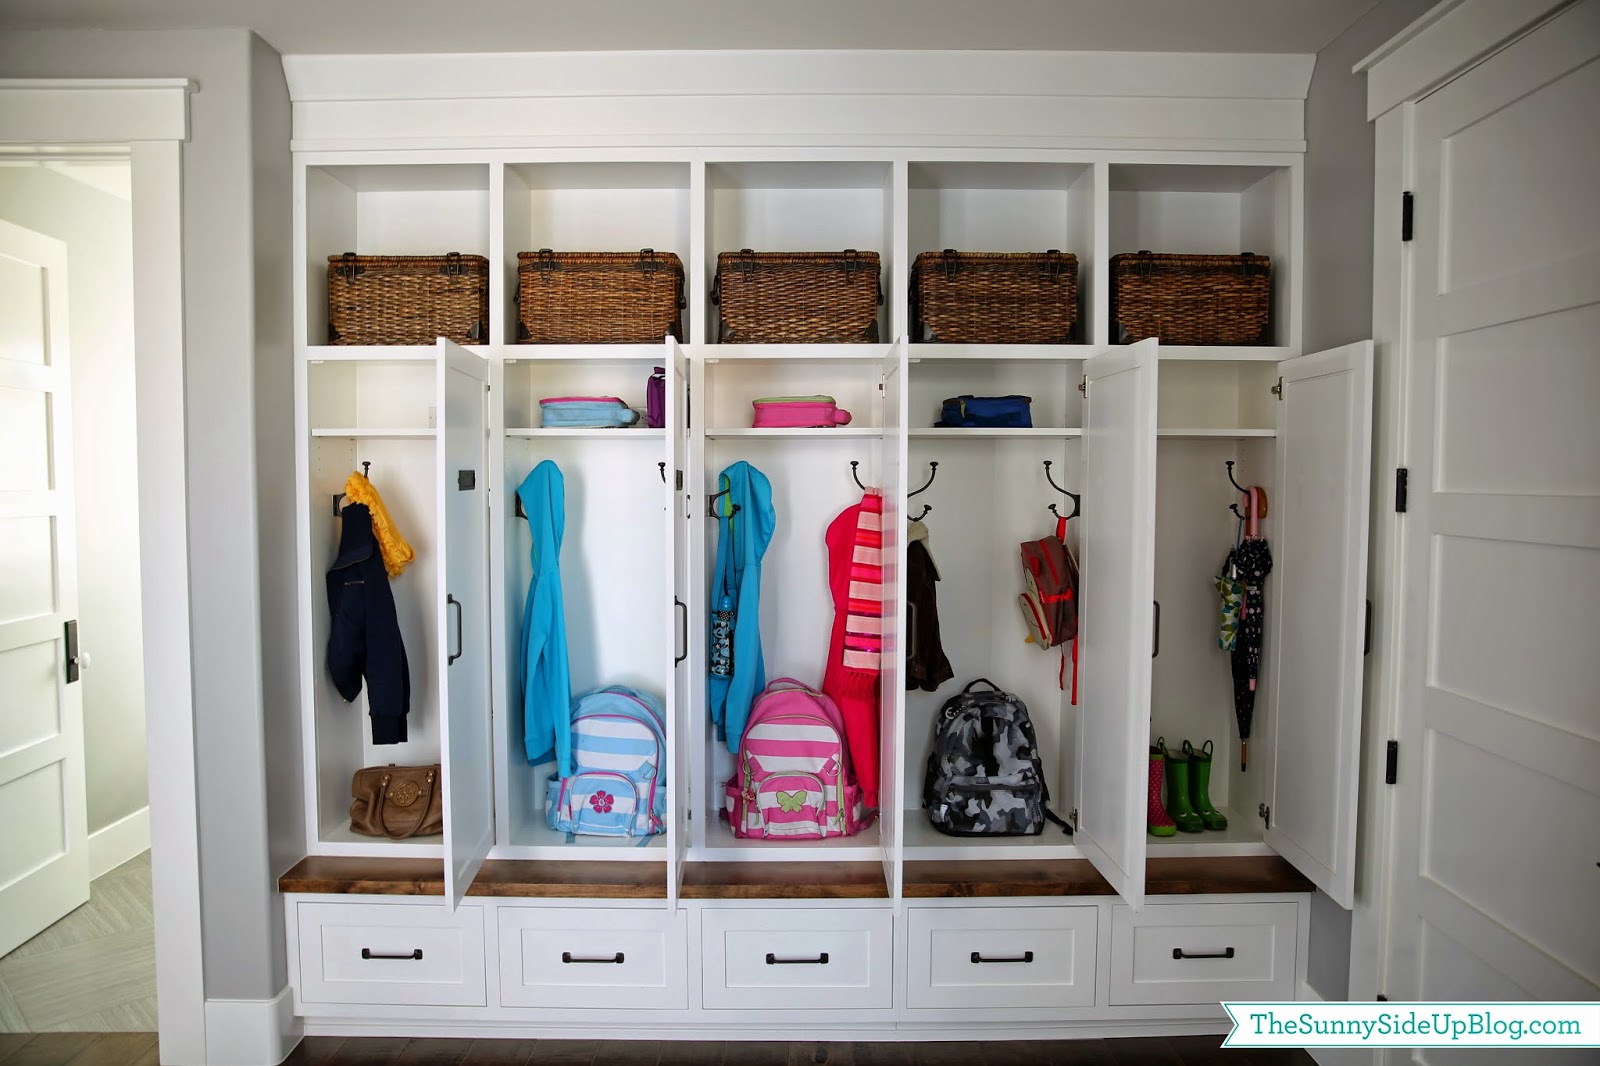
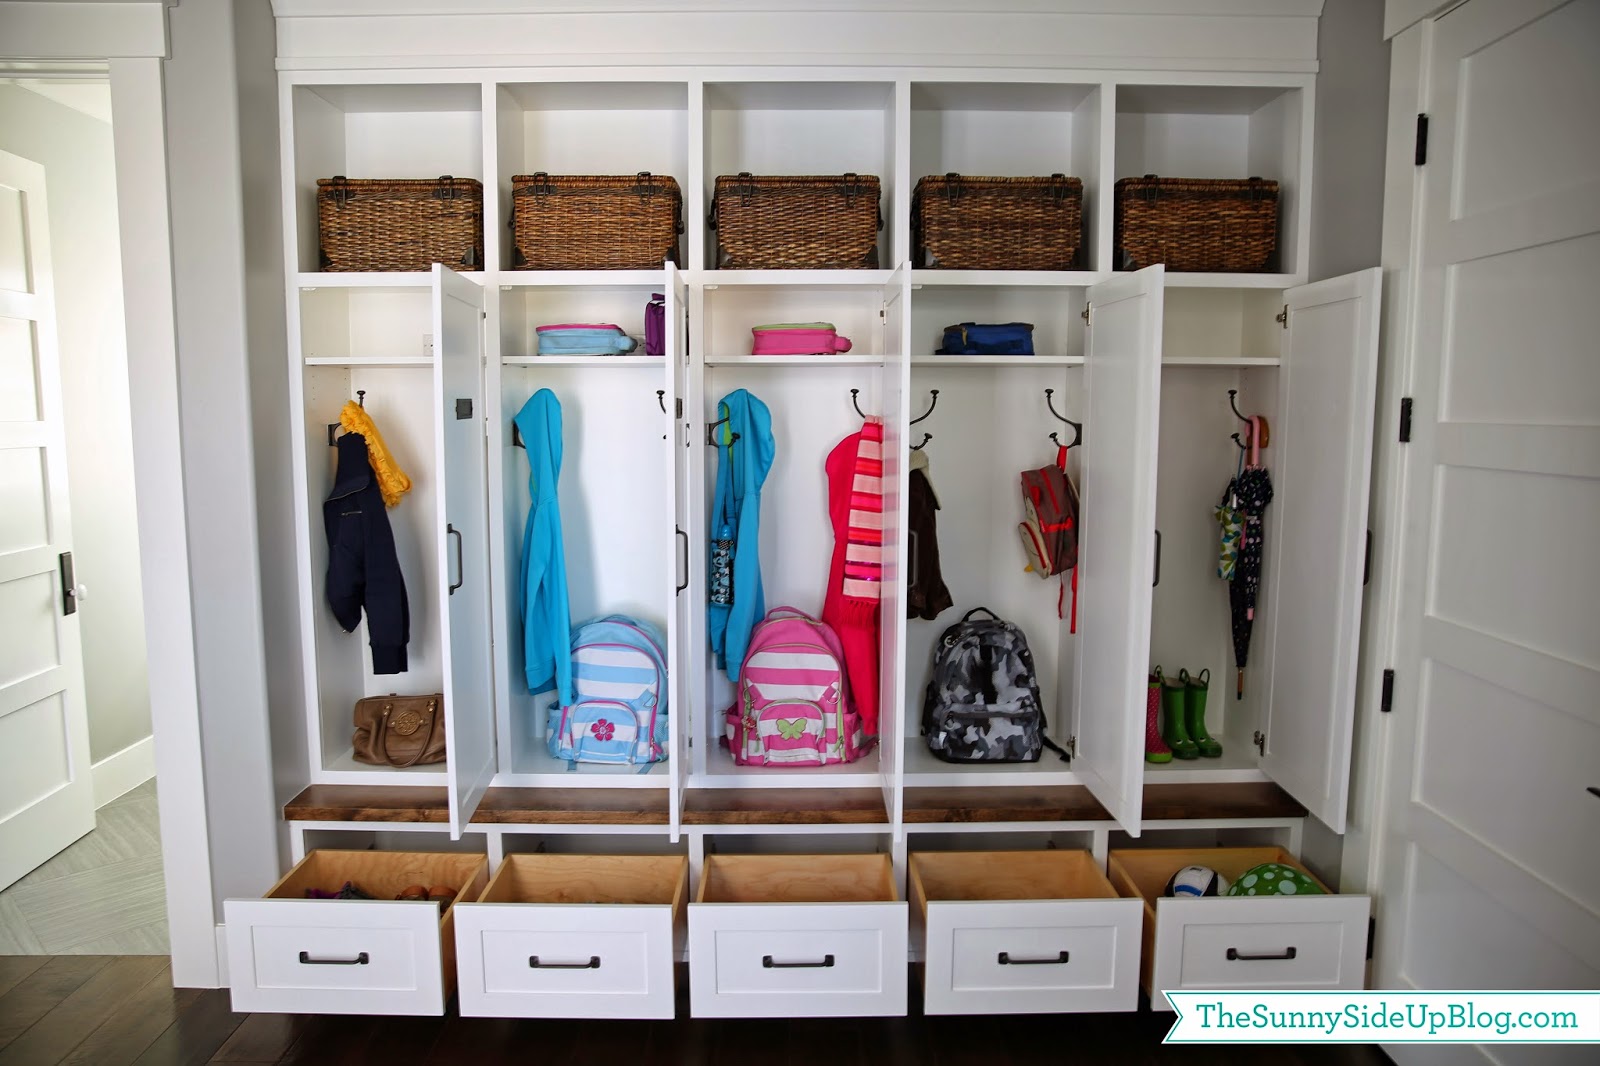
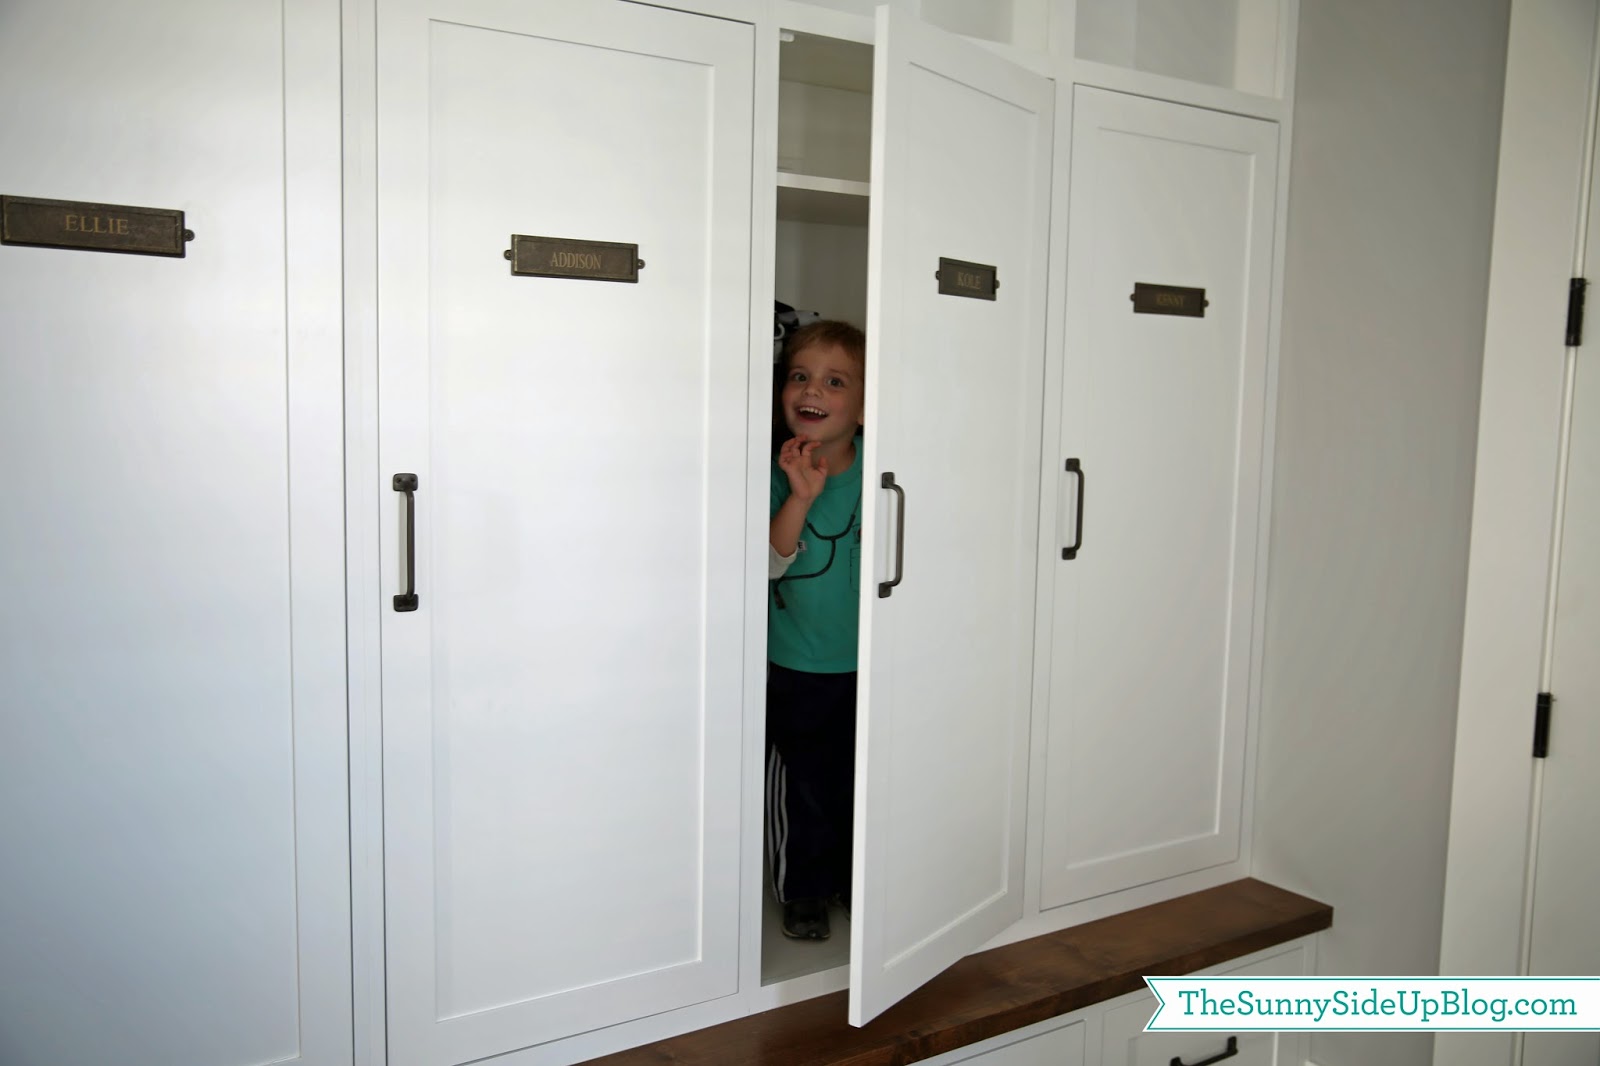
Ta-da! Lockers and drawers! With hooks inside! I have to pinch myself every time I’m in this room. Which is a lot! The door on the right is off of our garage. It’s the door we are in and out of the most every day. I decided to go with closed lockers and drawers vs. having everything open because I have issues with visual clutter. I wanted to be able to close the cabinet doors and have this space always look clean even if it wasn’t. Like magic. :)
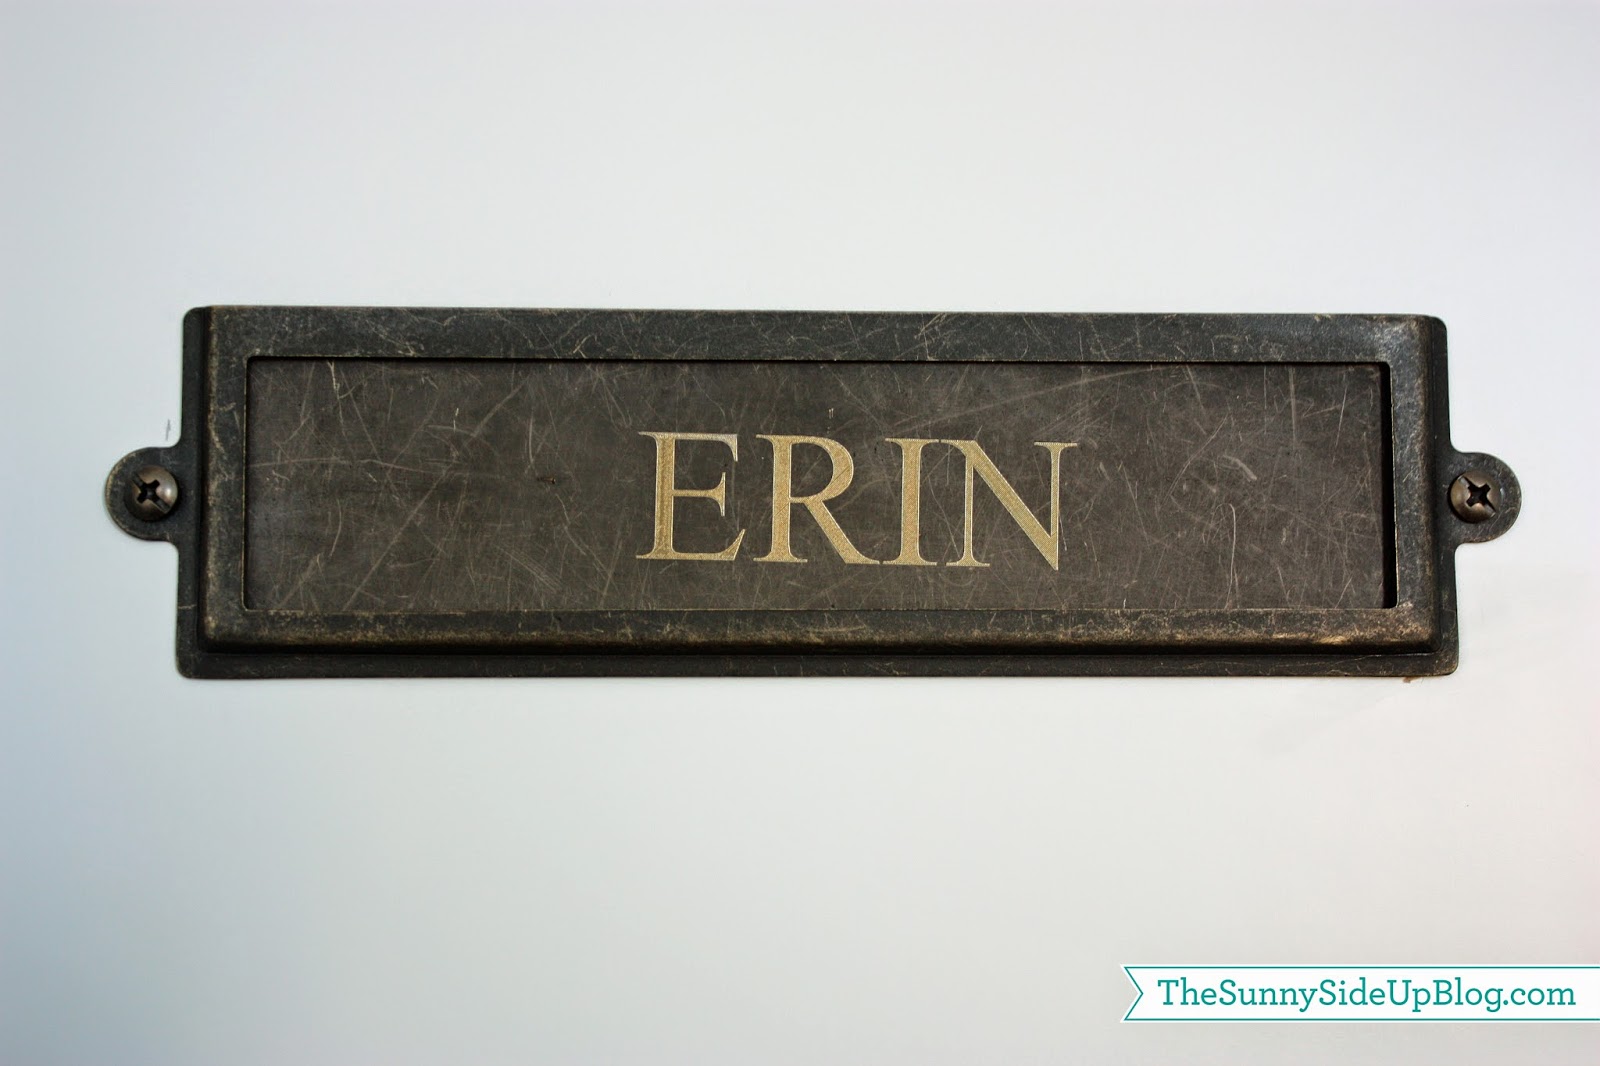
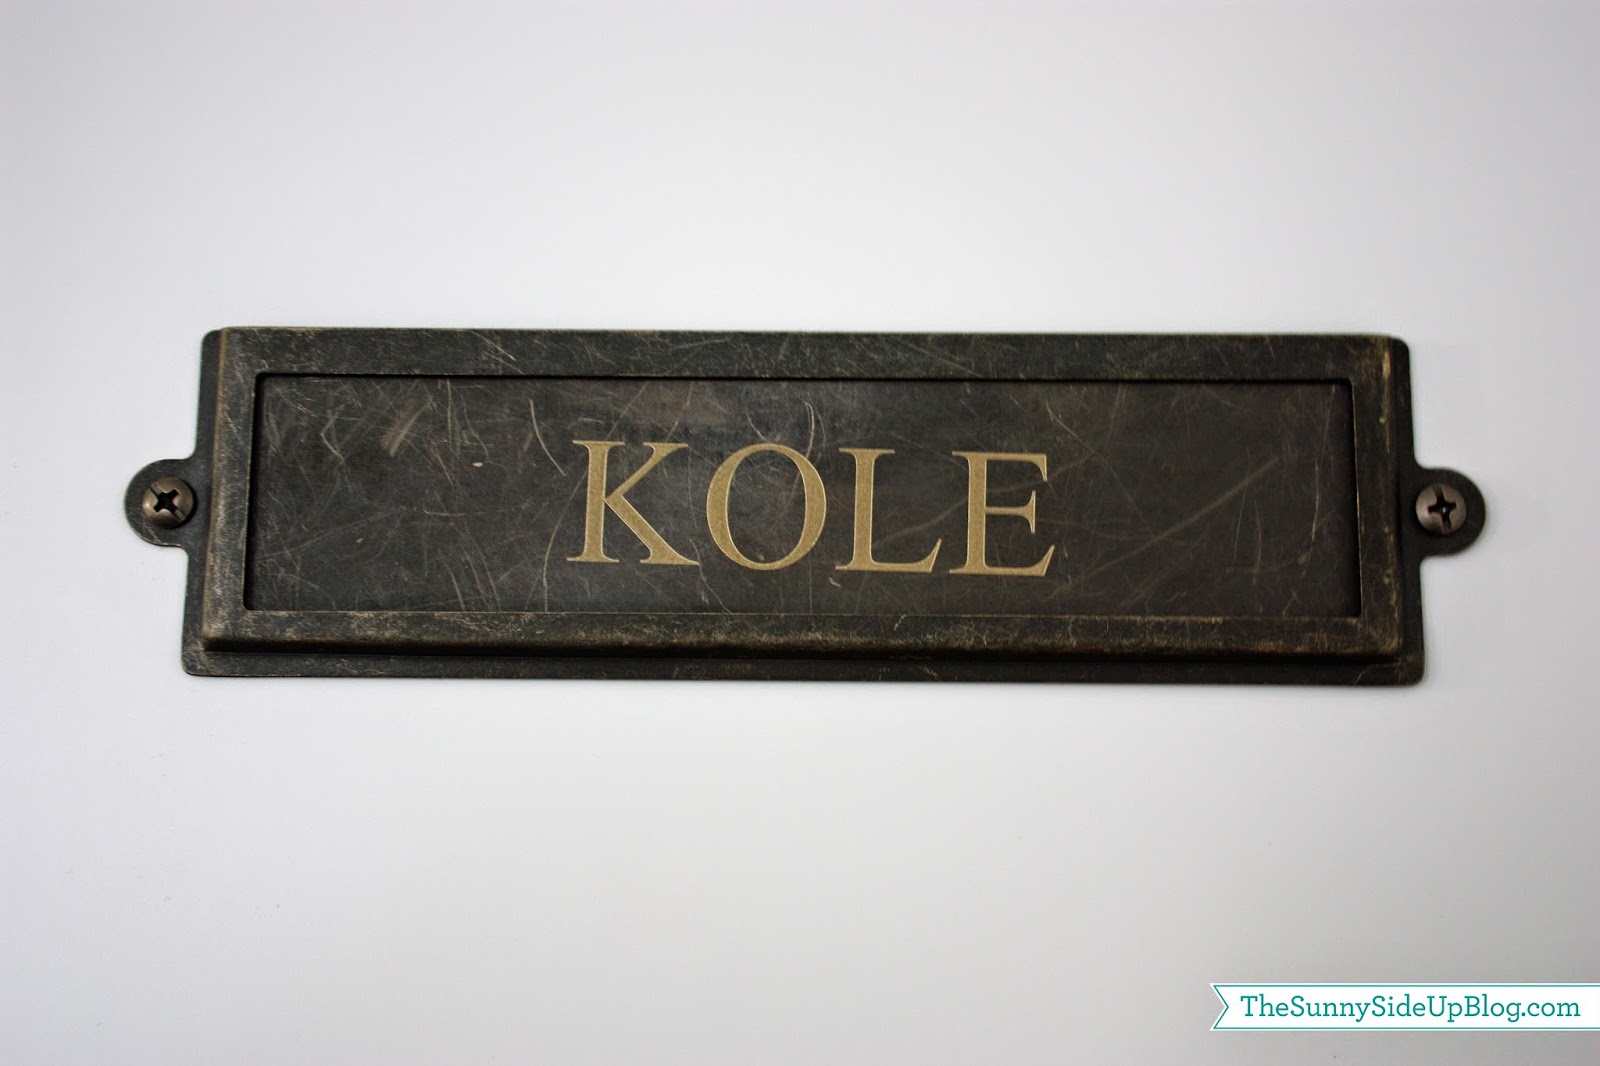
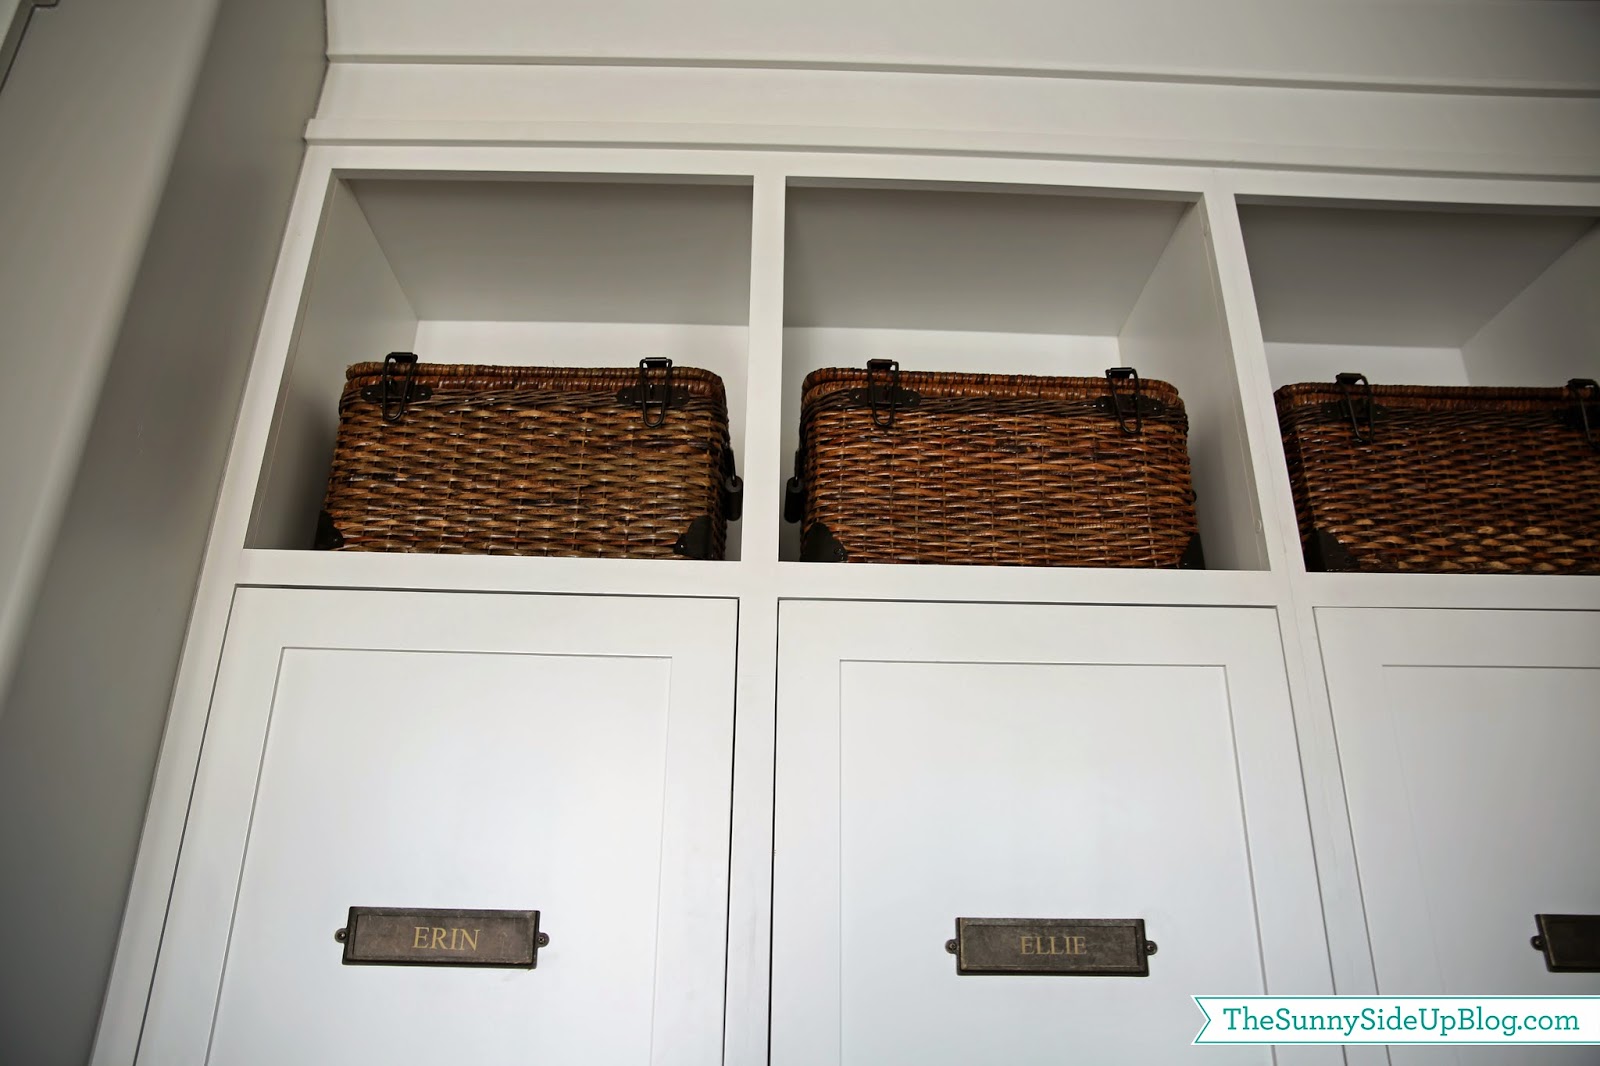
There are five lockers so that each of us can have our own. Soon after we moved in I bought these fun nameplates for each person in our family (
from Pottery Barn). Love the rustic look of them!
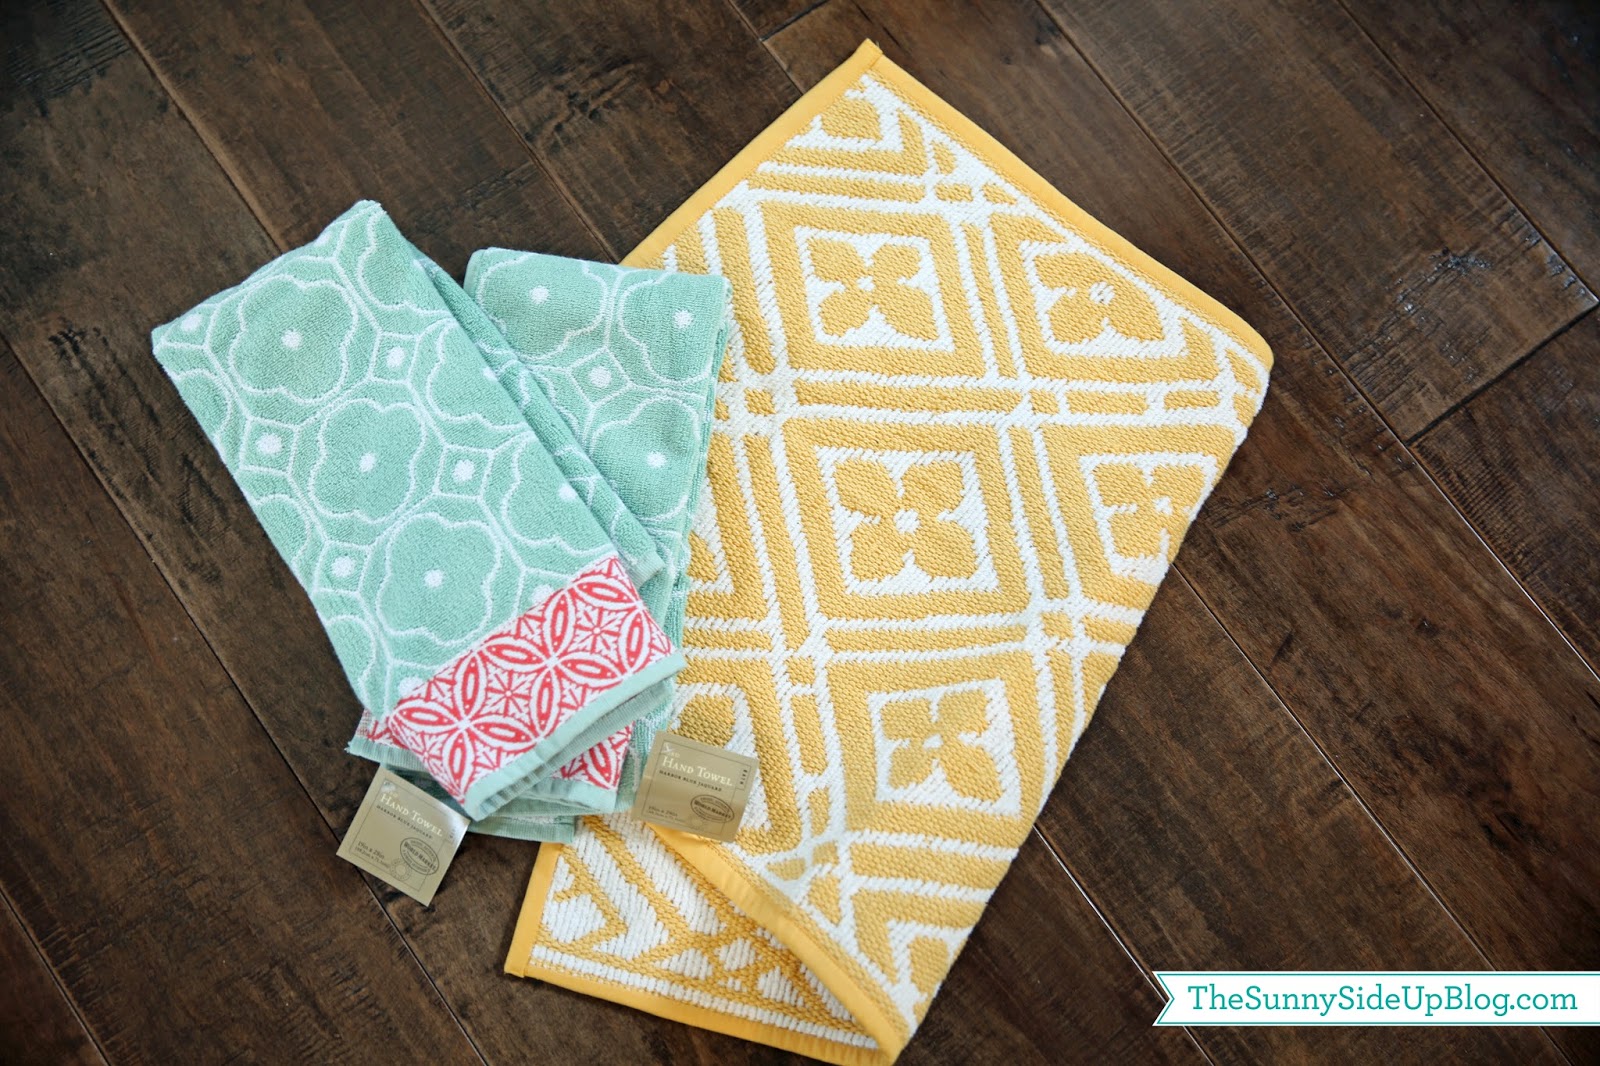
Then I found
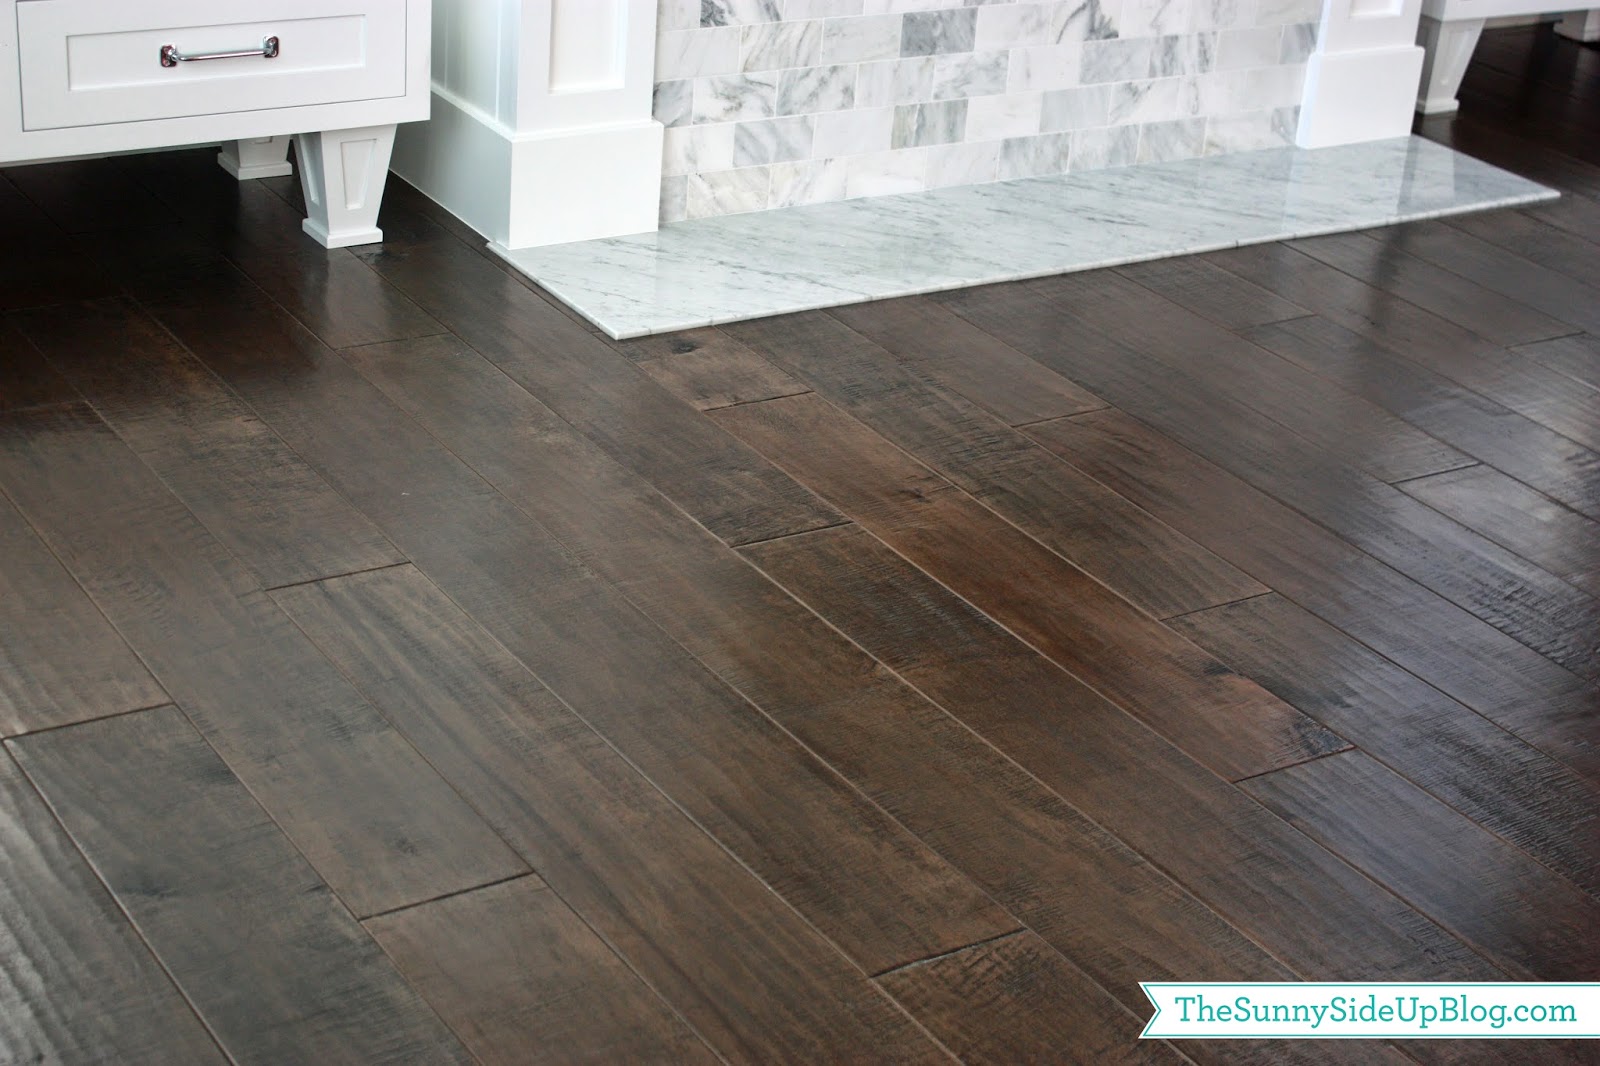
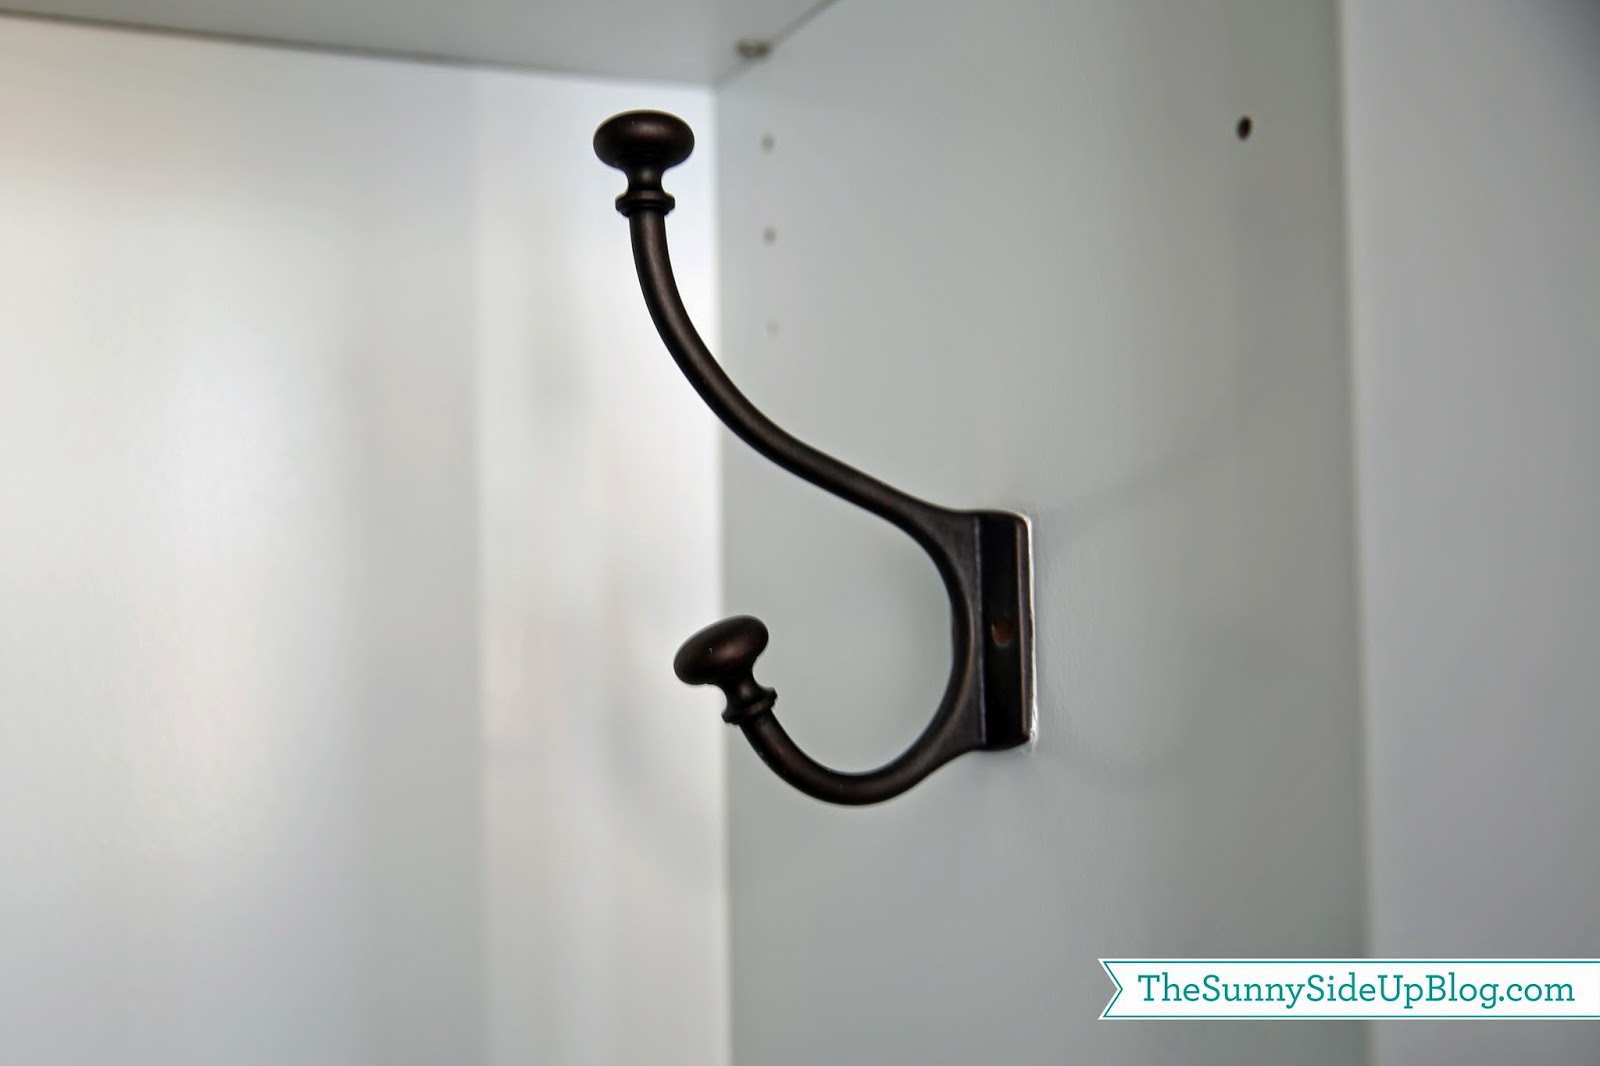
these fun baskets from Pottery Barn to put in the top cubbies. I initially had a hard time finding baskets that were wide enough to fit the space so when I landed on these I was thrilled. They have a lid like a picnic basket and not only were they the size I needed, but the black hardware on them worked well with the hardware I chose for this room. I wasn’t originally planning on dark brown woven baskets, but they also coordinated well with the wood floors and the bench. Finally some keepers!
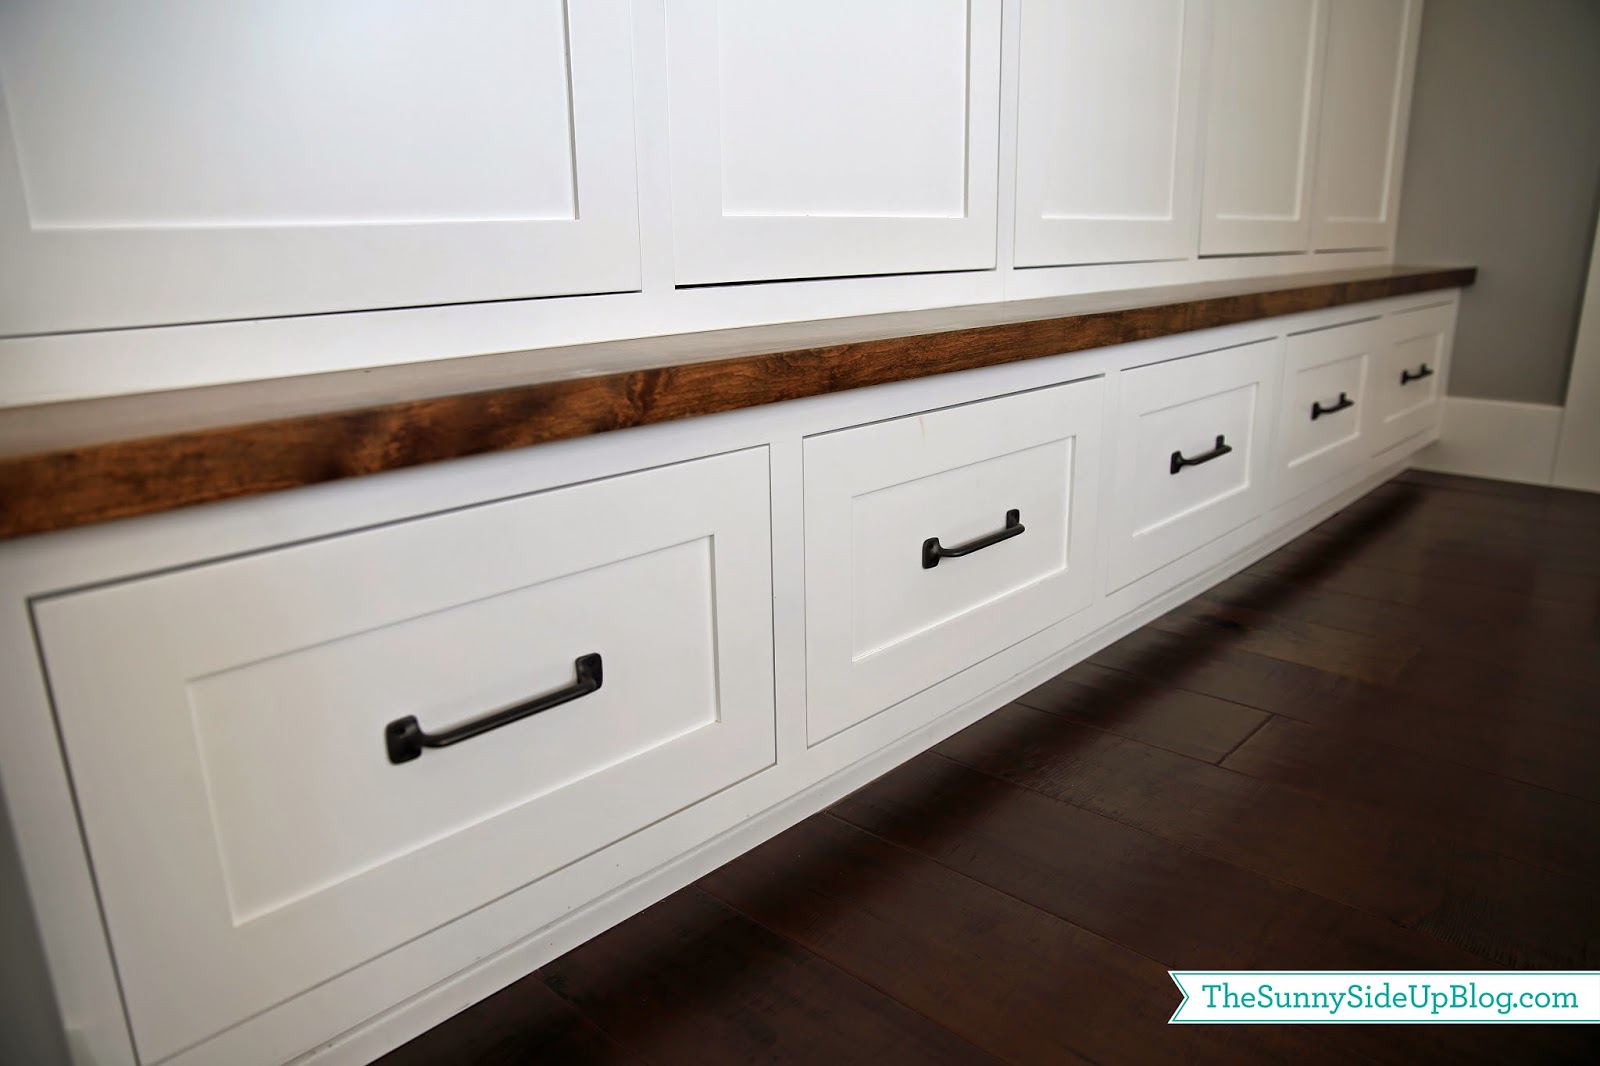
When we were designing this space I told my architect to extend the drawers a bit so that I could add a small mini bench above them just in case my kids ever wanted to stand up on it to get to the top of the lockers. Then I had it stained figuring white would show marks from the kids standing on it. Guess what? My kids don’t stand on it. Sometimes I over think things. :) But I like the way it breaks up all of the white regardless and I love the deeper drawers.
To the left of the wall of lockers is
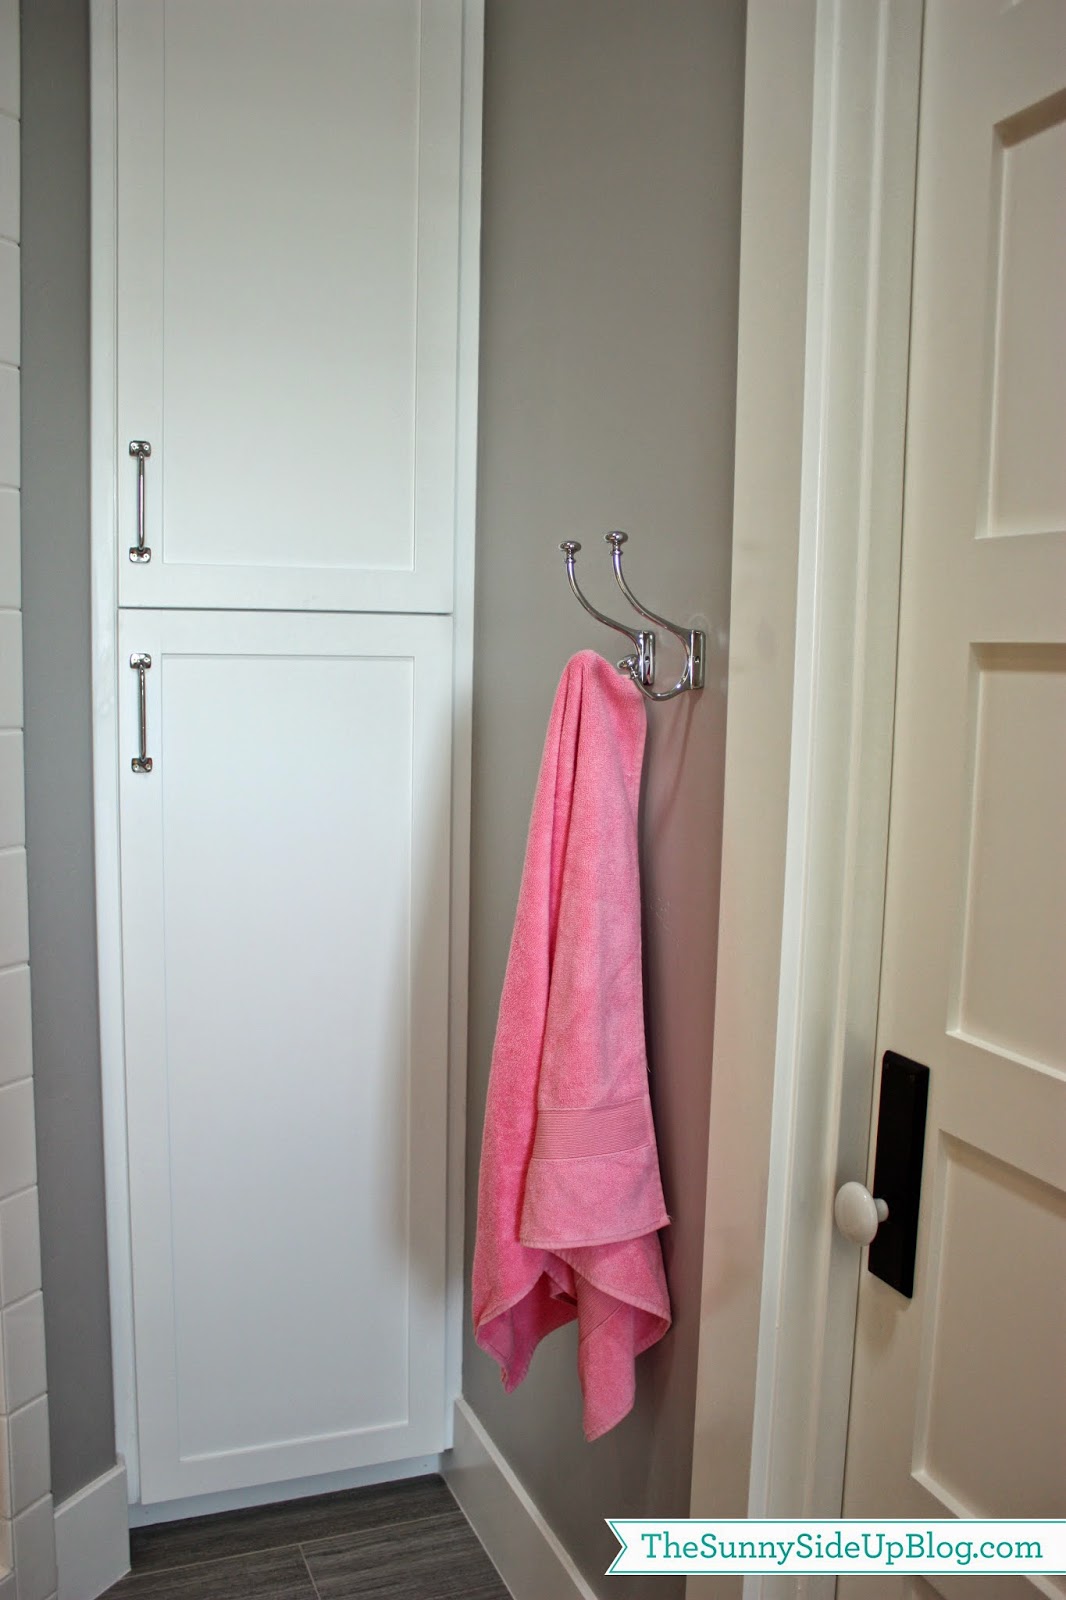
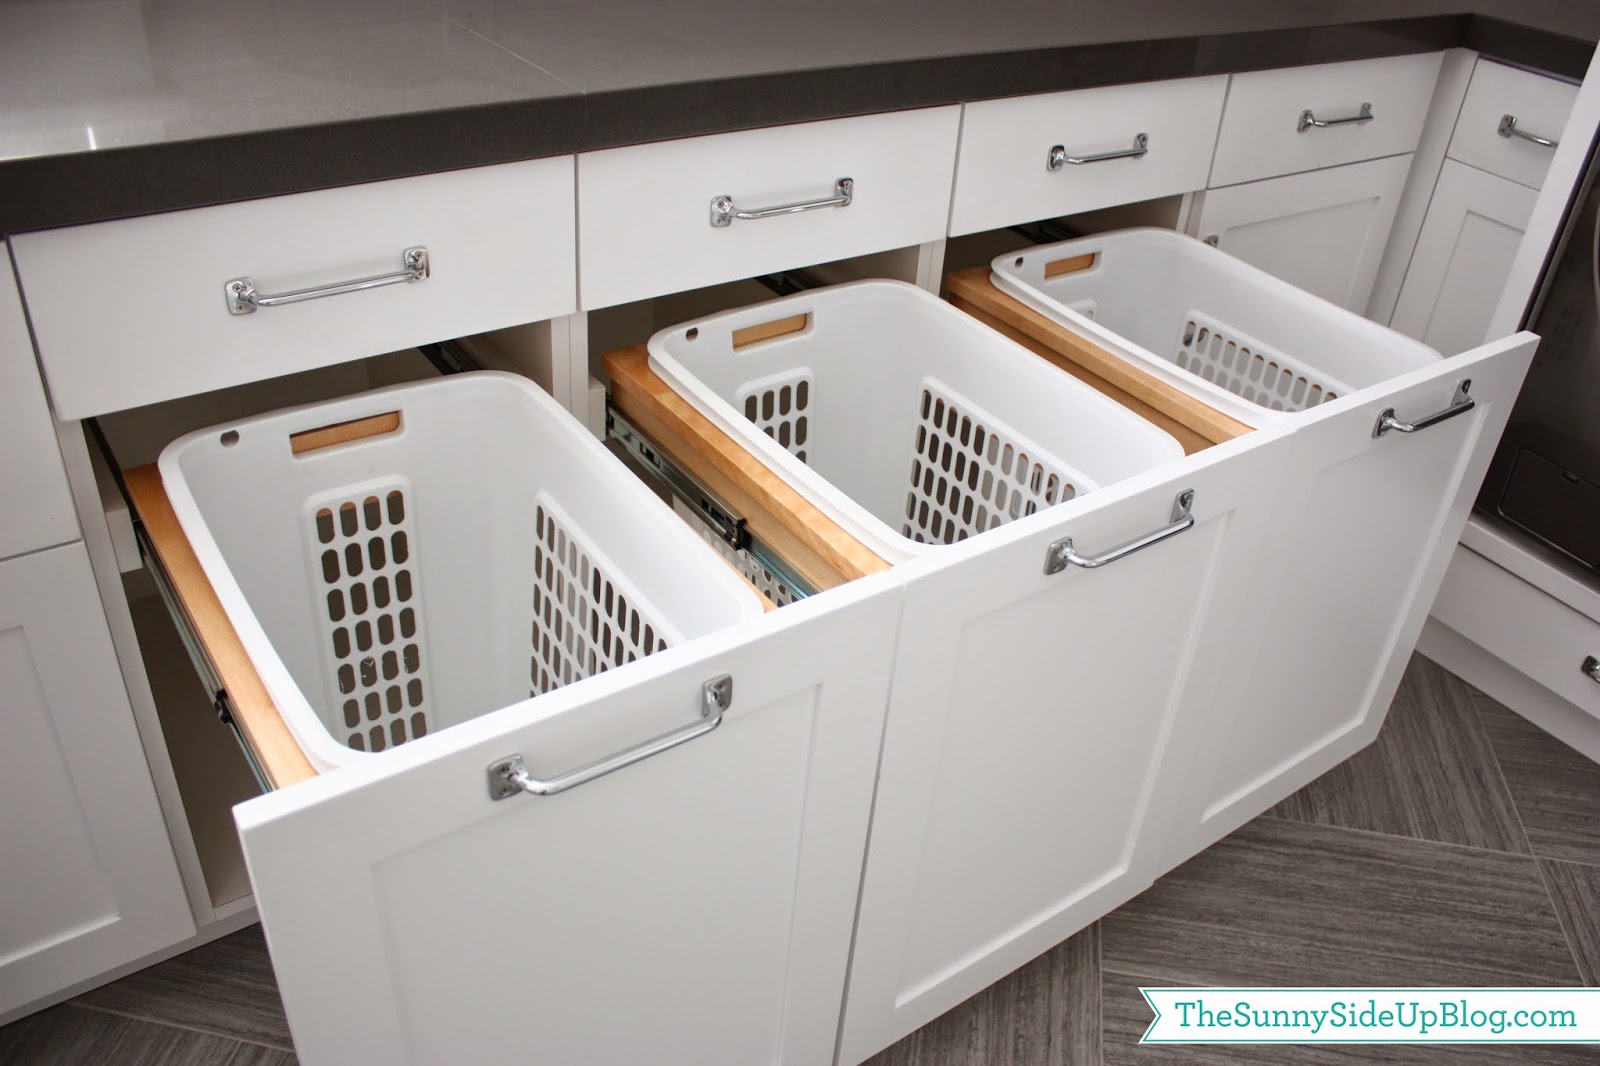
our downstairs laundry room. My kids come in the garage door, unload their things in the mudroom, and then head to the laundry room to wash their hands and unload anything that needs to be washed. Half of Kole’s wardrobe most days. :)
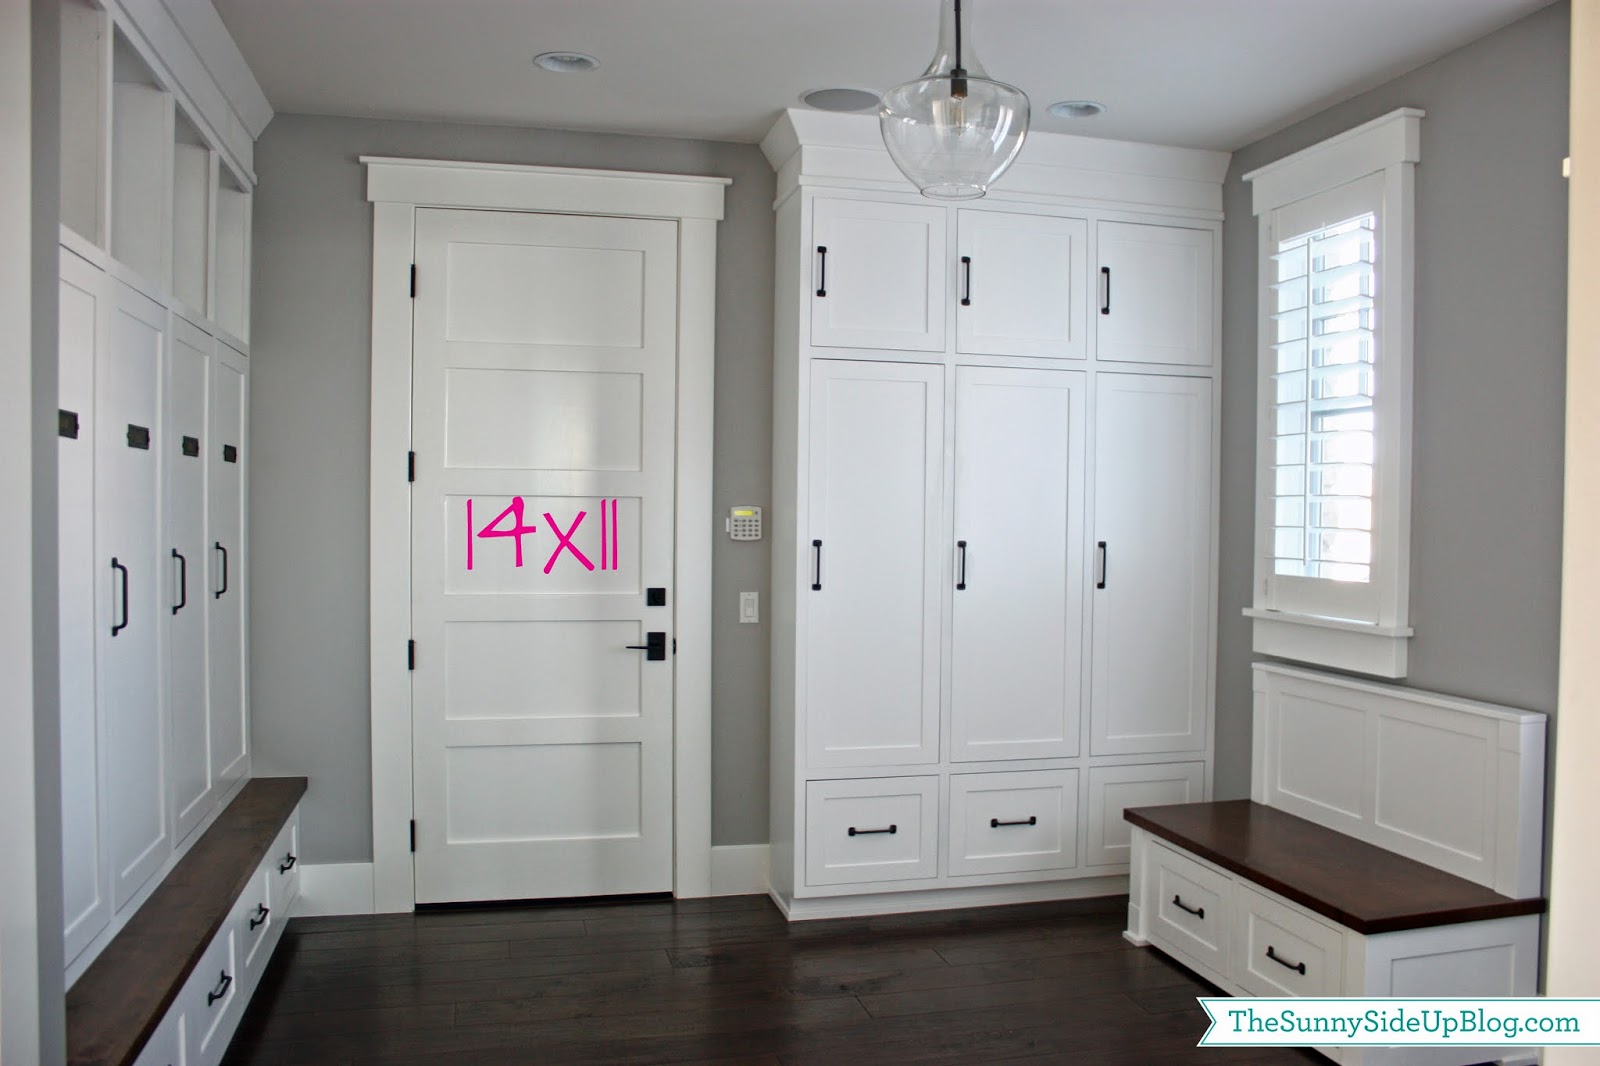
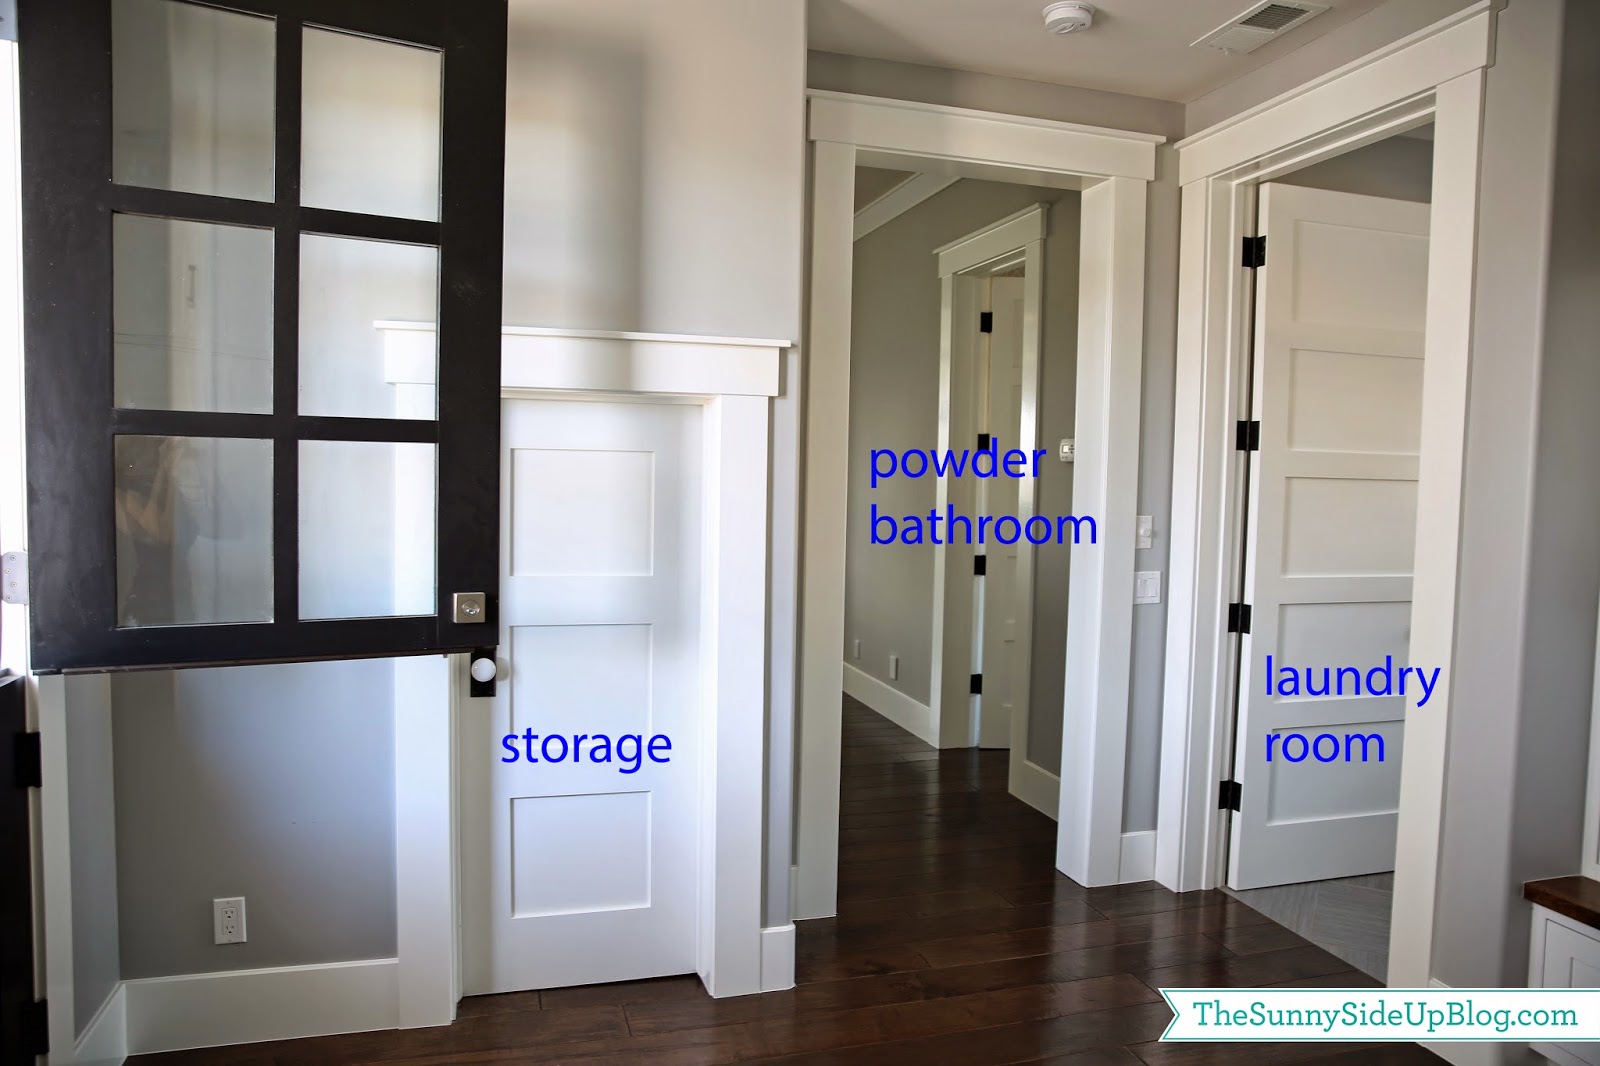
A lot of you have had questions about my floor plan so this pic shows where
the laundry room and
powder bathroom are located (both close to the mudroom). If you keep walking past the powder bathroom you come to our stairs and main living spaces
(kitchen/family room).
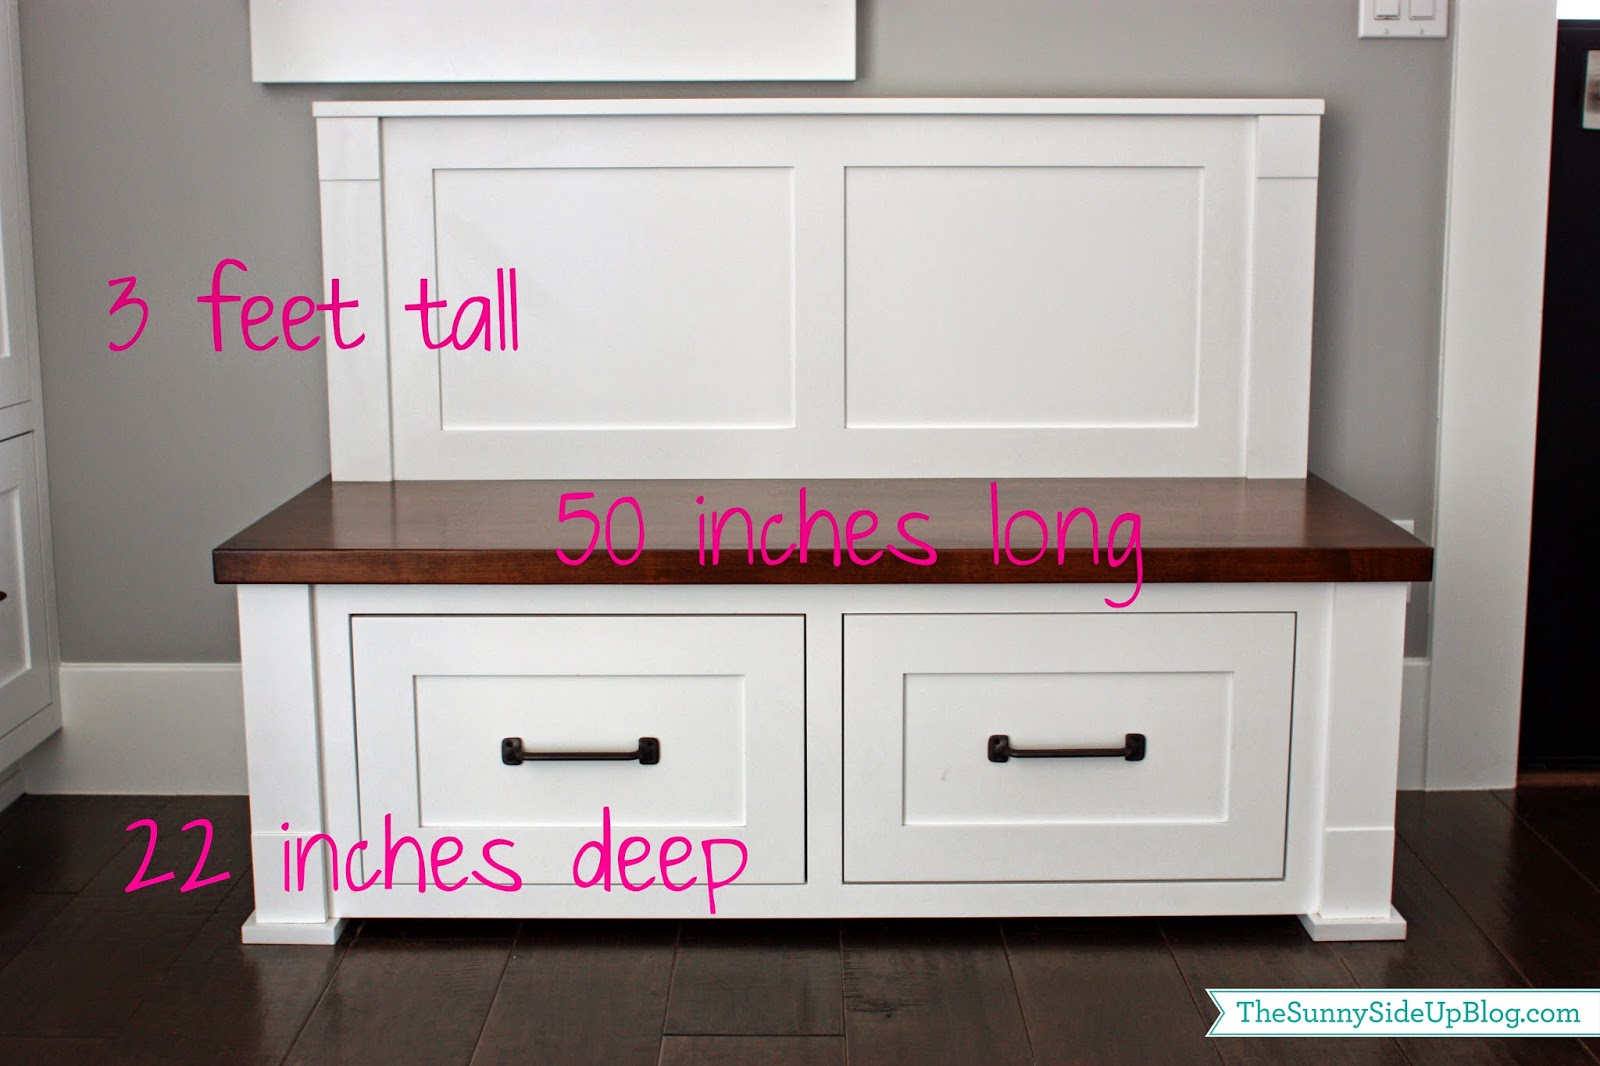
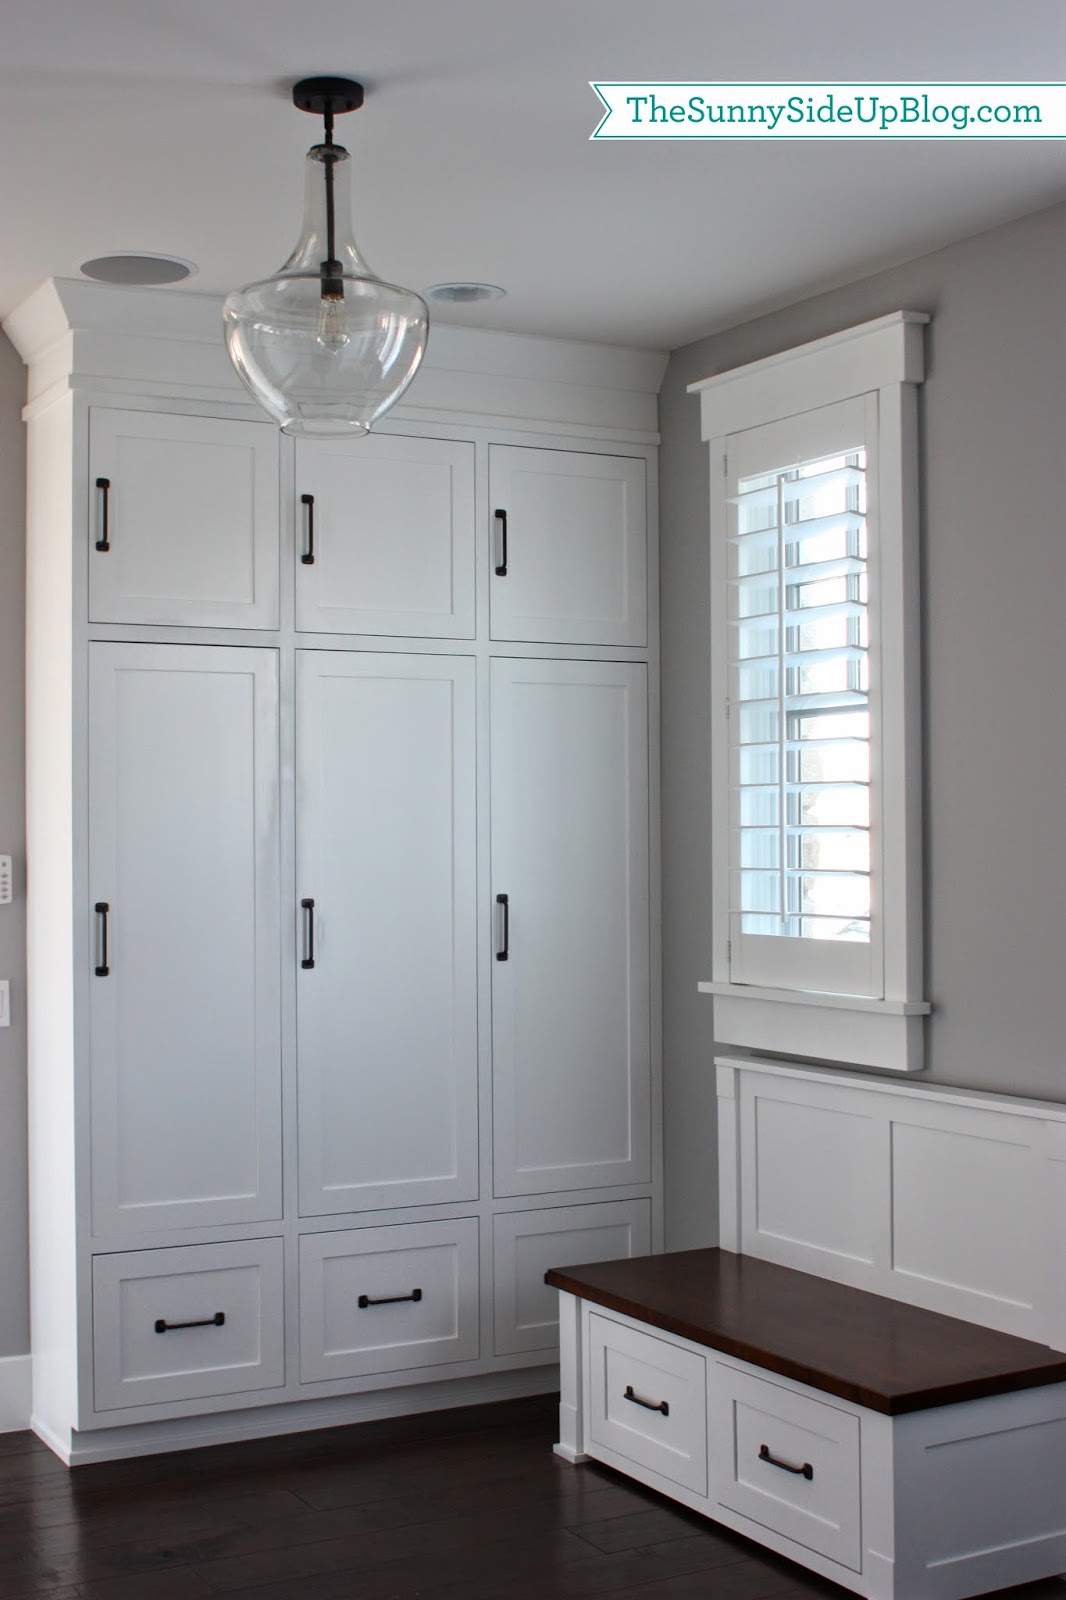
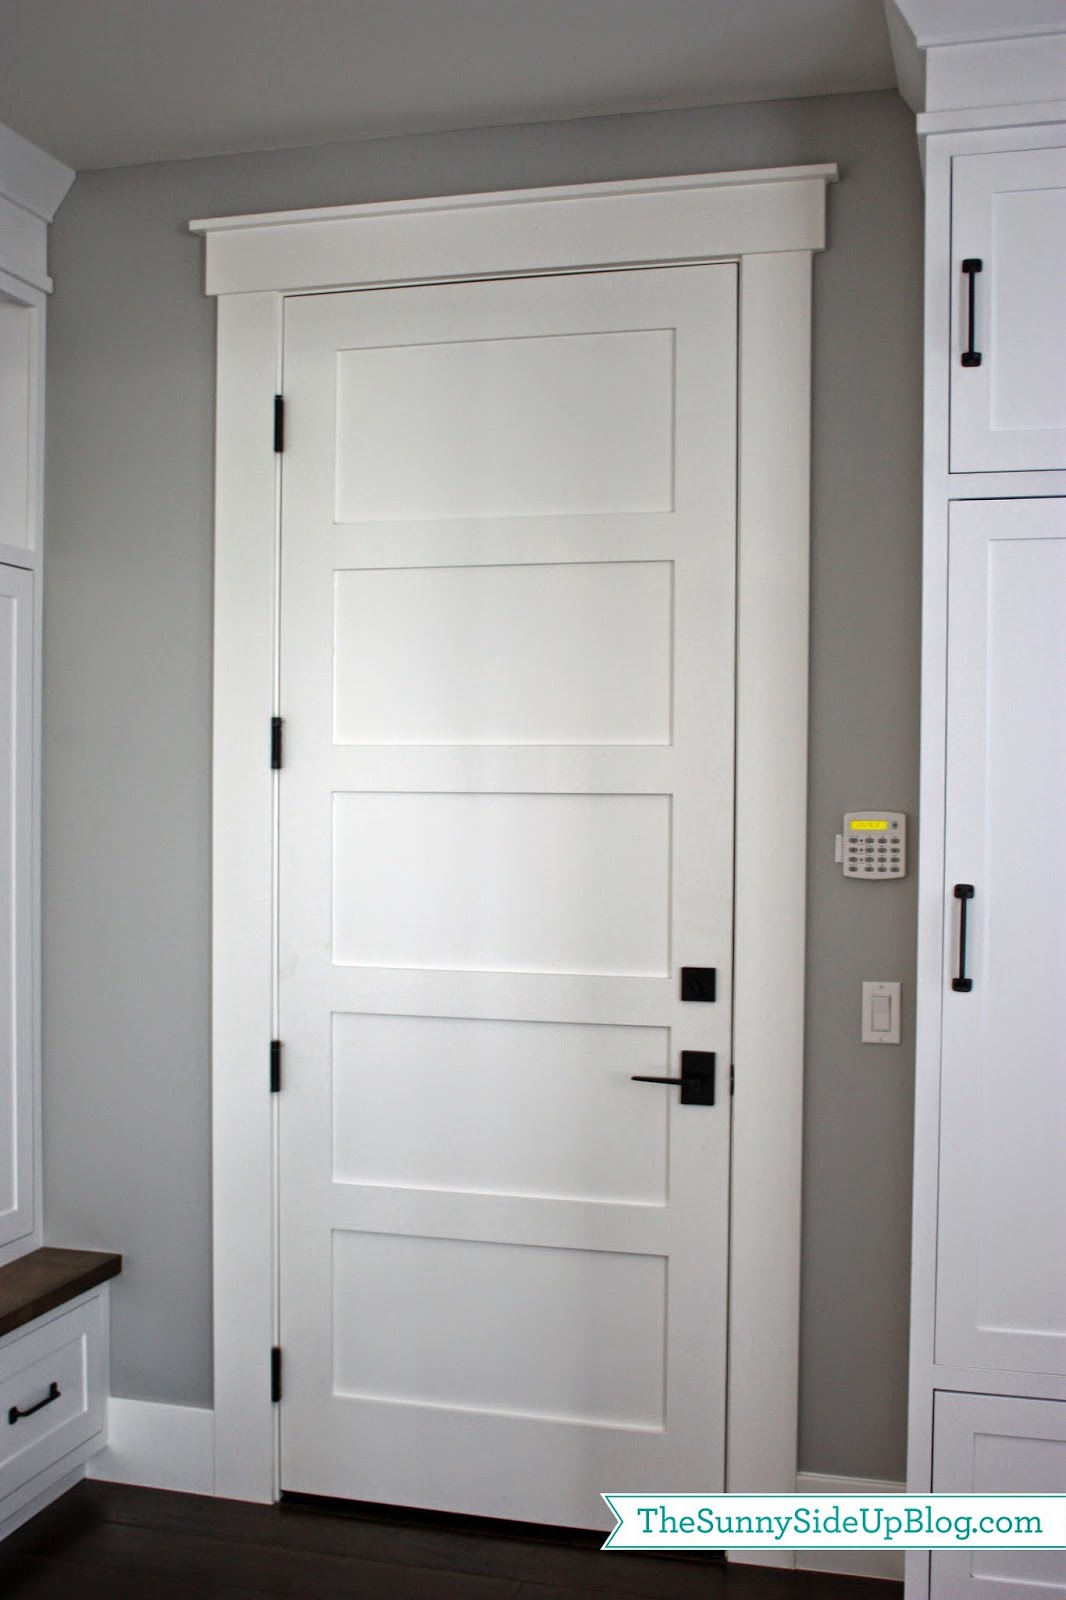
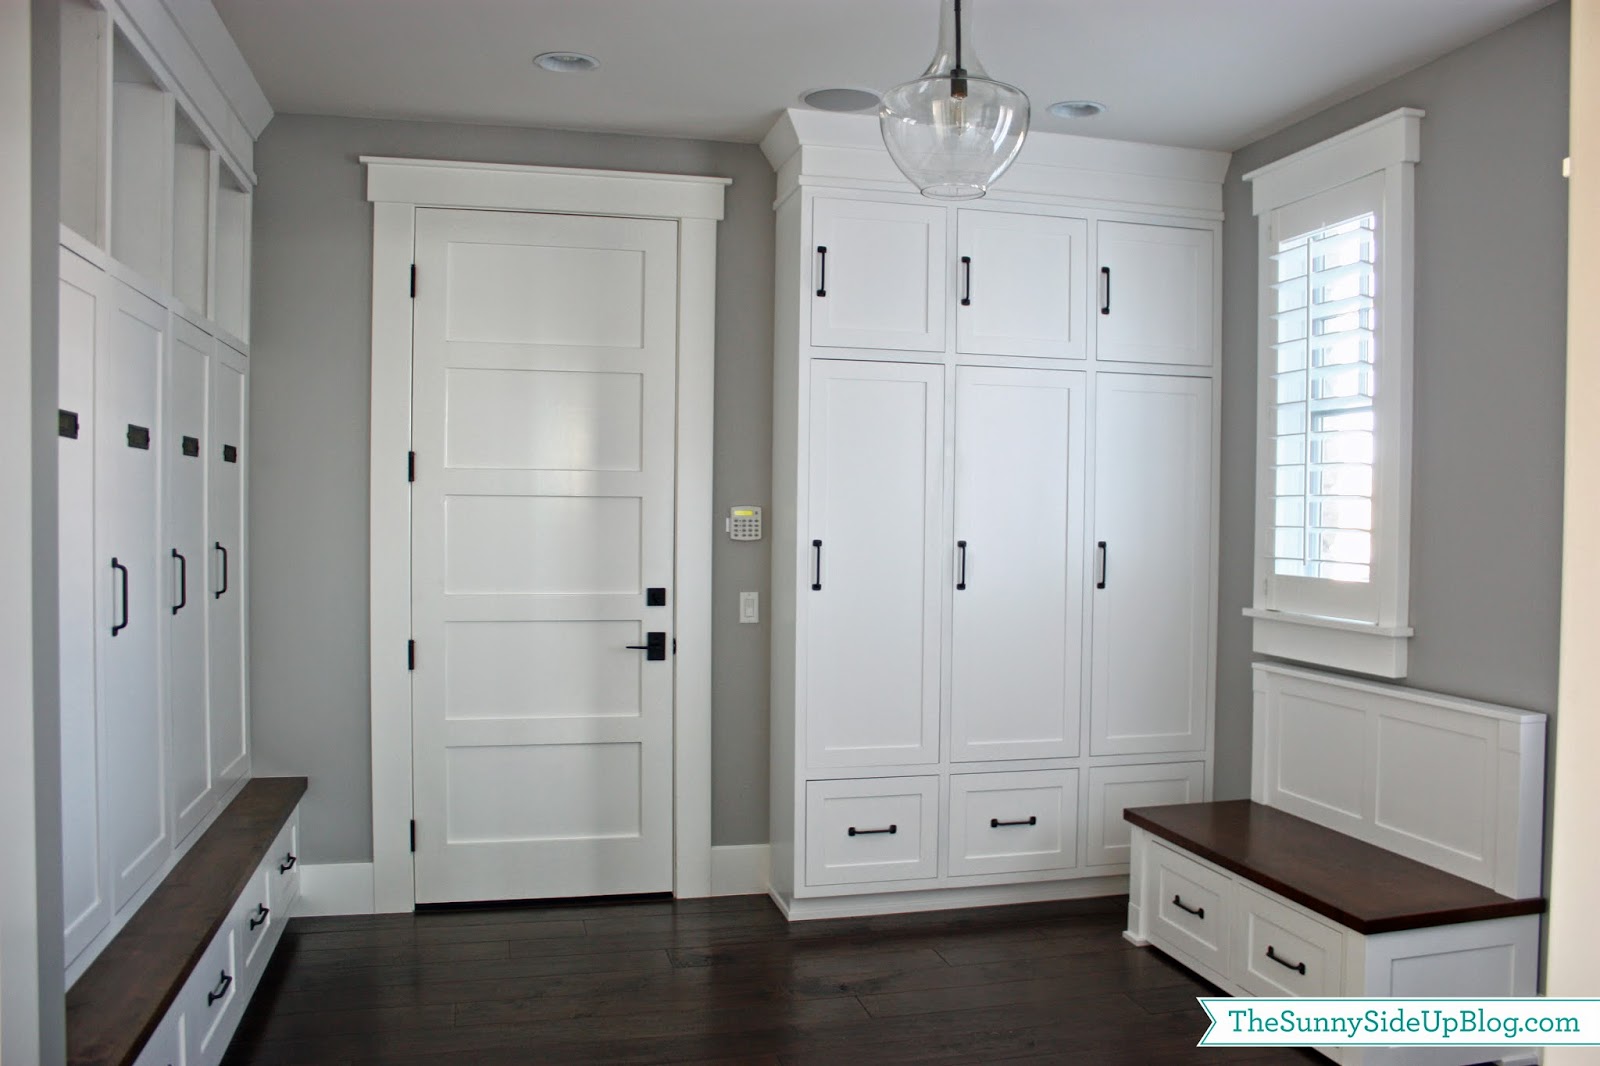
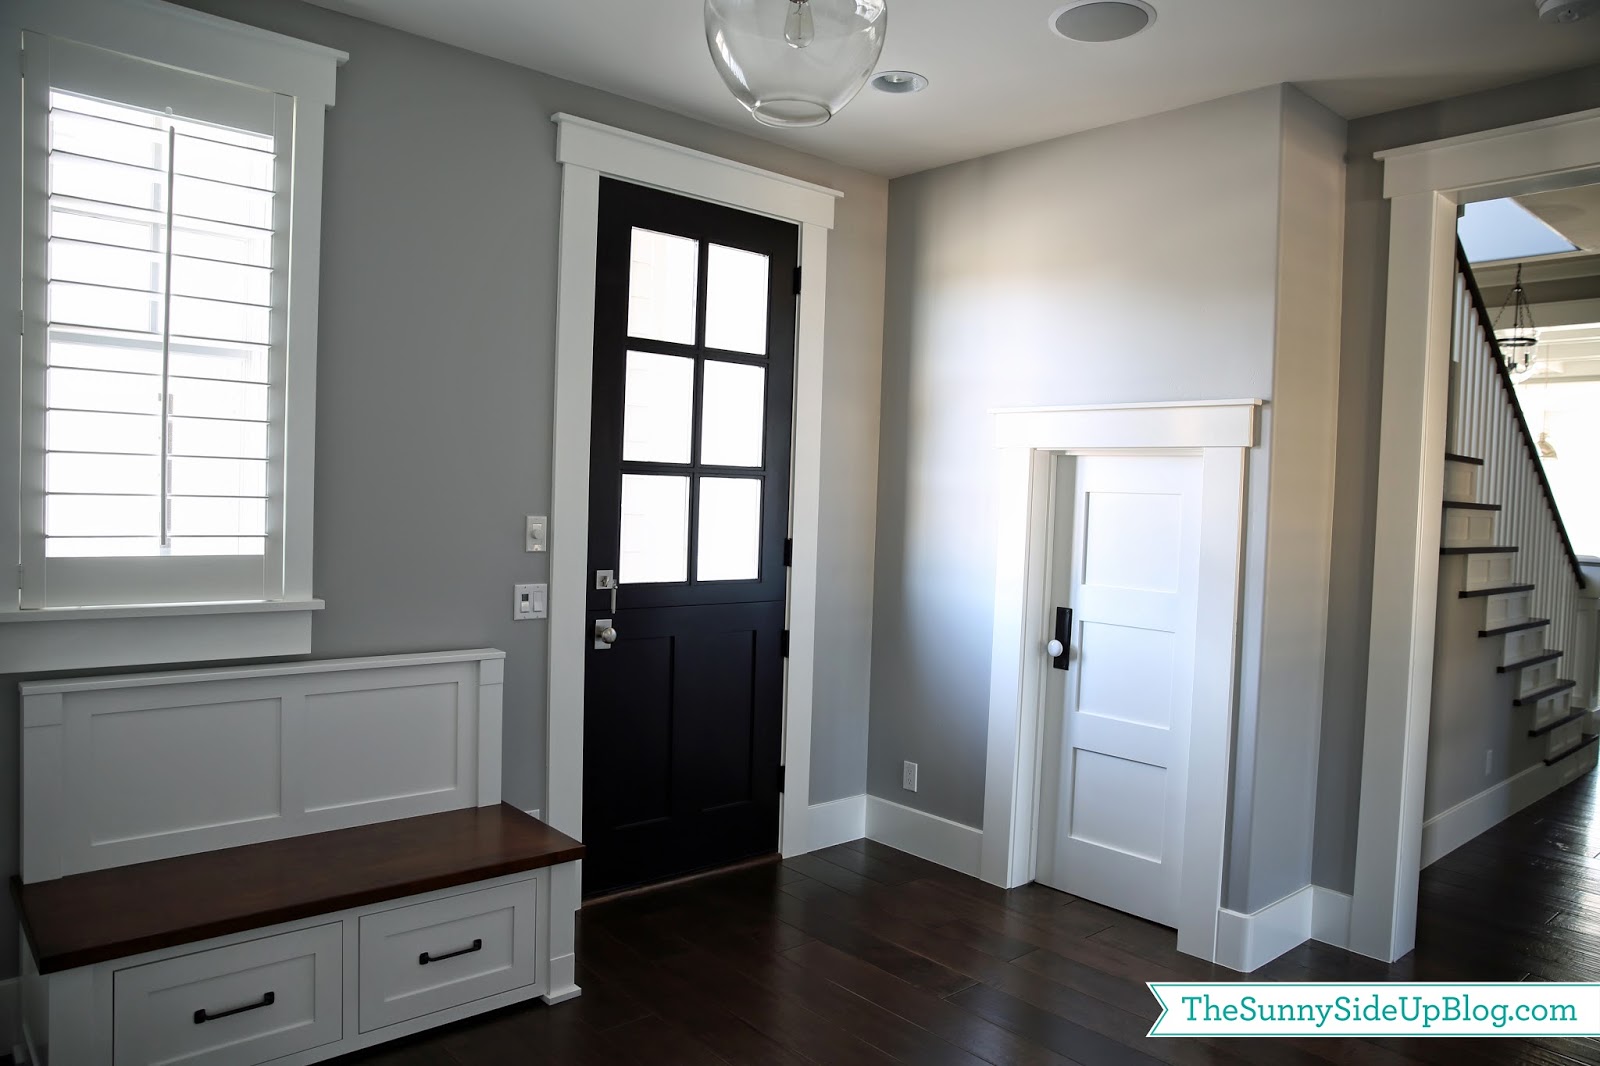
Here is a view of my mudroom from the other side of the room. On the other side of the door I added additional locker style cabinets to the ceiling with drawers below them for extra storage. (Extra storage! It’s so strange to have extra storage. Wonderful strange.) :) Then I had a small bench made for the space under the window.
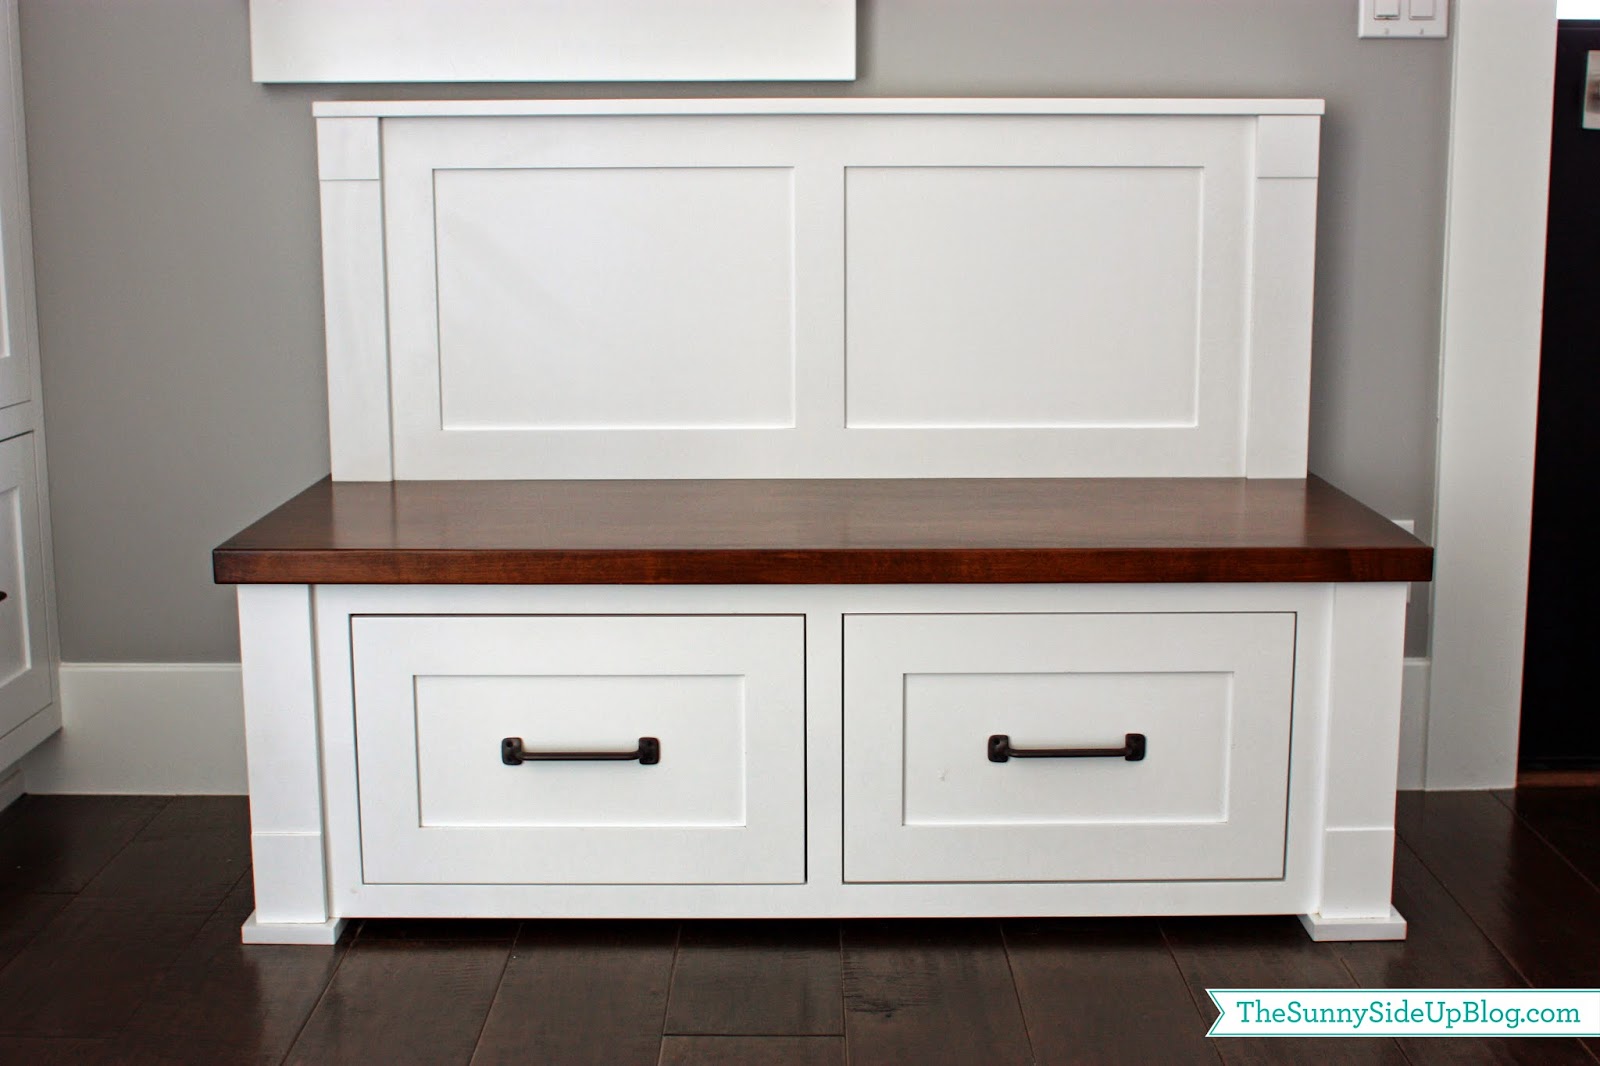
This little bench was fun to design. It’s a nice place to sit to take off shoes or to set things on.
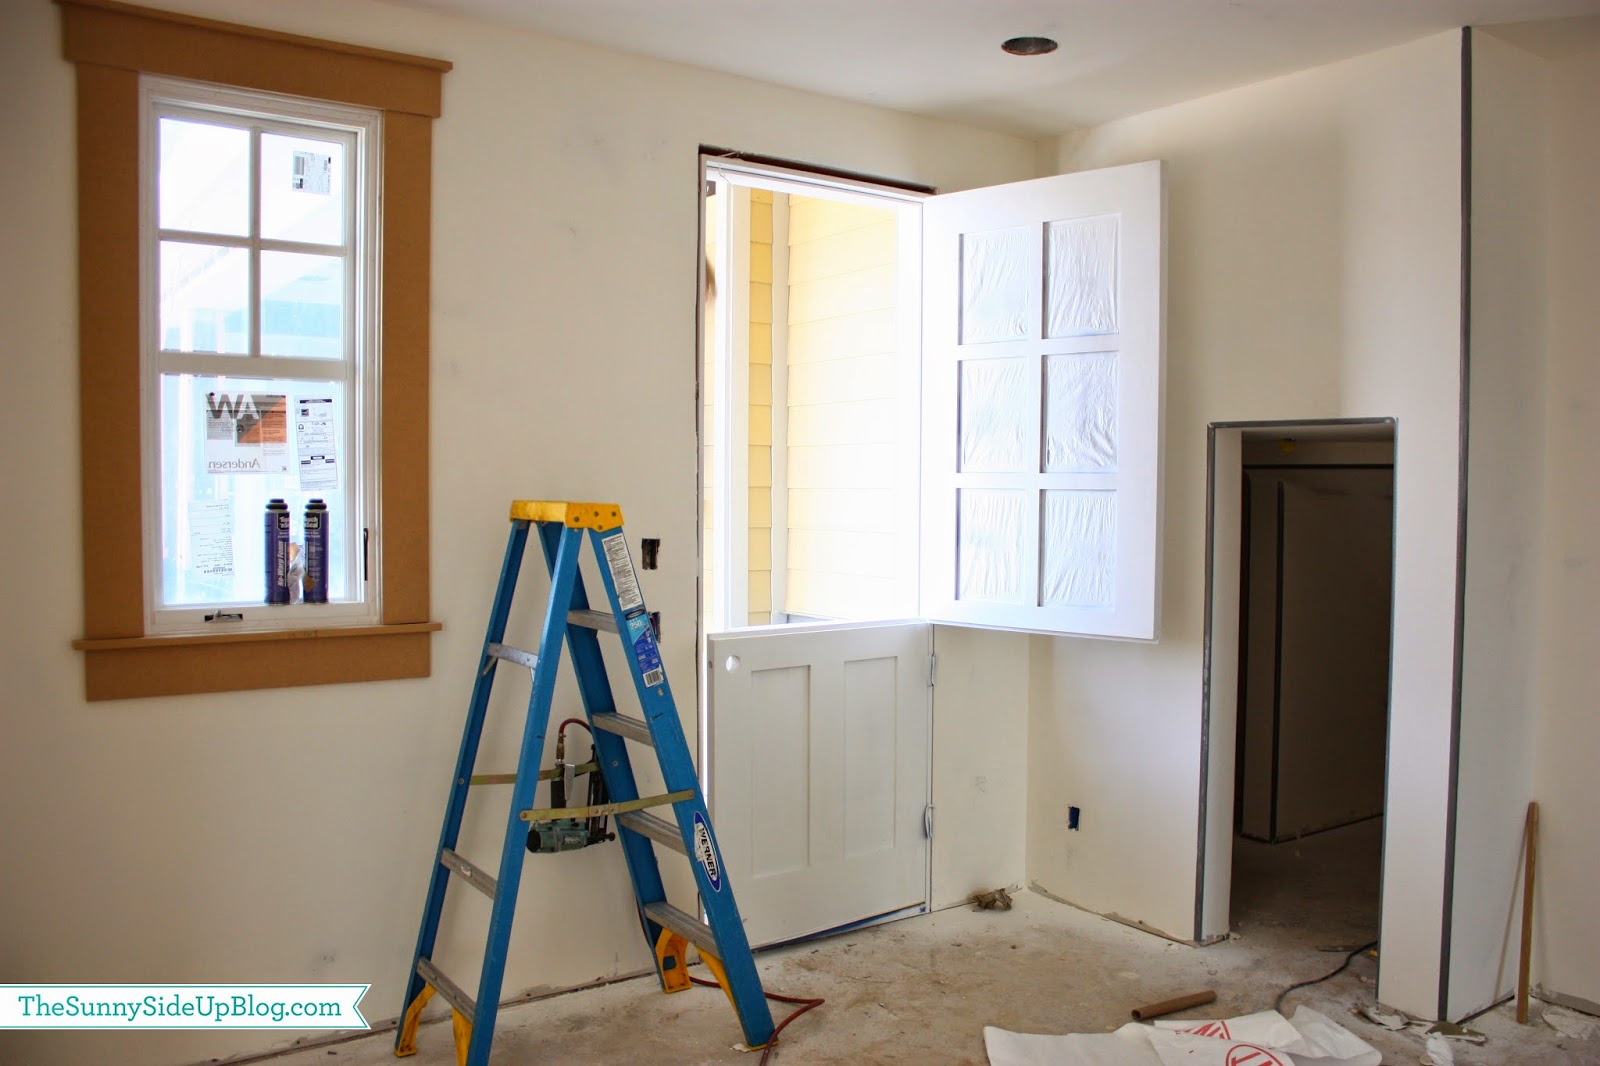
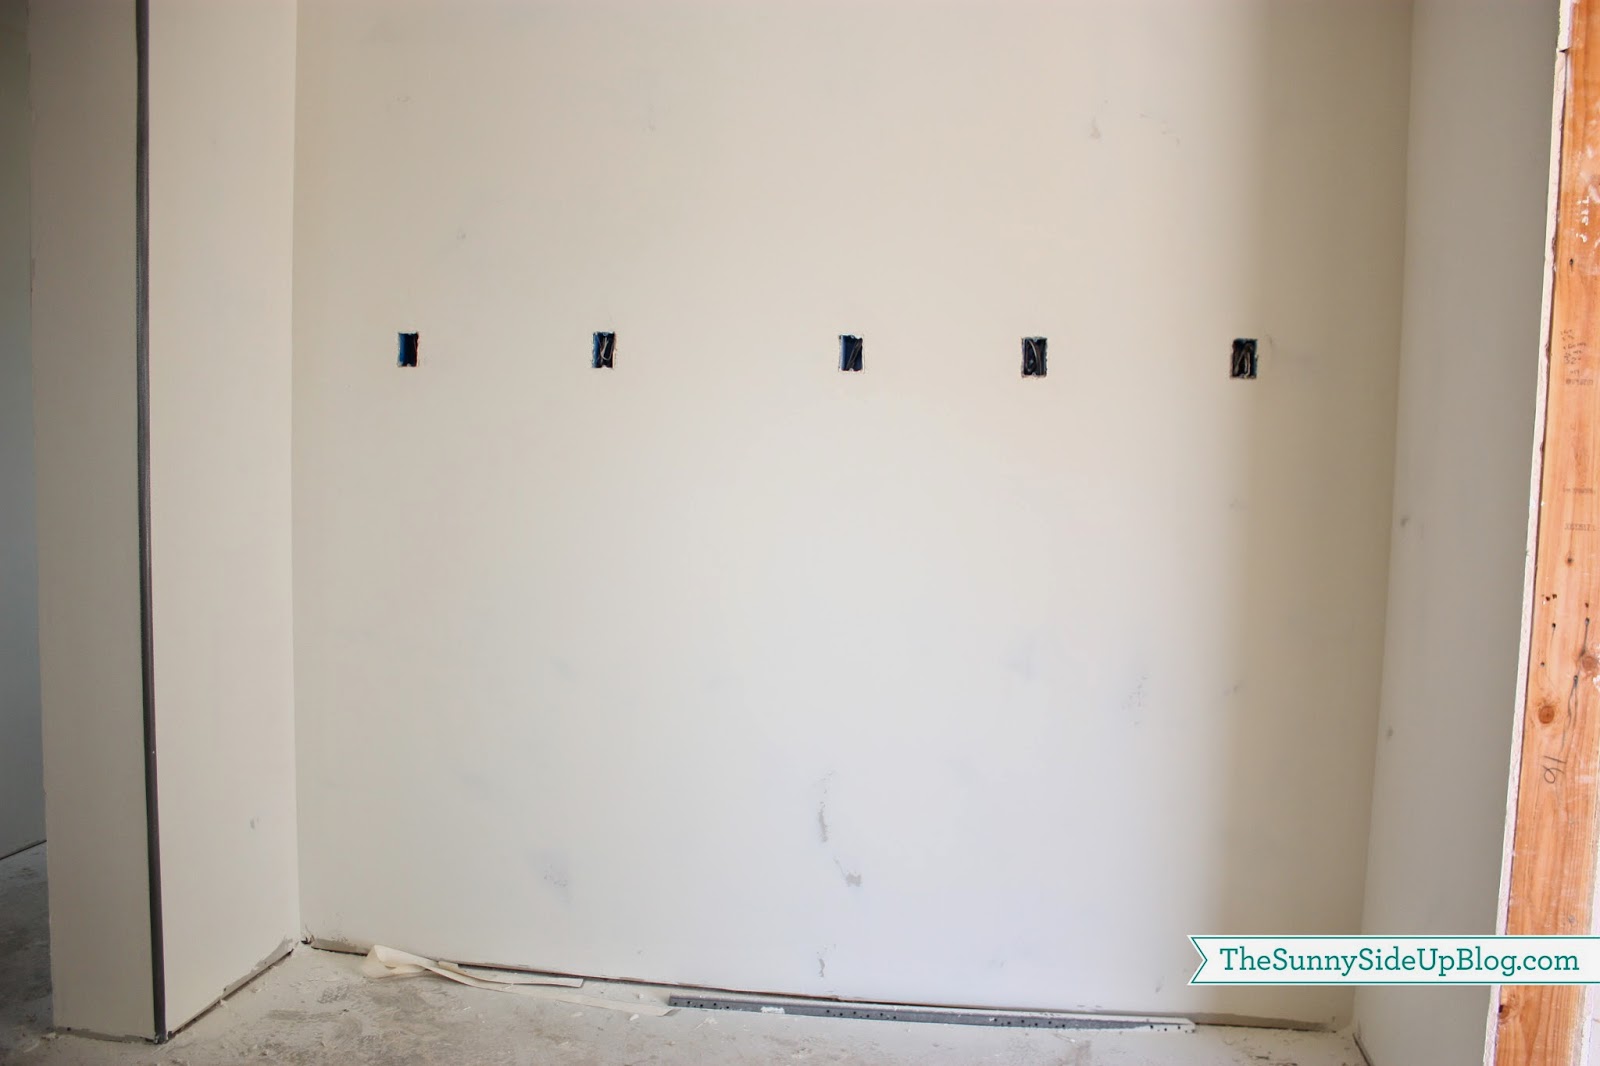
Remember this work in progress picture? :)
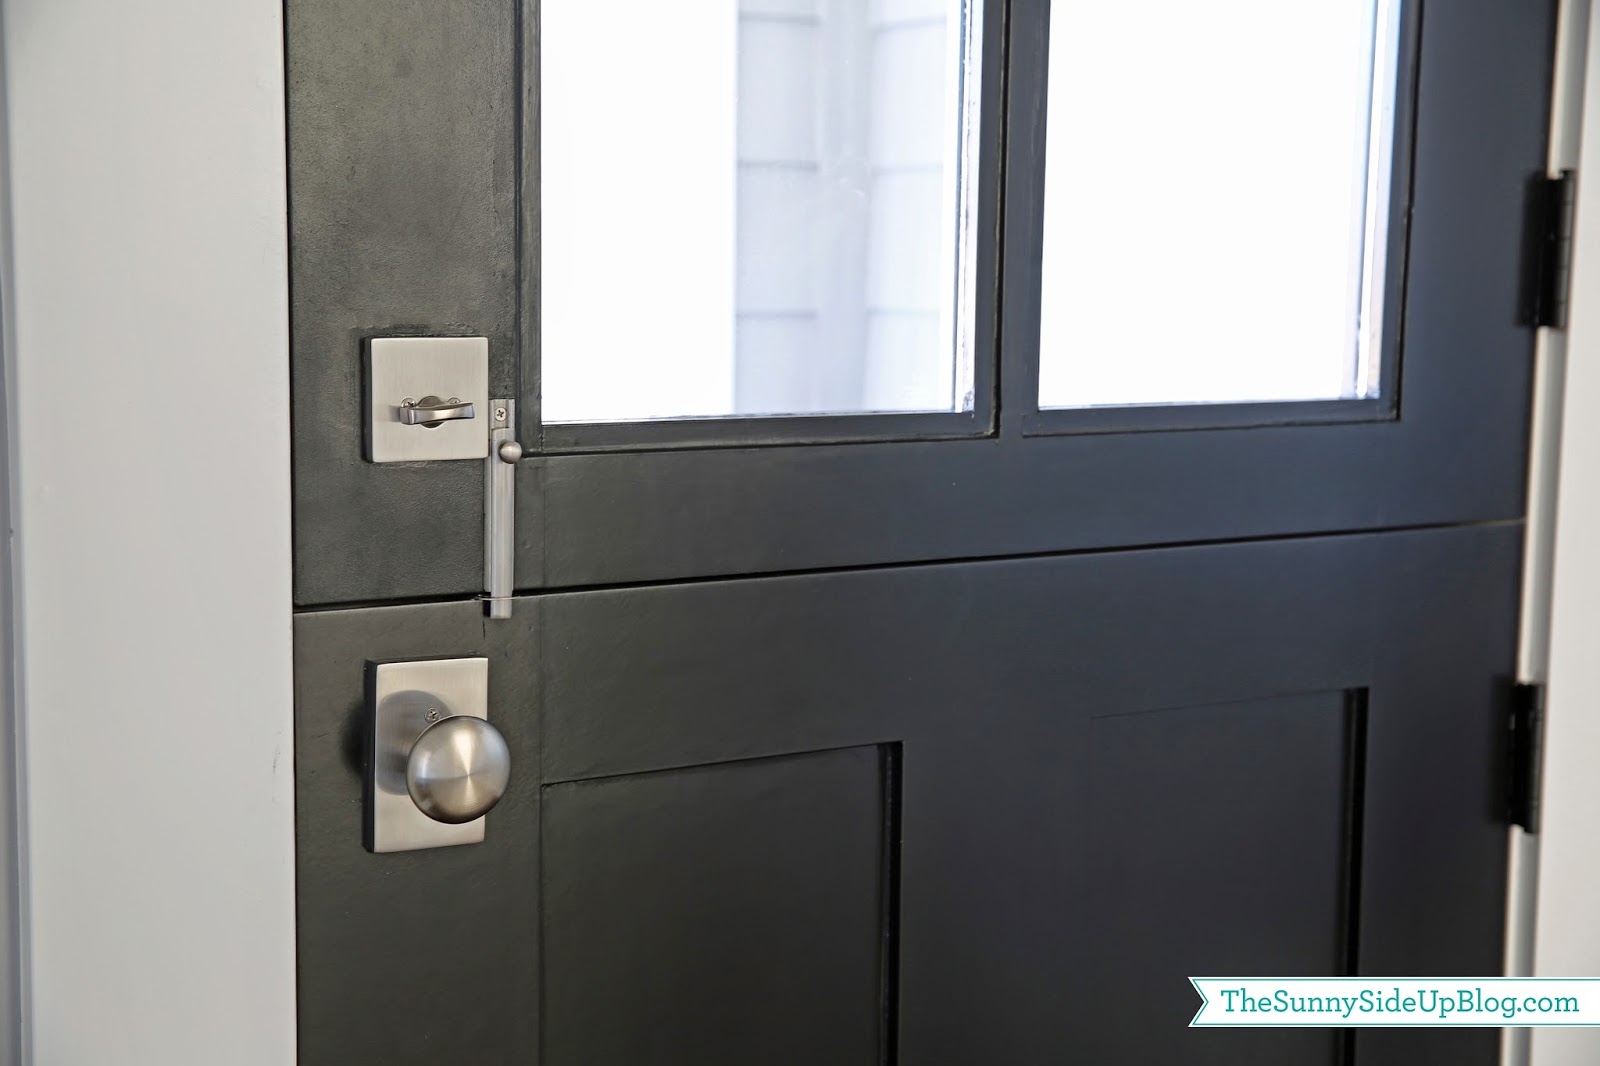
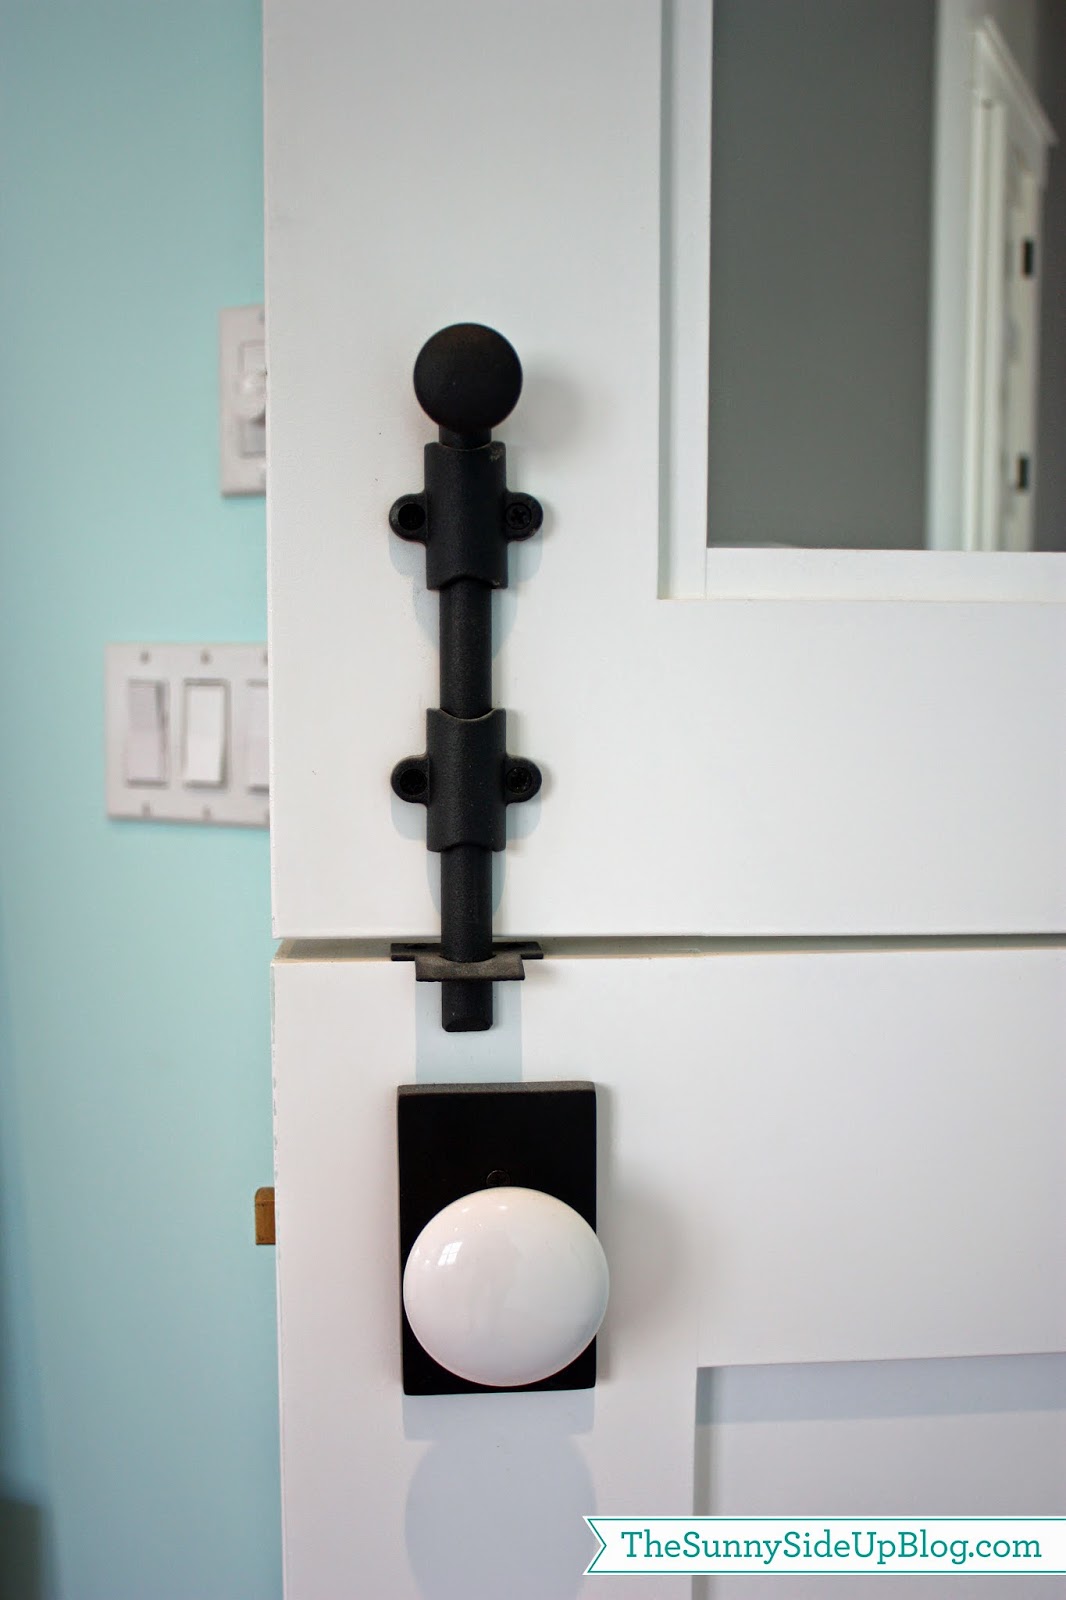
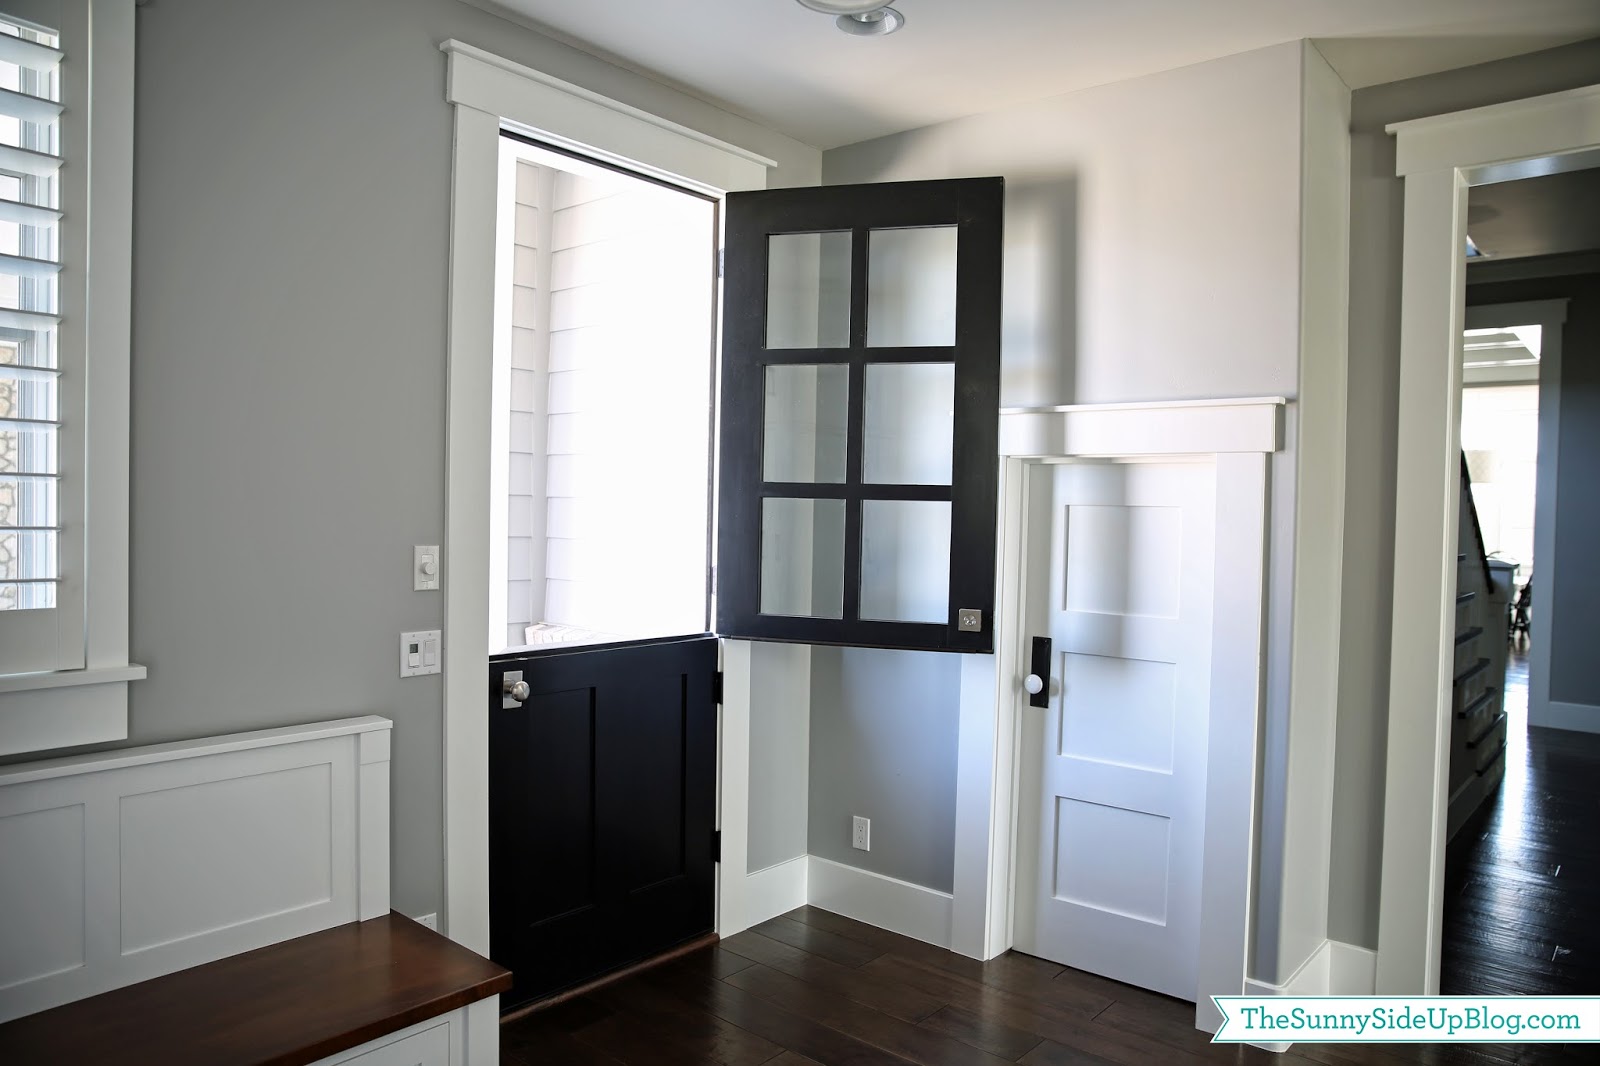
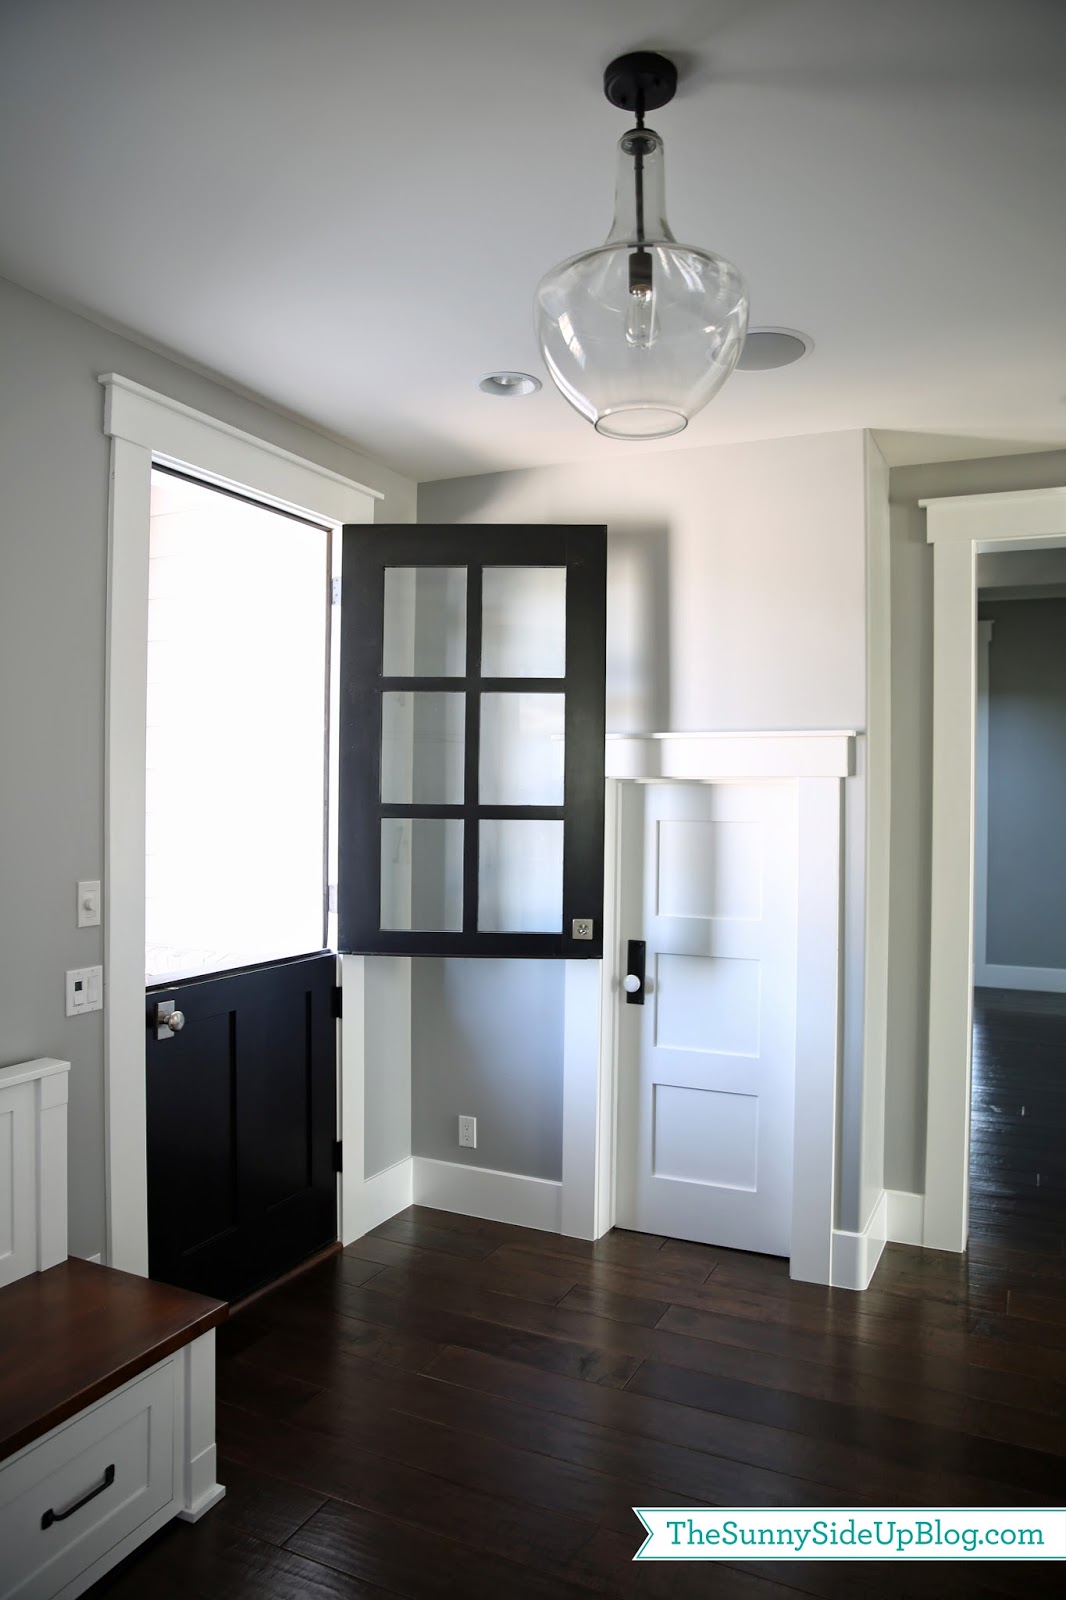
Here it is finished! You also might remember an older post when I talked about my decision to add the dutch door back into the plans. So glad I did! It was in the plans in the beginning, then I took it out of the mudroom and added another window and a longer bench. But I couldn’t stop thinking about my dutch door (I have loved them for so long) so back in the plans it went.
I decided to paint it black. We have three doors that are visible from the front of our house (front door and two side doors off the porch) and they are all painted black to match our shutters.
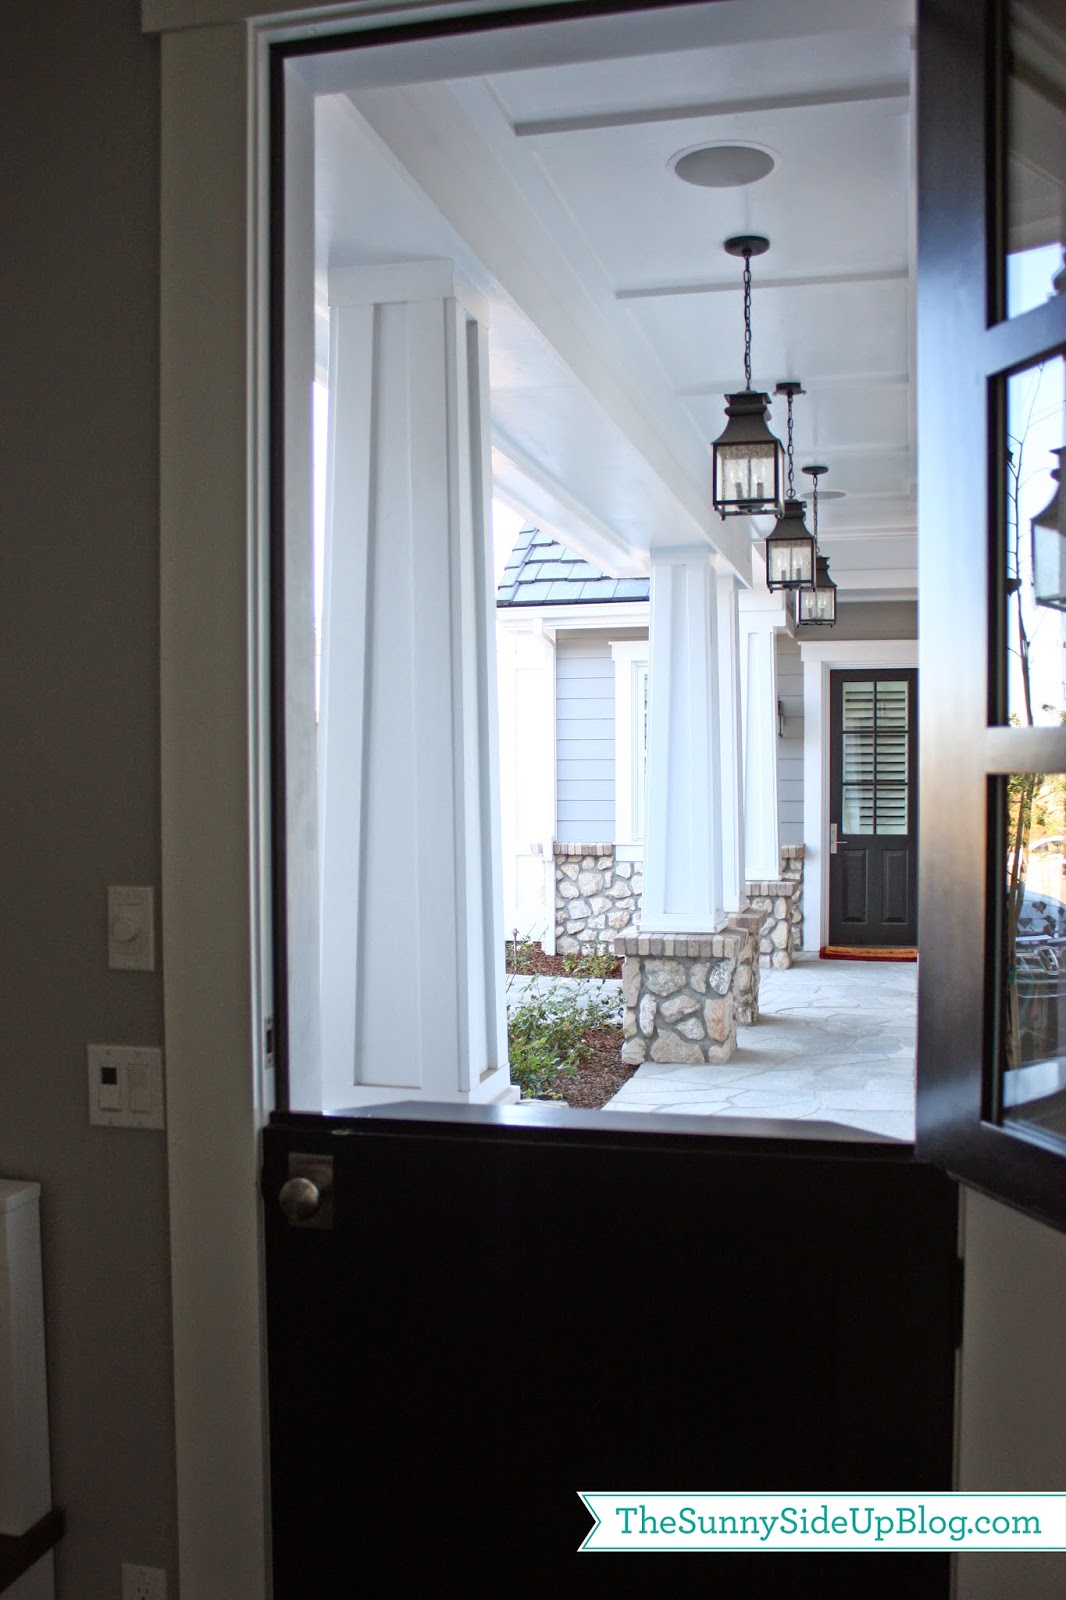
A view of the porch with my hanging lanterns. I love to leave the top half of this door open to let in our coastal breeze. Someday I might be courageous enough to paint all of the doors and shutters a fun bright color, but for now I love the classic contrast the black makes with our grey paint.
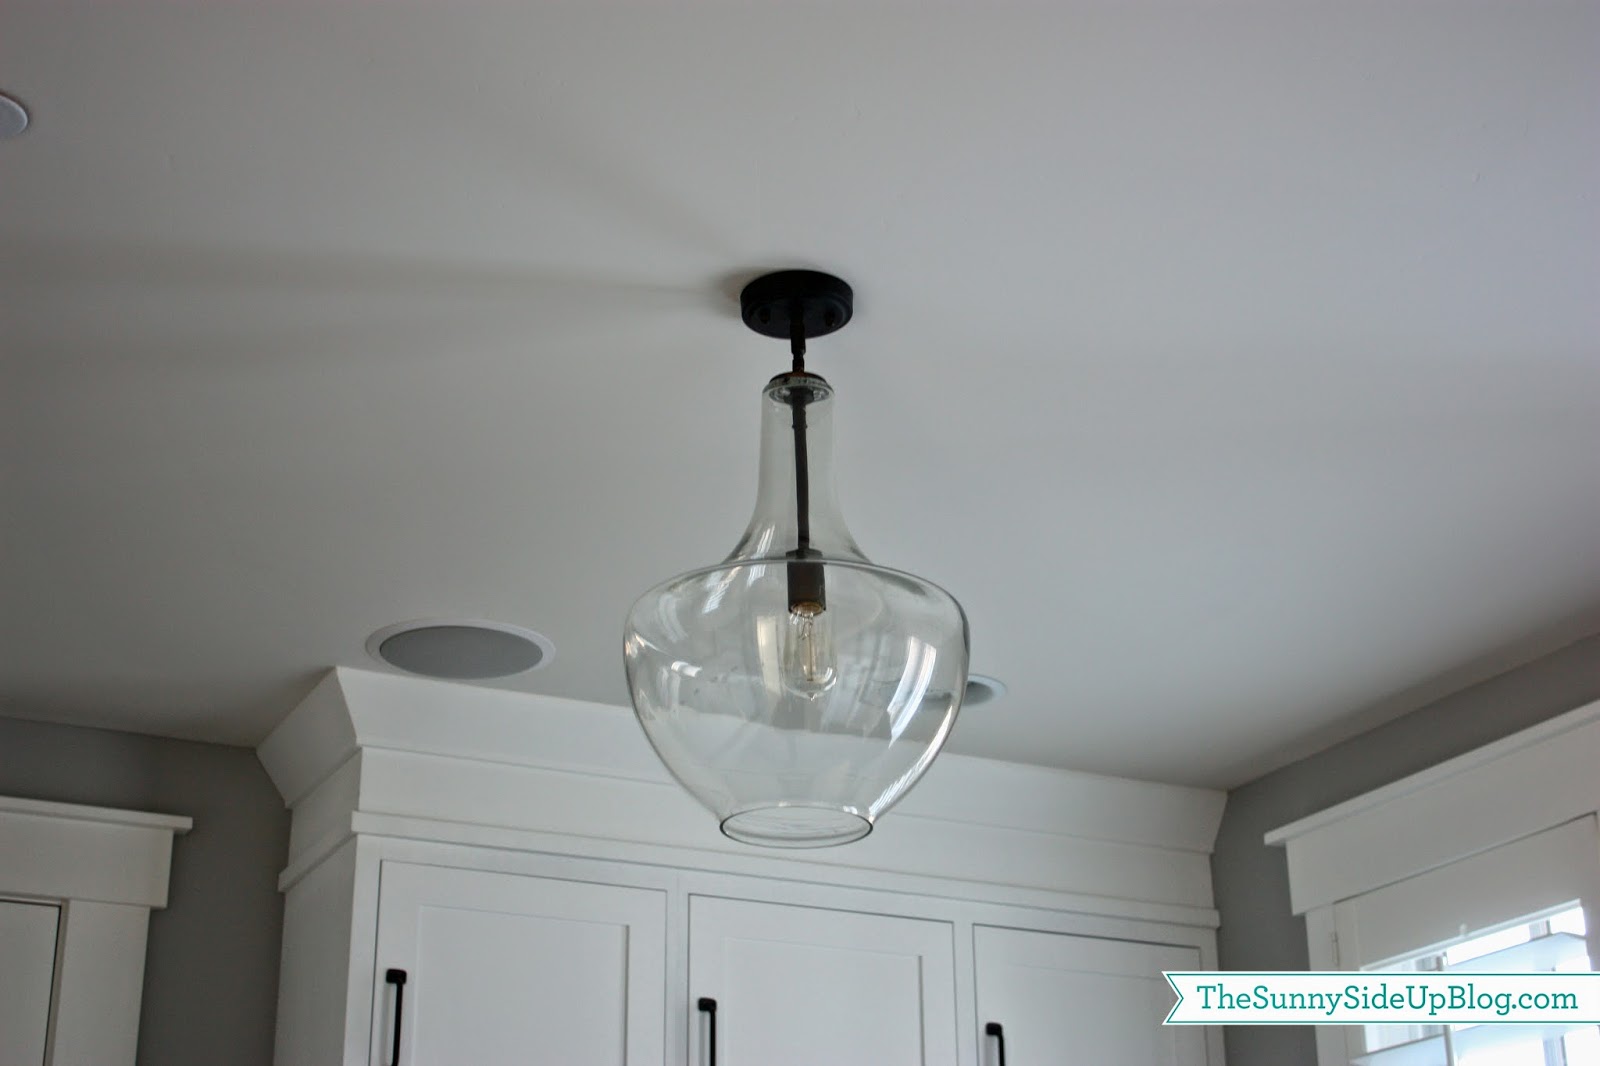
I went with a clear glass fixture for this space (similar to a lot of my other lights).
The little white door (which I lovingly call my hobbit door) is a small closet. We had so much room under our stairs that I made two little walk in spaces out of them for storage. I keep our luggage in this one off of the mudroom.
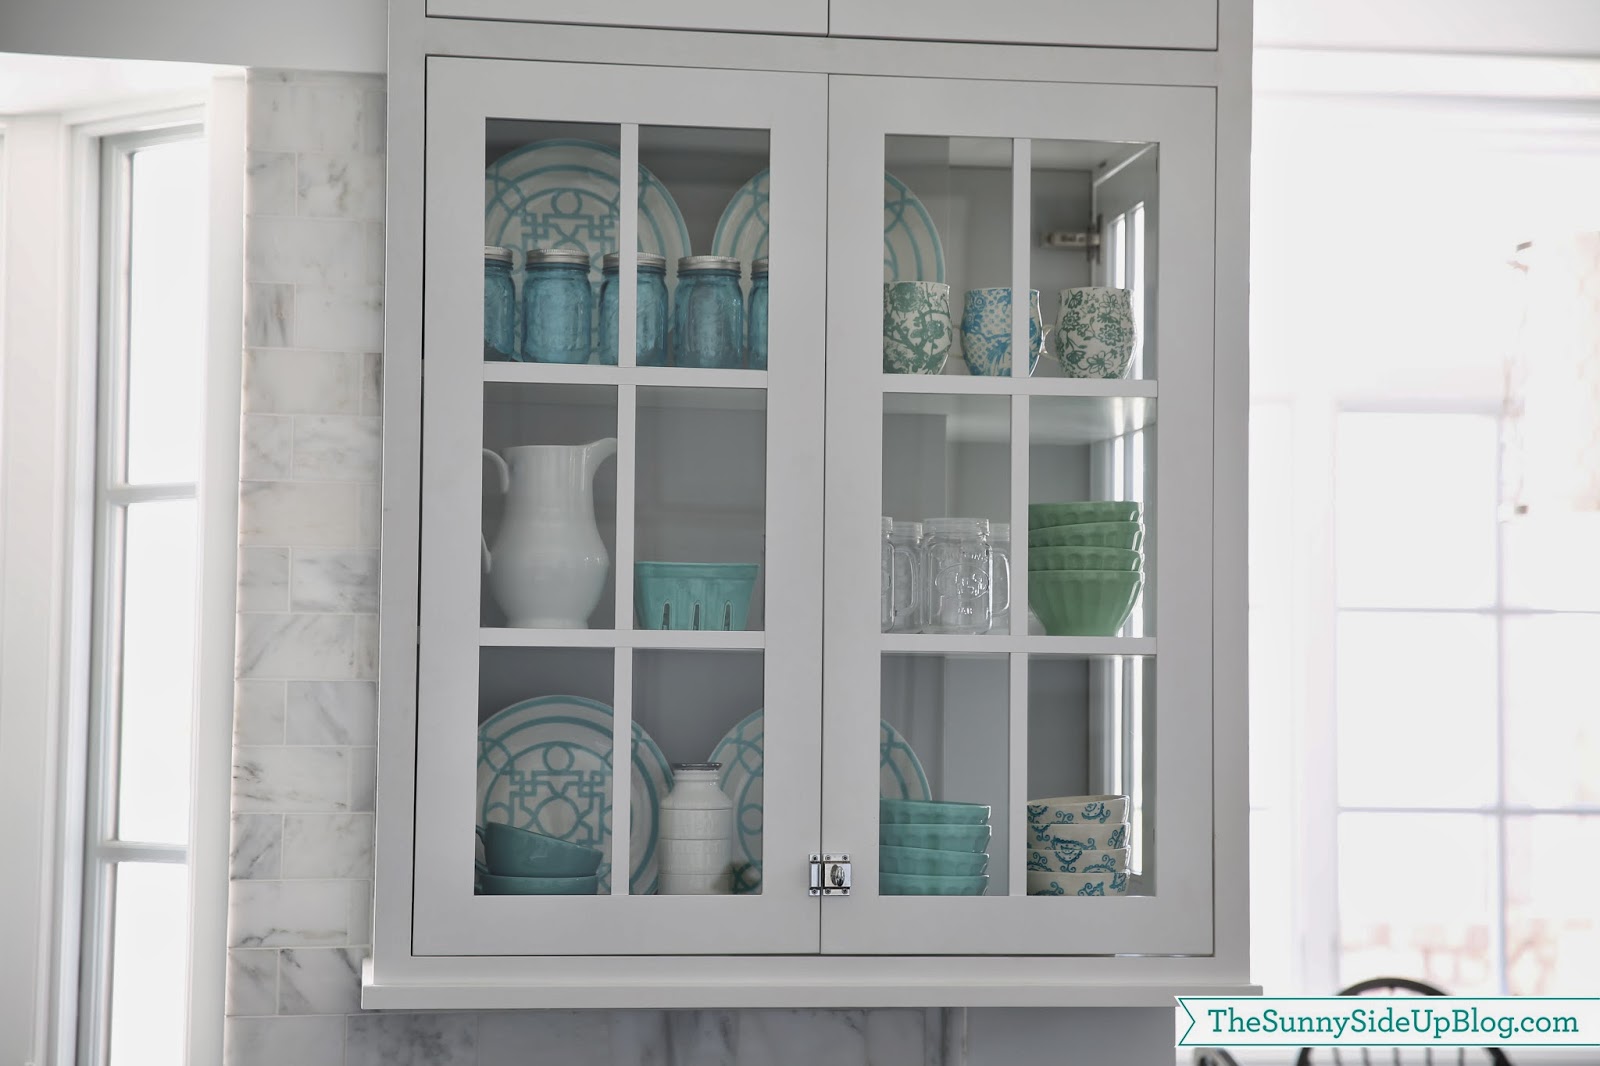
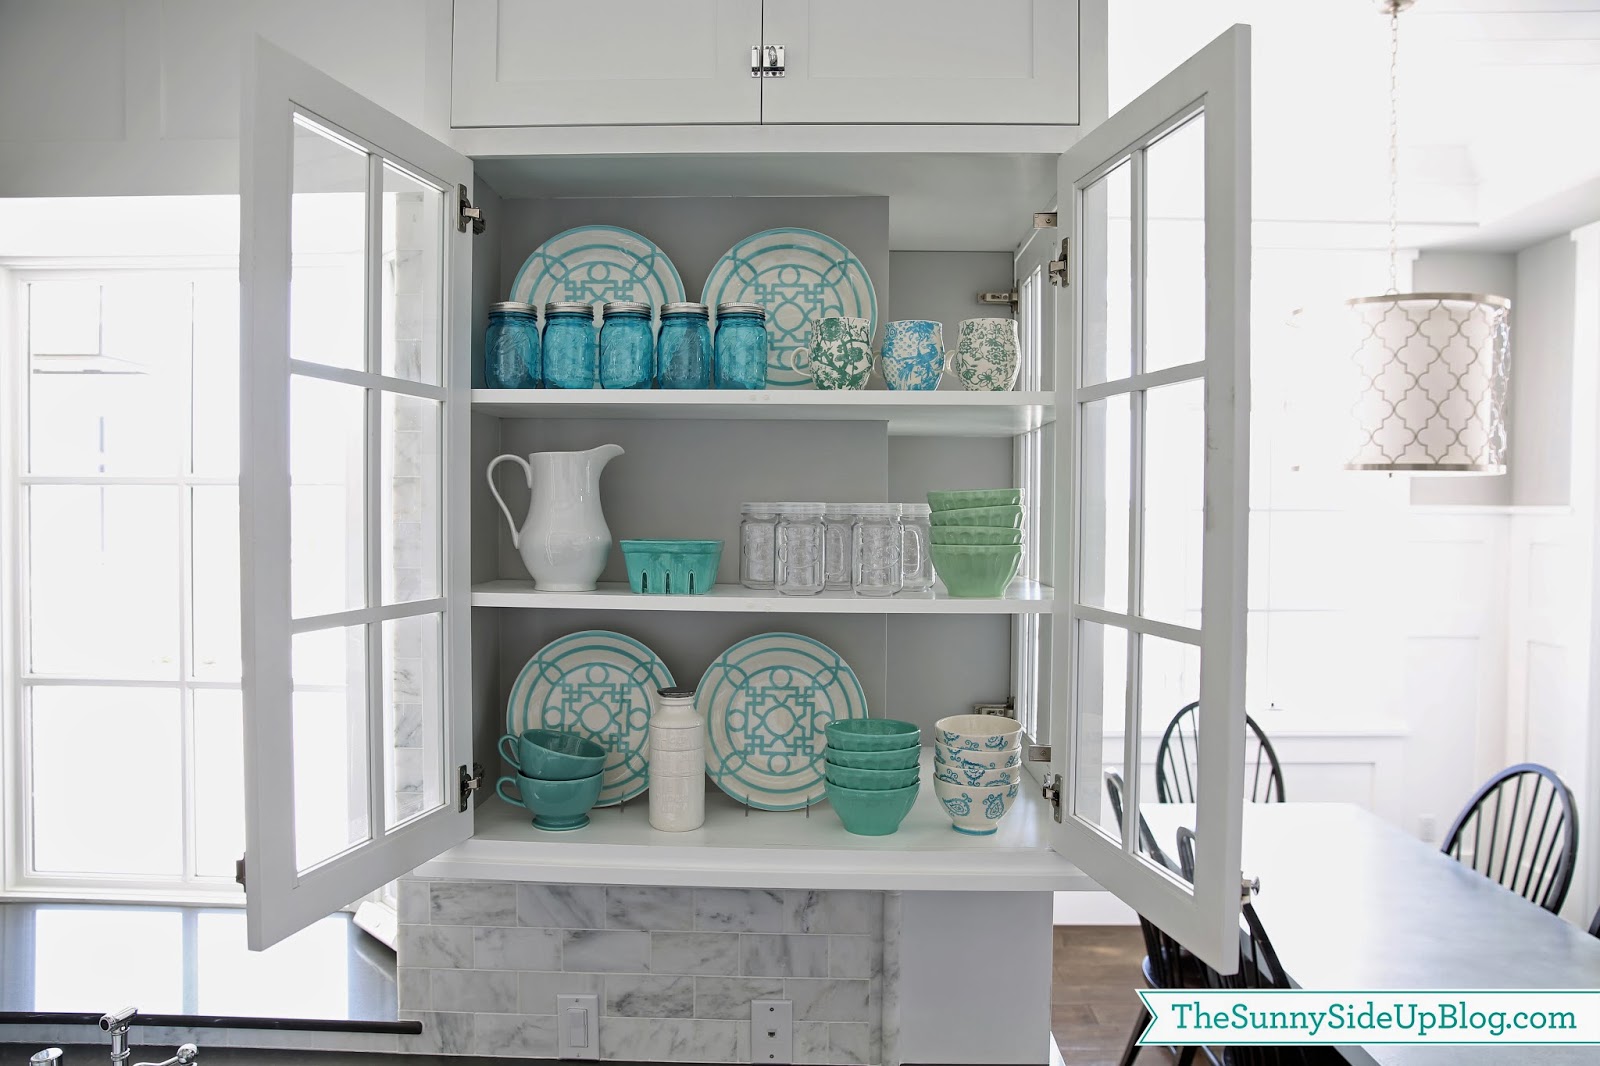
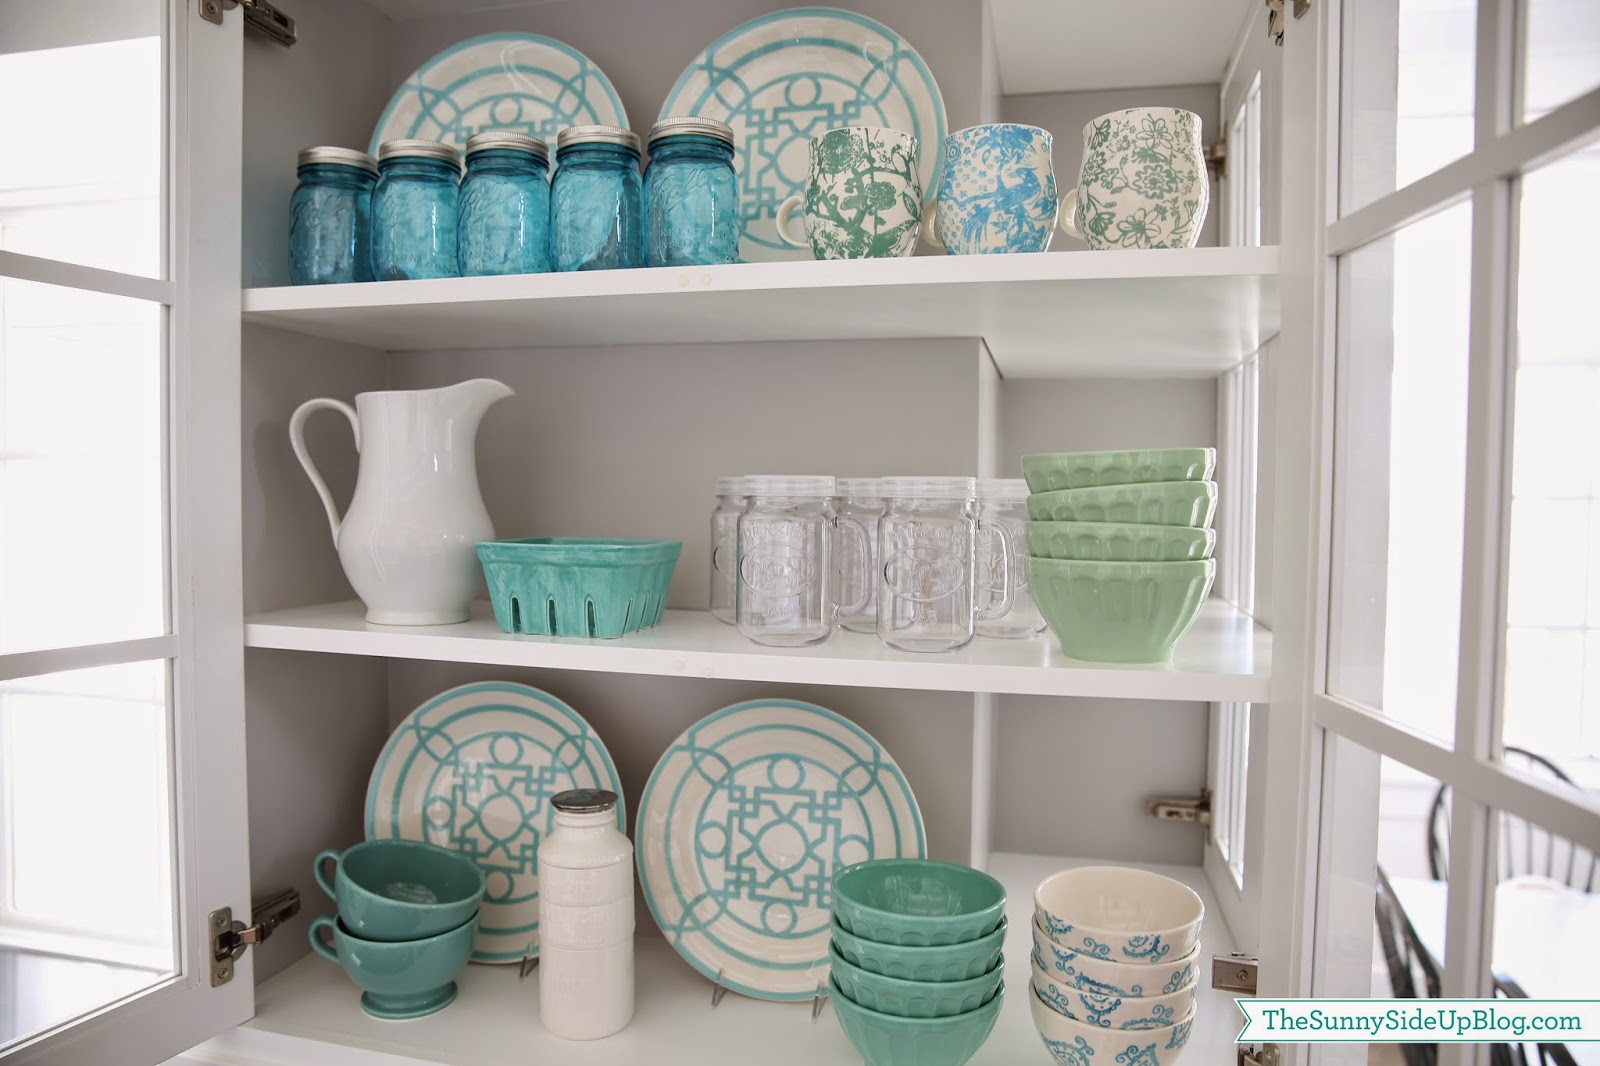
Ok. Are you ready to see what’s happening inside of the lockers?
Are the heavens opening and angels singing!? :) Oh the joy of organization and having a place for all things! A few close ups…
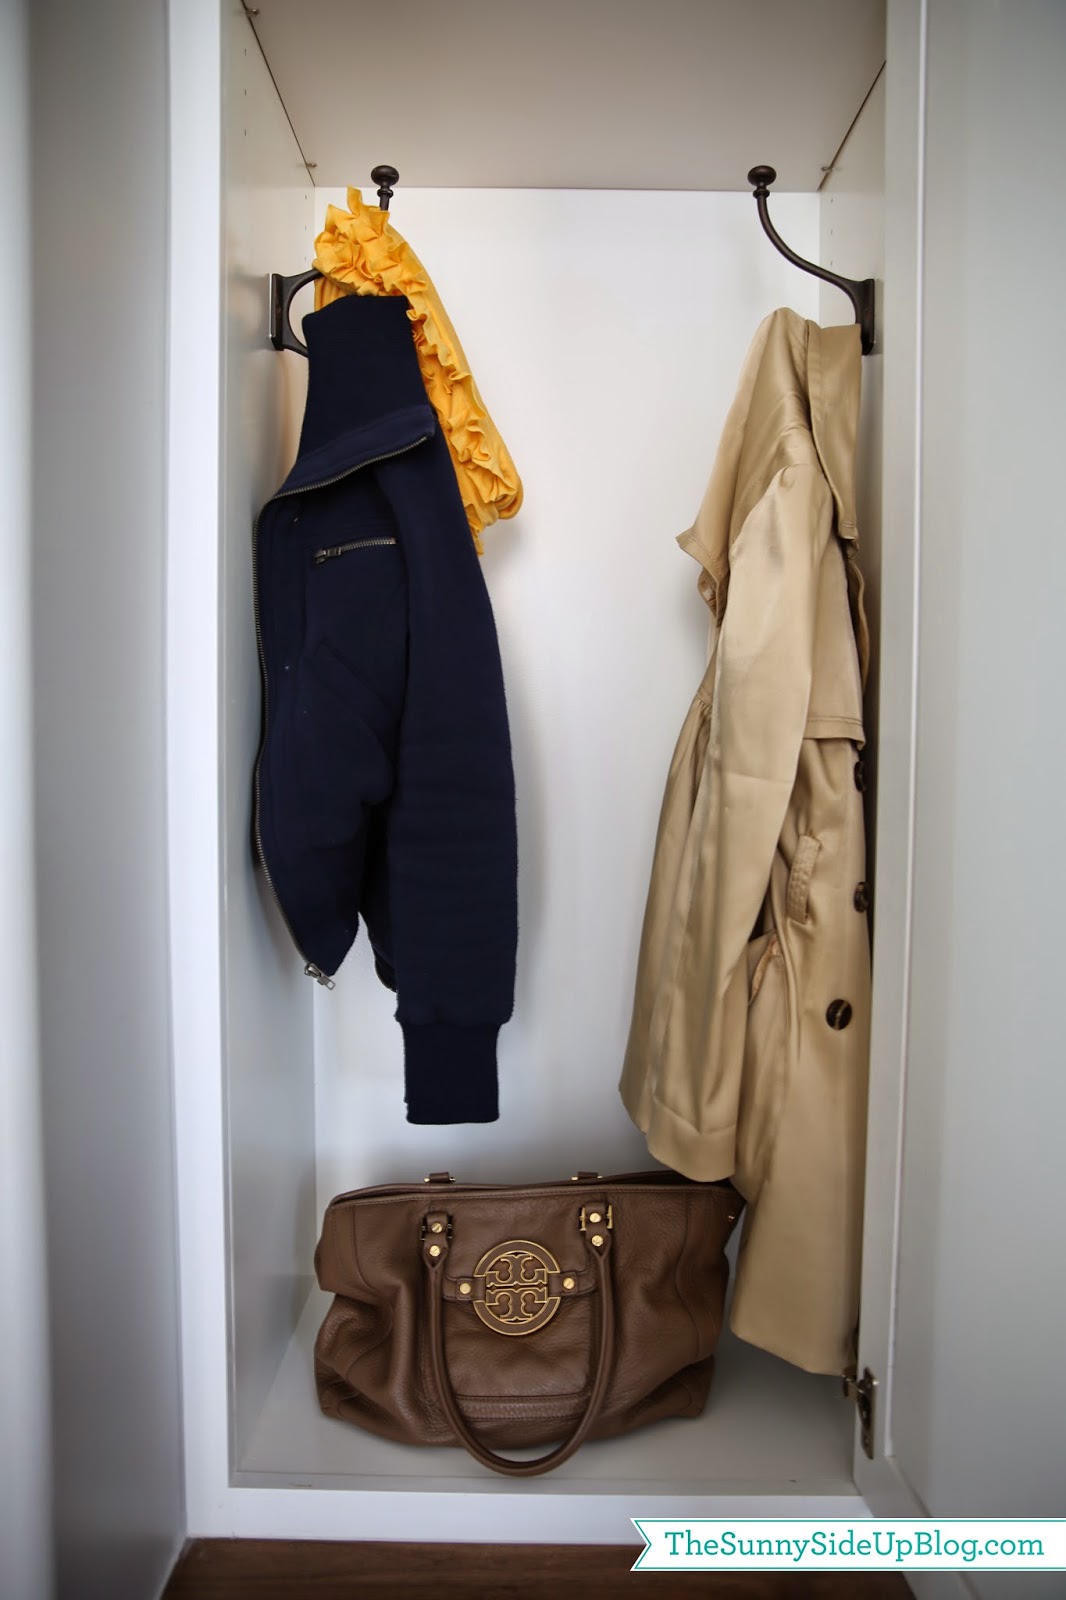
I love actually having a place for my purse other than the kitchen counter. My locker holds often worn jackets and I usually have my gym bag hanging along with them but it was getting washed when I took this picture.
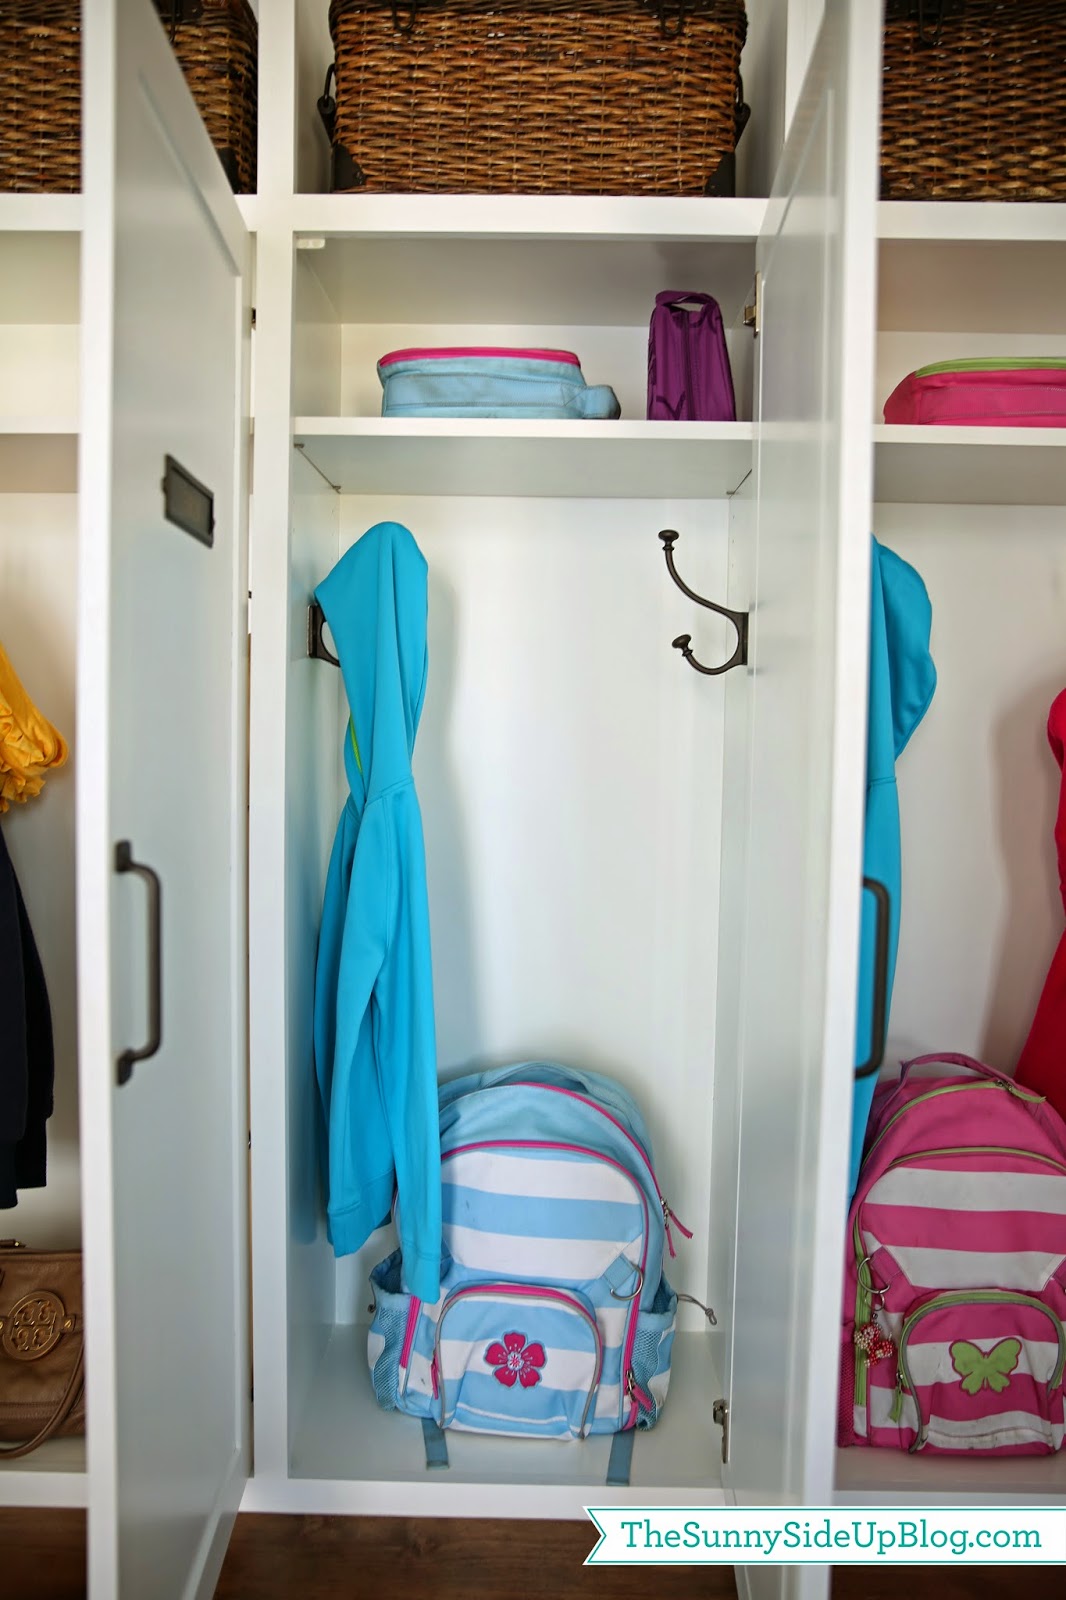
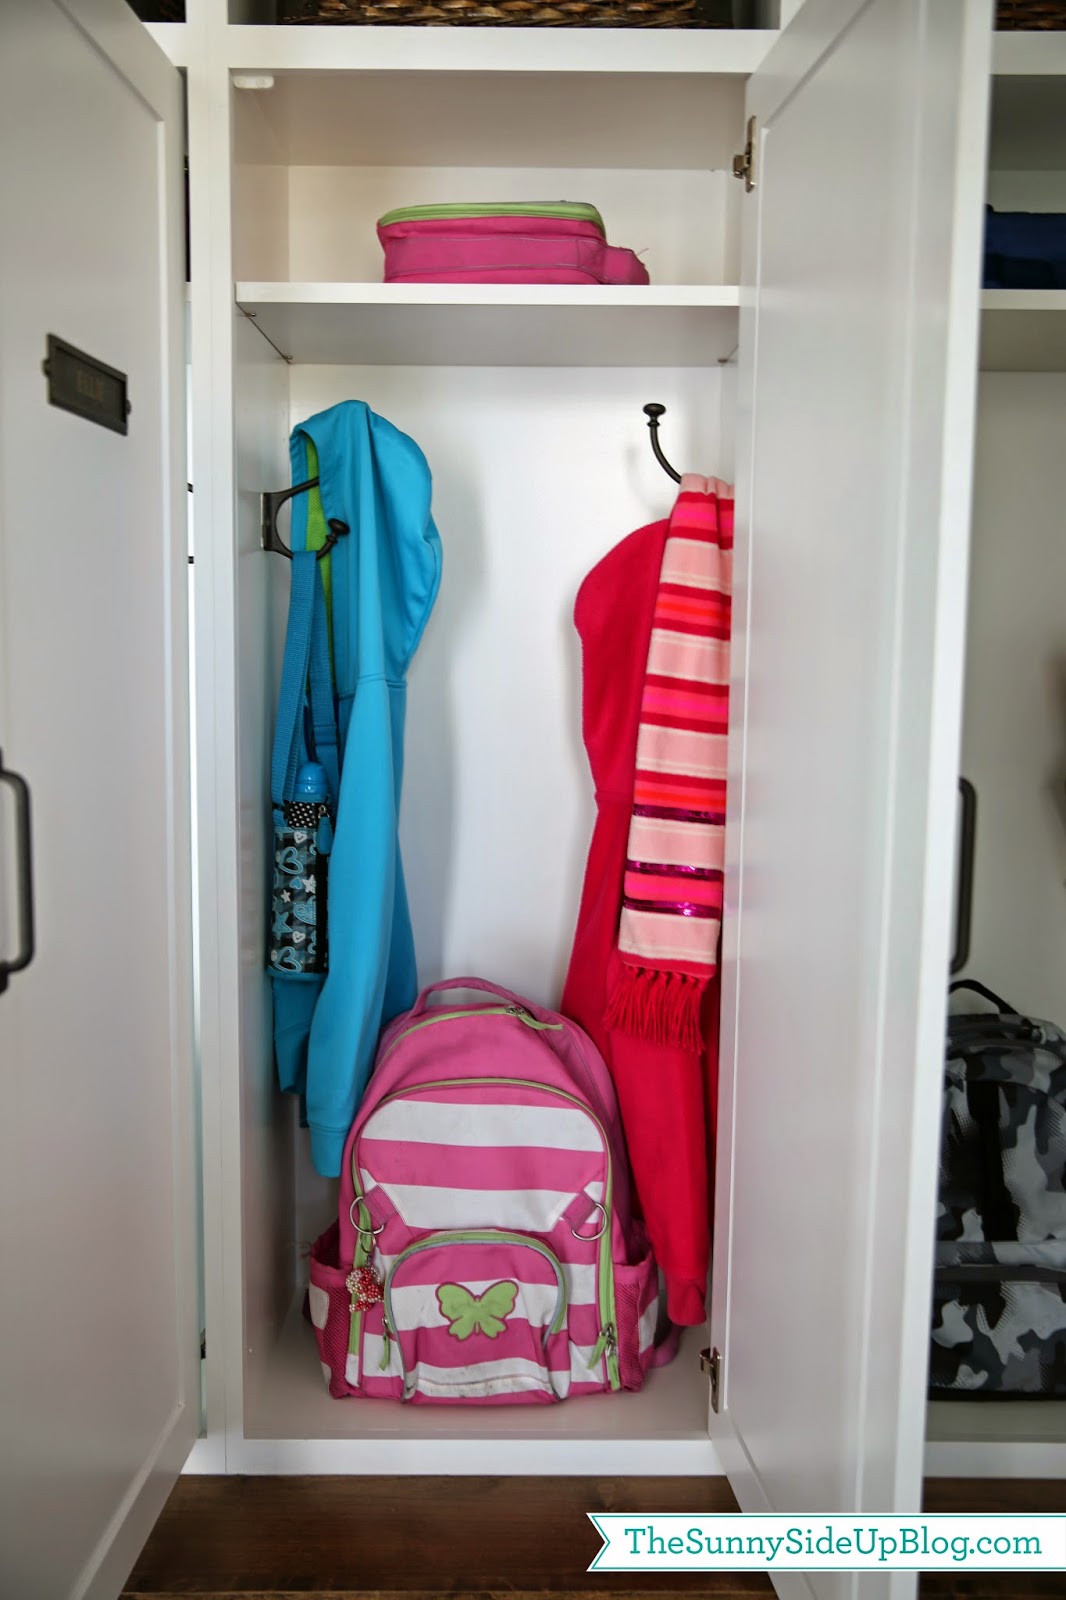
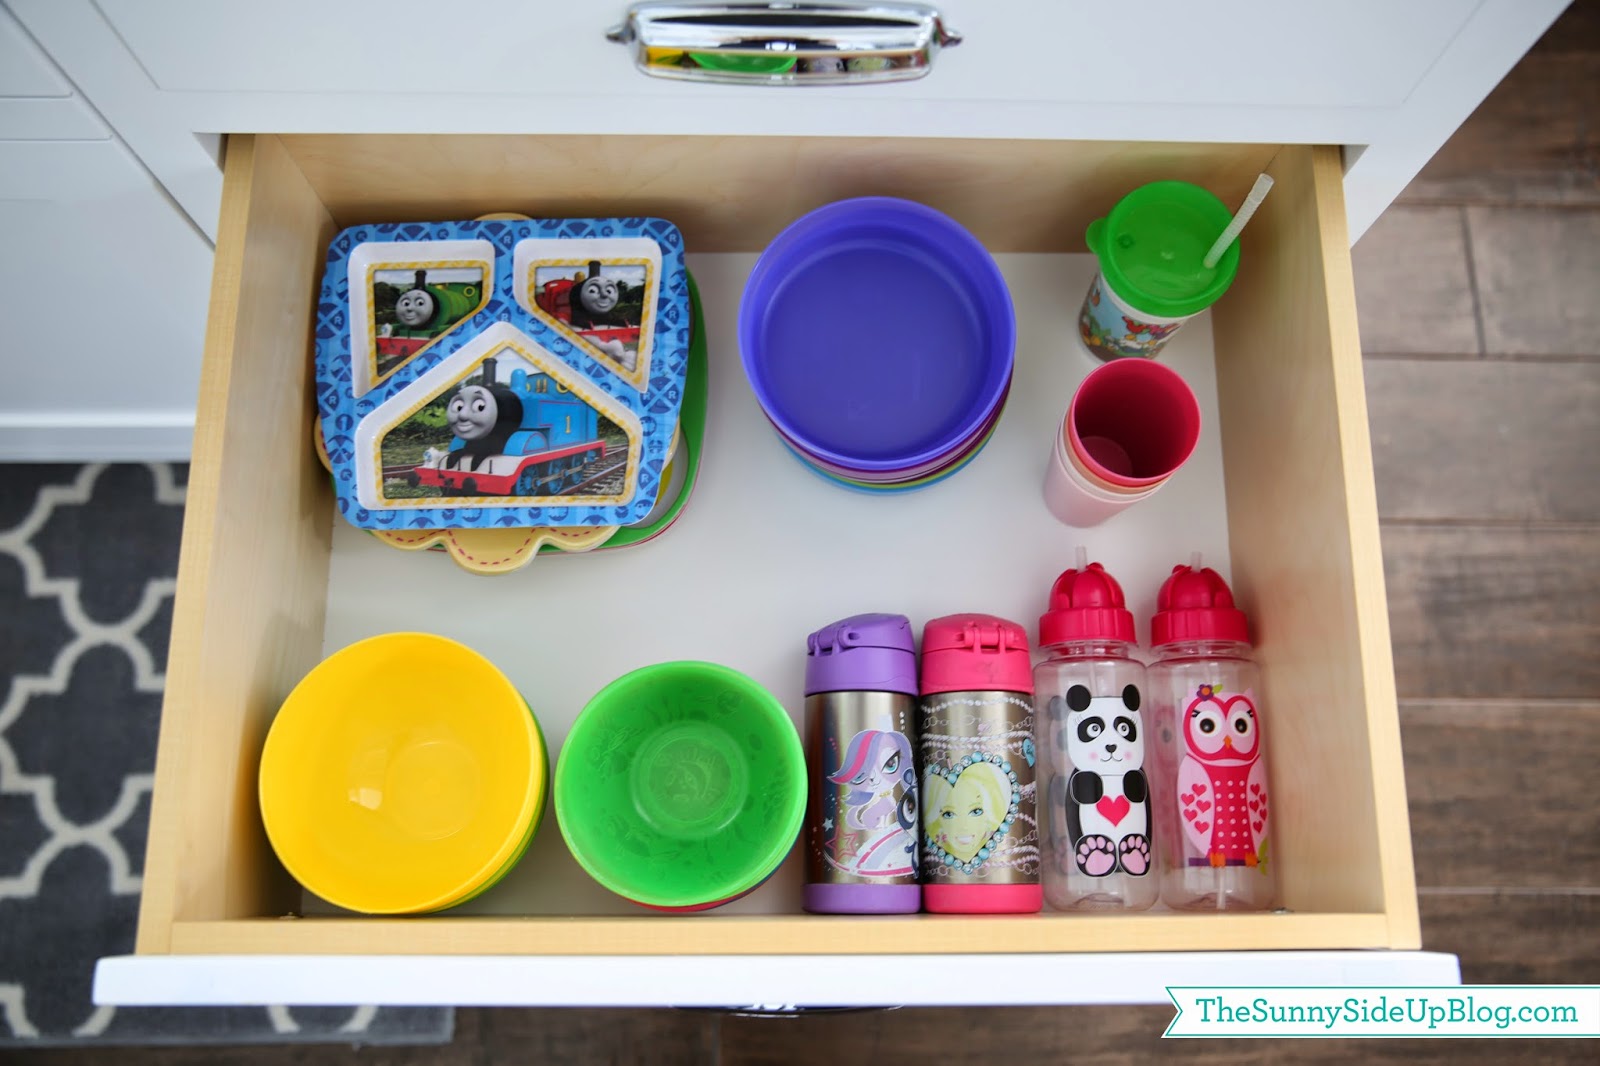
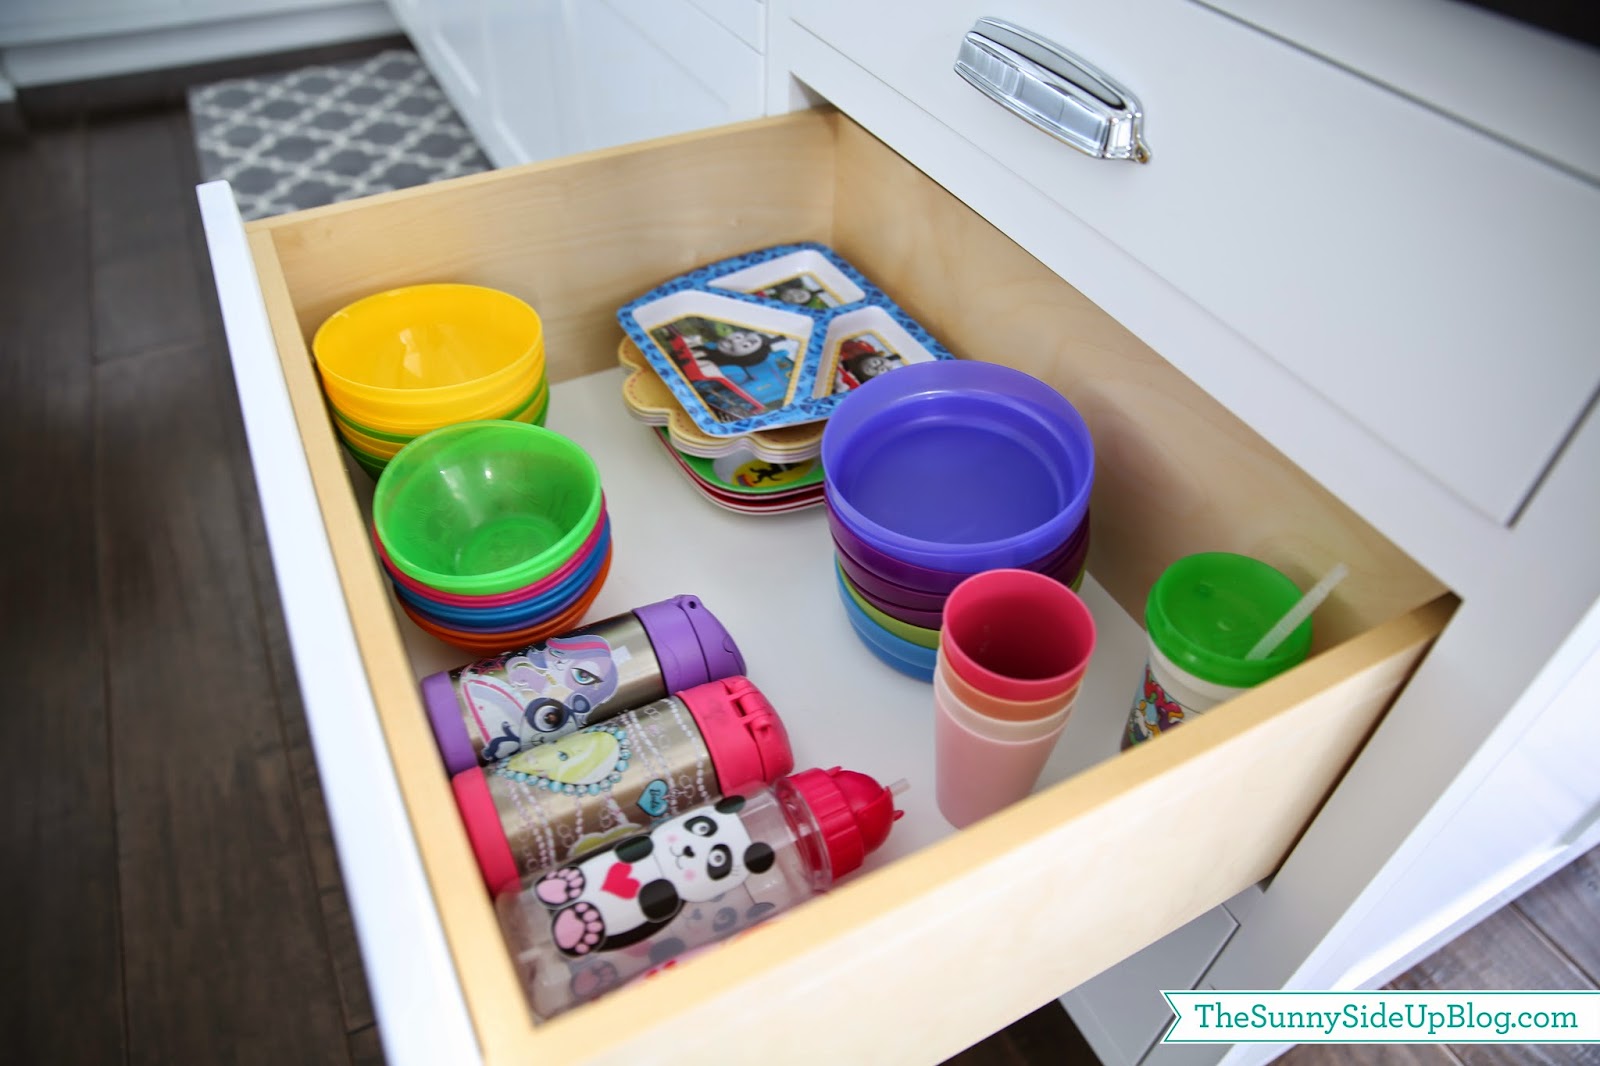
My kids backpacks are usually heavy with books so I just have the kids set them on the cabinet bottom vs. hanging them. Or they unload their books on the bottom and then hang the backpack. Lately I’ve been emptying their lunch boxes and keeping them on the shelf on top. I also thought this shelf could hold a tray for school work.
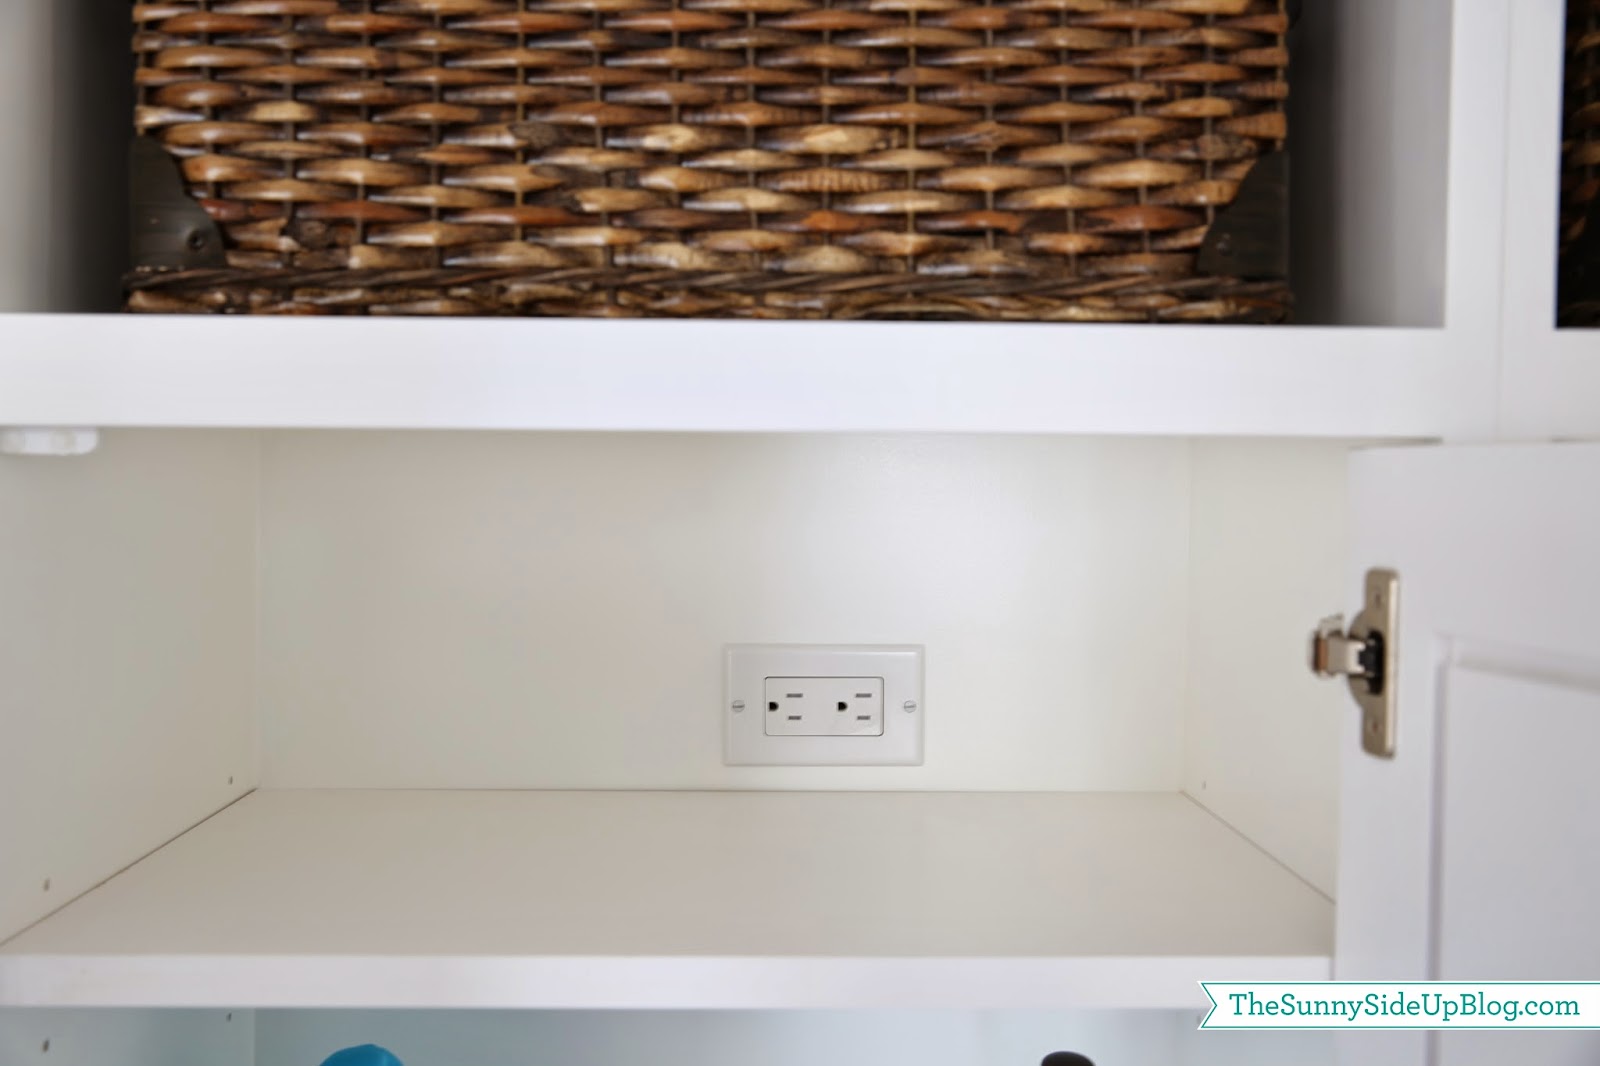
Remember this work in progress picture? I added a plug outlet just above each shelf.
This way when the kids are older and have cell phones they can also use these shelves as a charging station. So many options! Optionality. One of my favorite words. :)
Ad’s scarf makes me laugh because it’s never really cold enough here to need a heavy scarf, but she wears it anyway because it’s “sparkly and fashionable.” :)
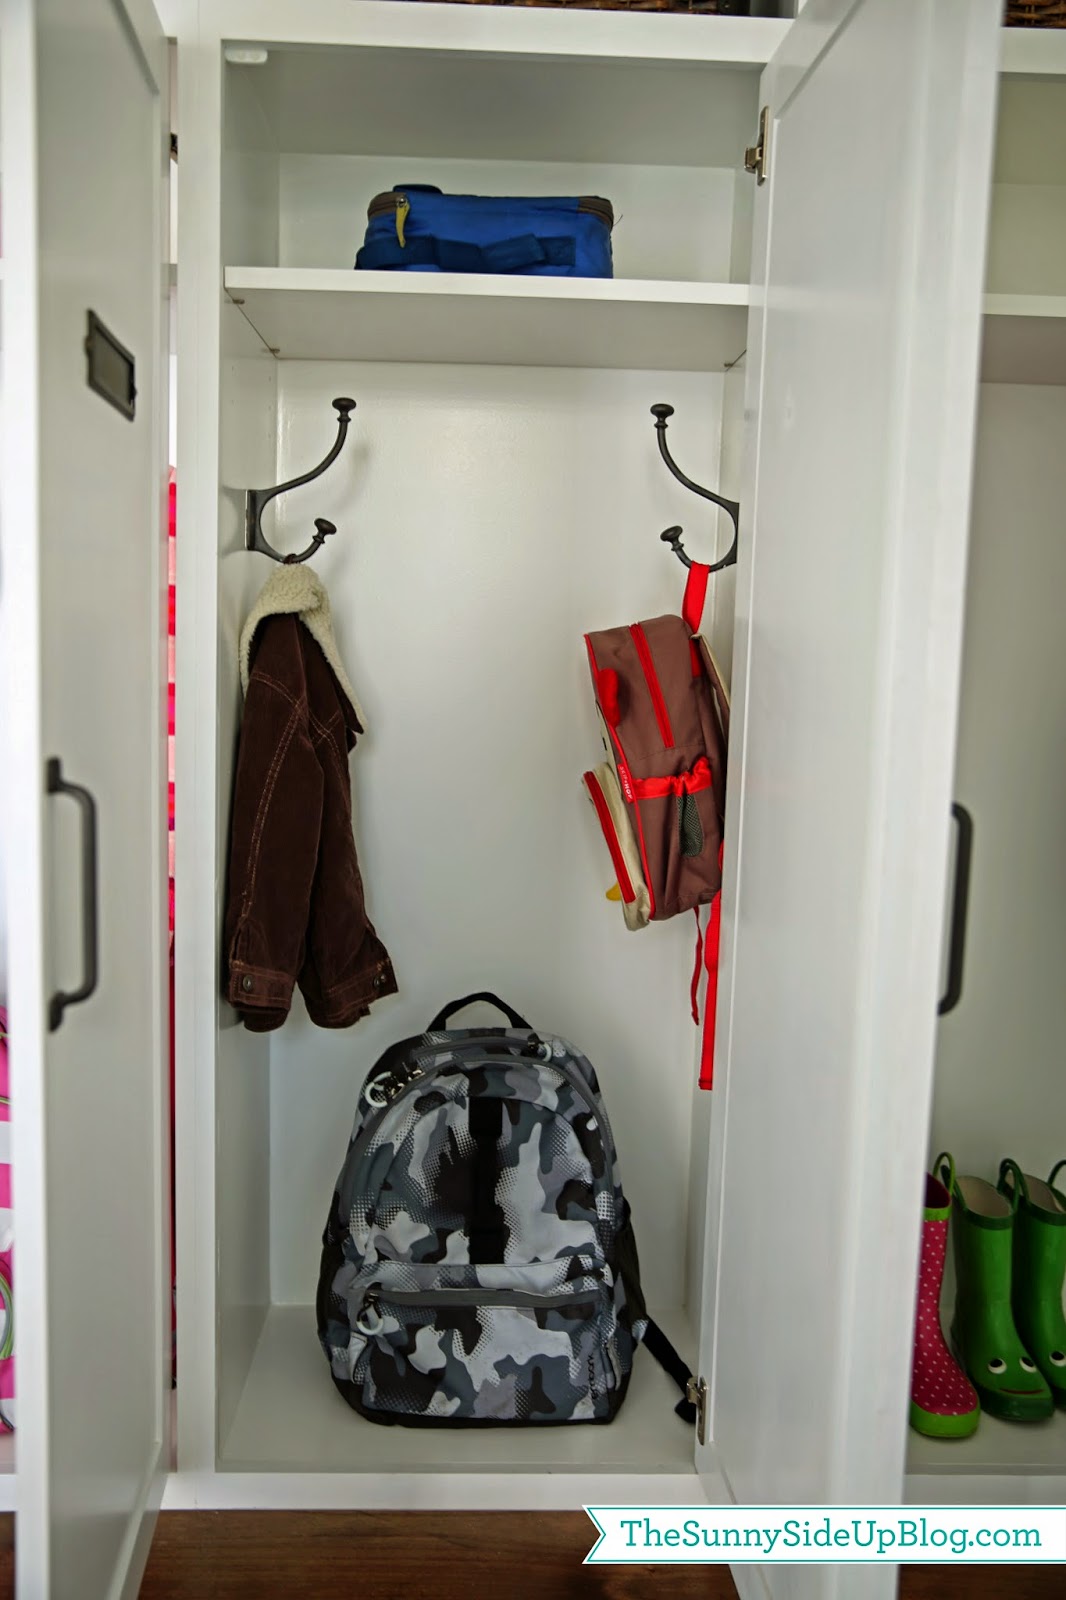
My little buddy’s locker.
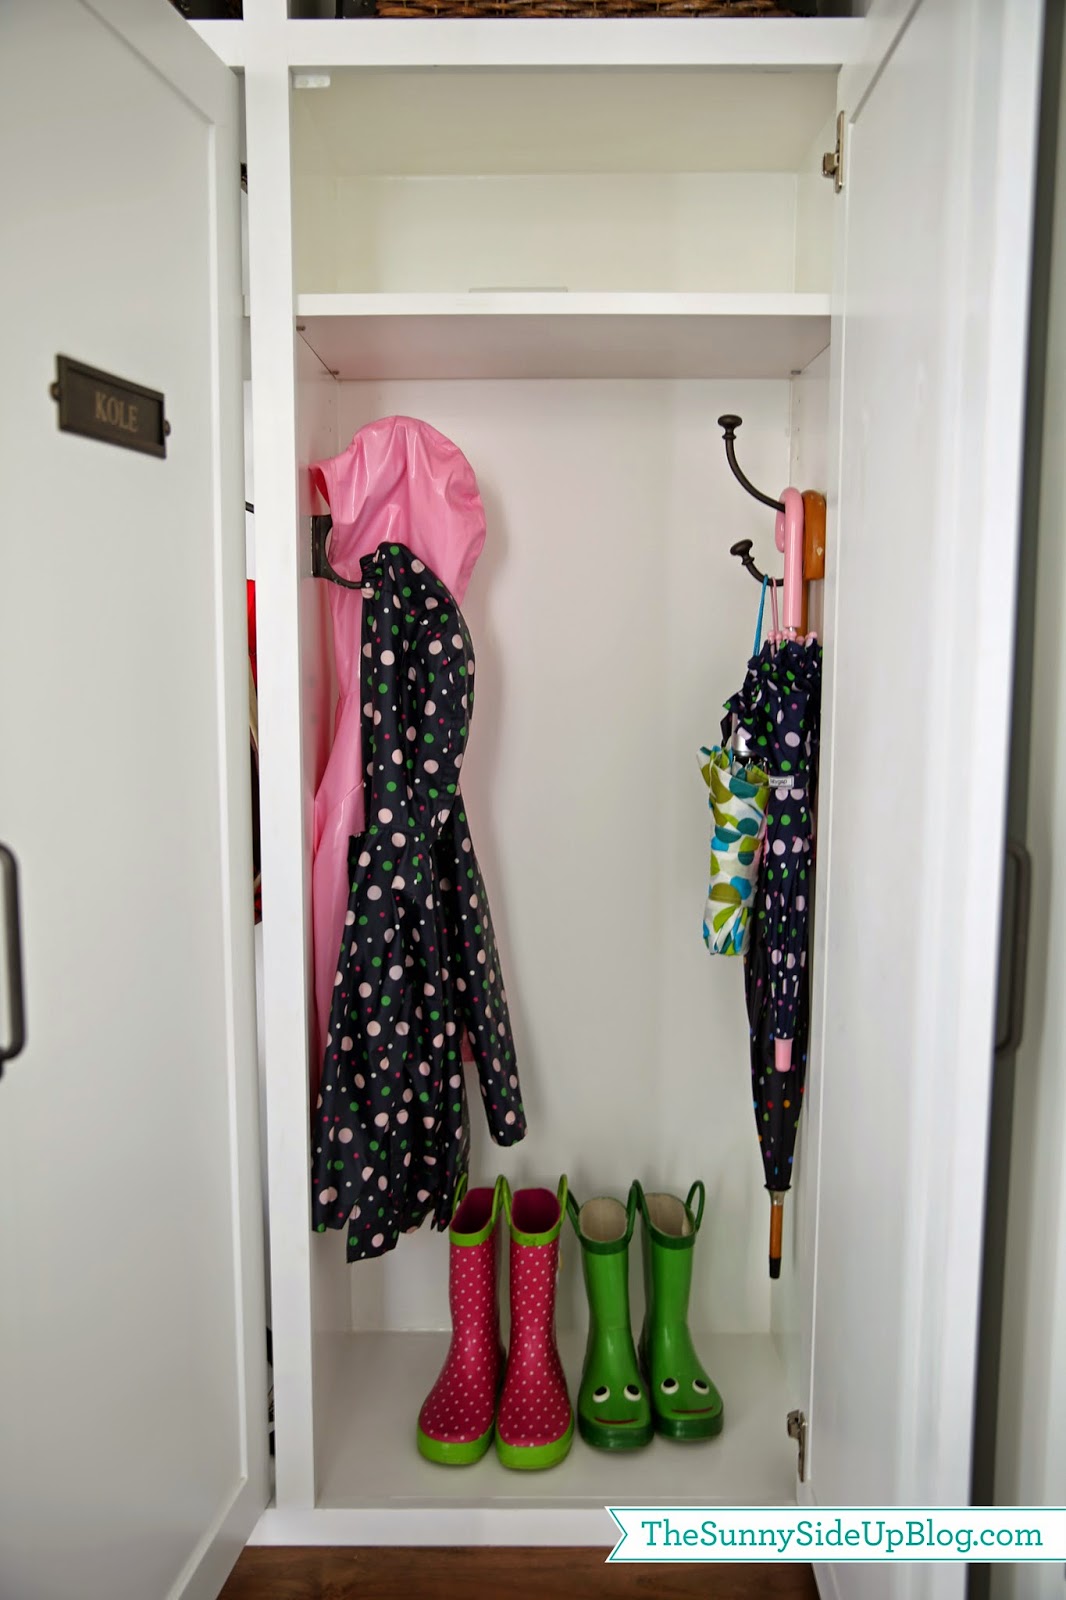
Kenny doesn’t use his locker so it’s currently holding our rain gear.
Although I think he needs to join the party and toss his briefcase in there with the frog boots. :)
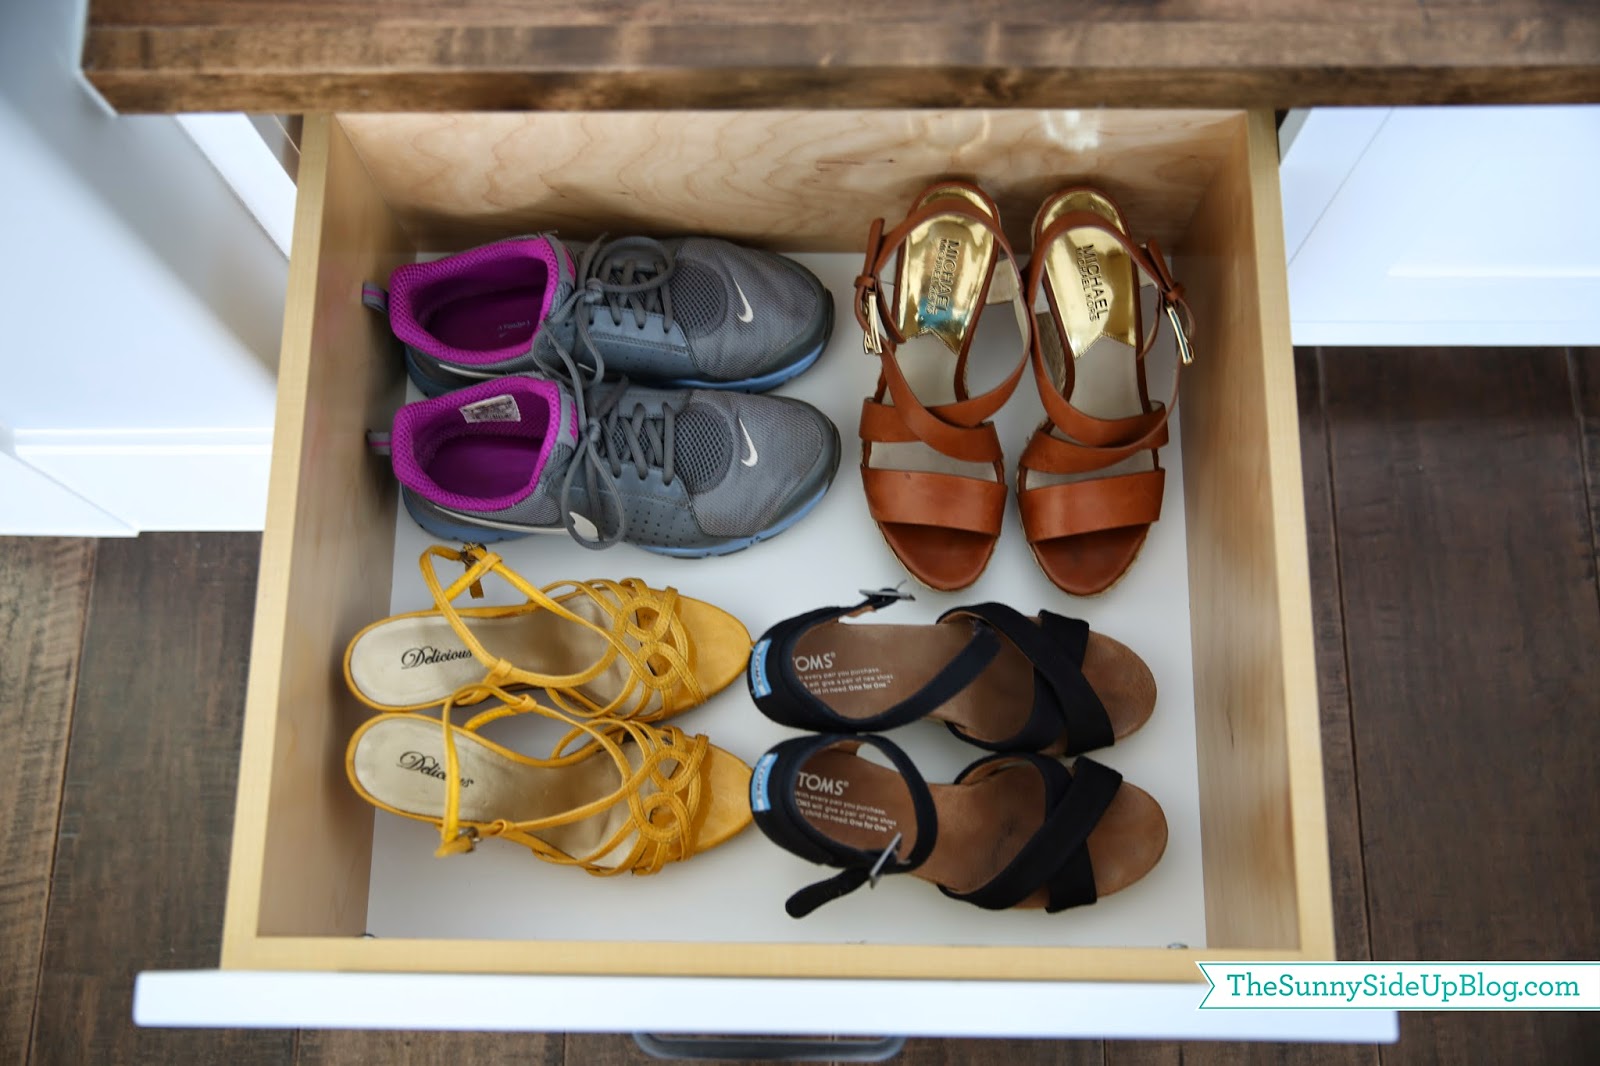
Bottom drawers pull out to hold our most often worn shoes.
These are my go-to’s most of the time. Along with flip flops which are in the garage.
I did a massive shoe clean-out when we moved in so this is all my girls have right now. I love that everything fits in their drawers so we don’t have to keep any shoes in their closets. Easy access!
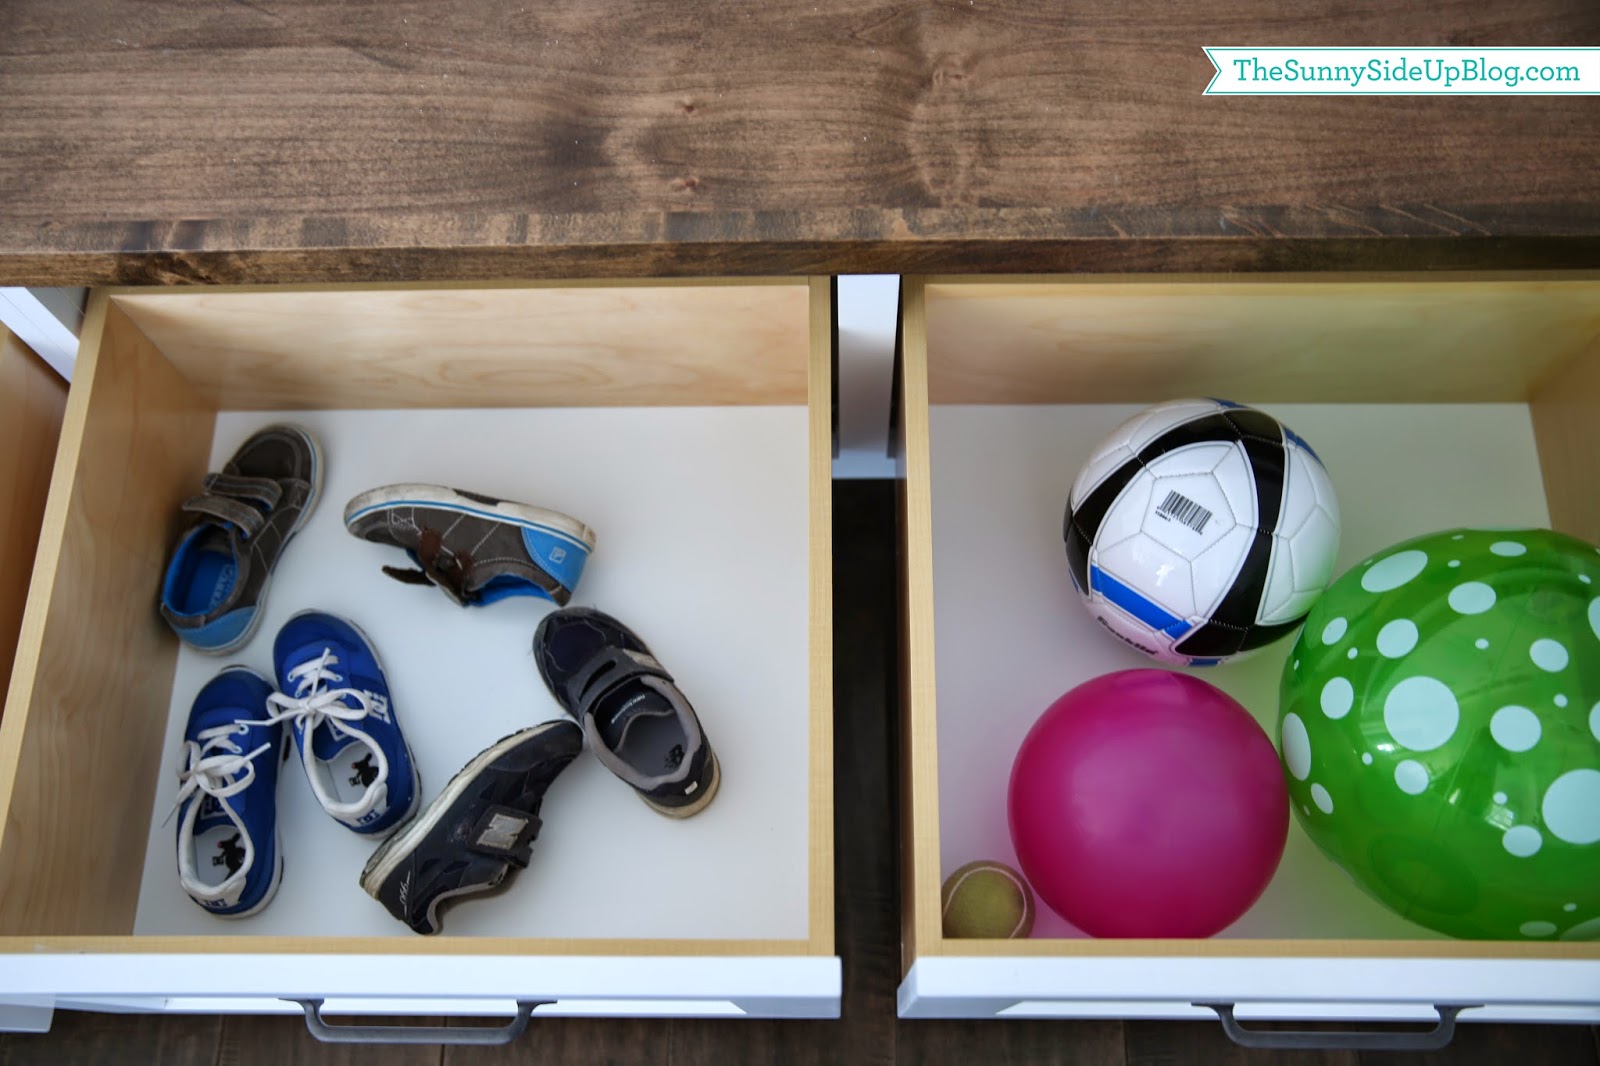
Kole is great to take off his shoes each day after pre-school and toss them in the drawer. Kenny’s drawer is currently holding the balls he and Kole play with each morning before school while the girls in the house finish getting ready.
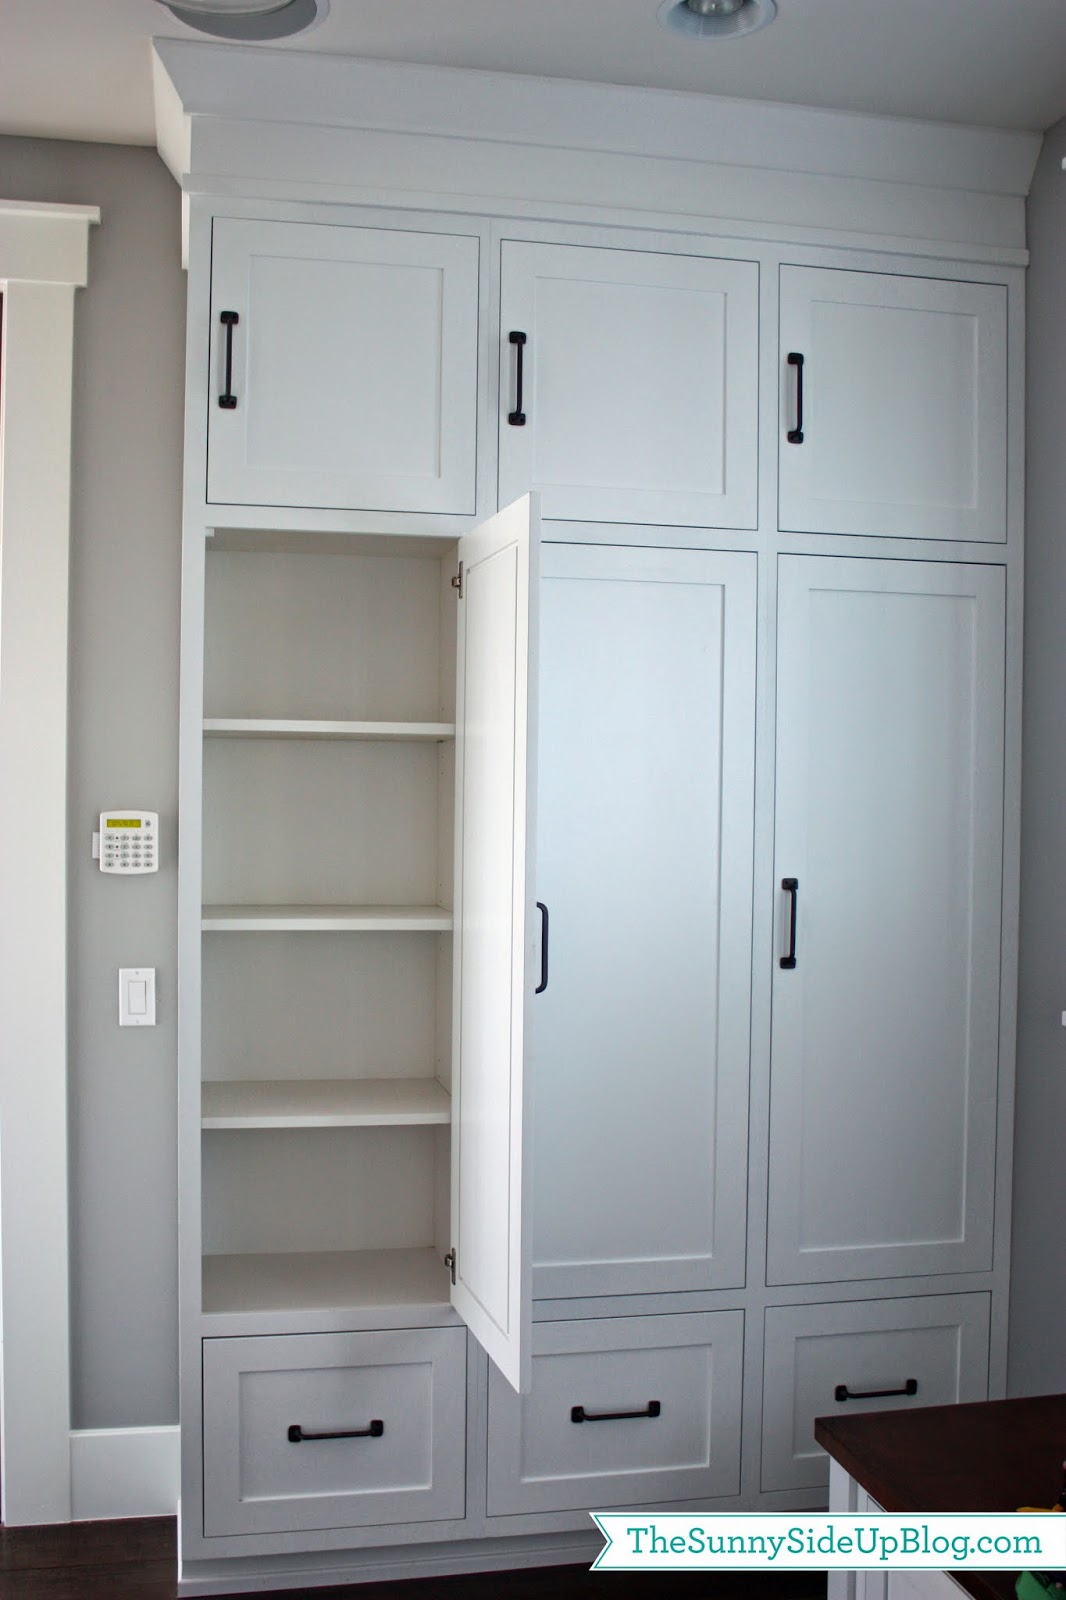
I have some ideas for how I’m going to use the extra storage cabinets, but haven’t organized everything yet.
Each cabinet holds adjustable shelves.
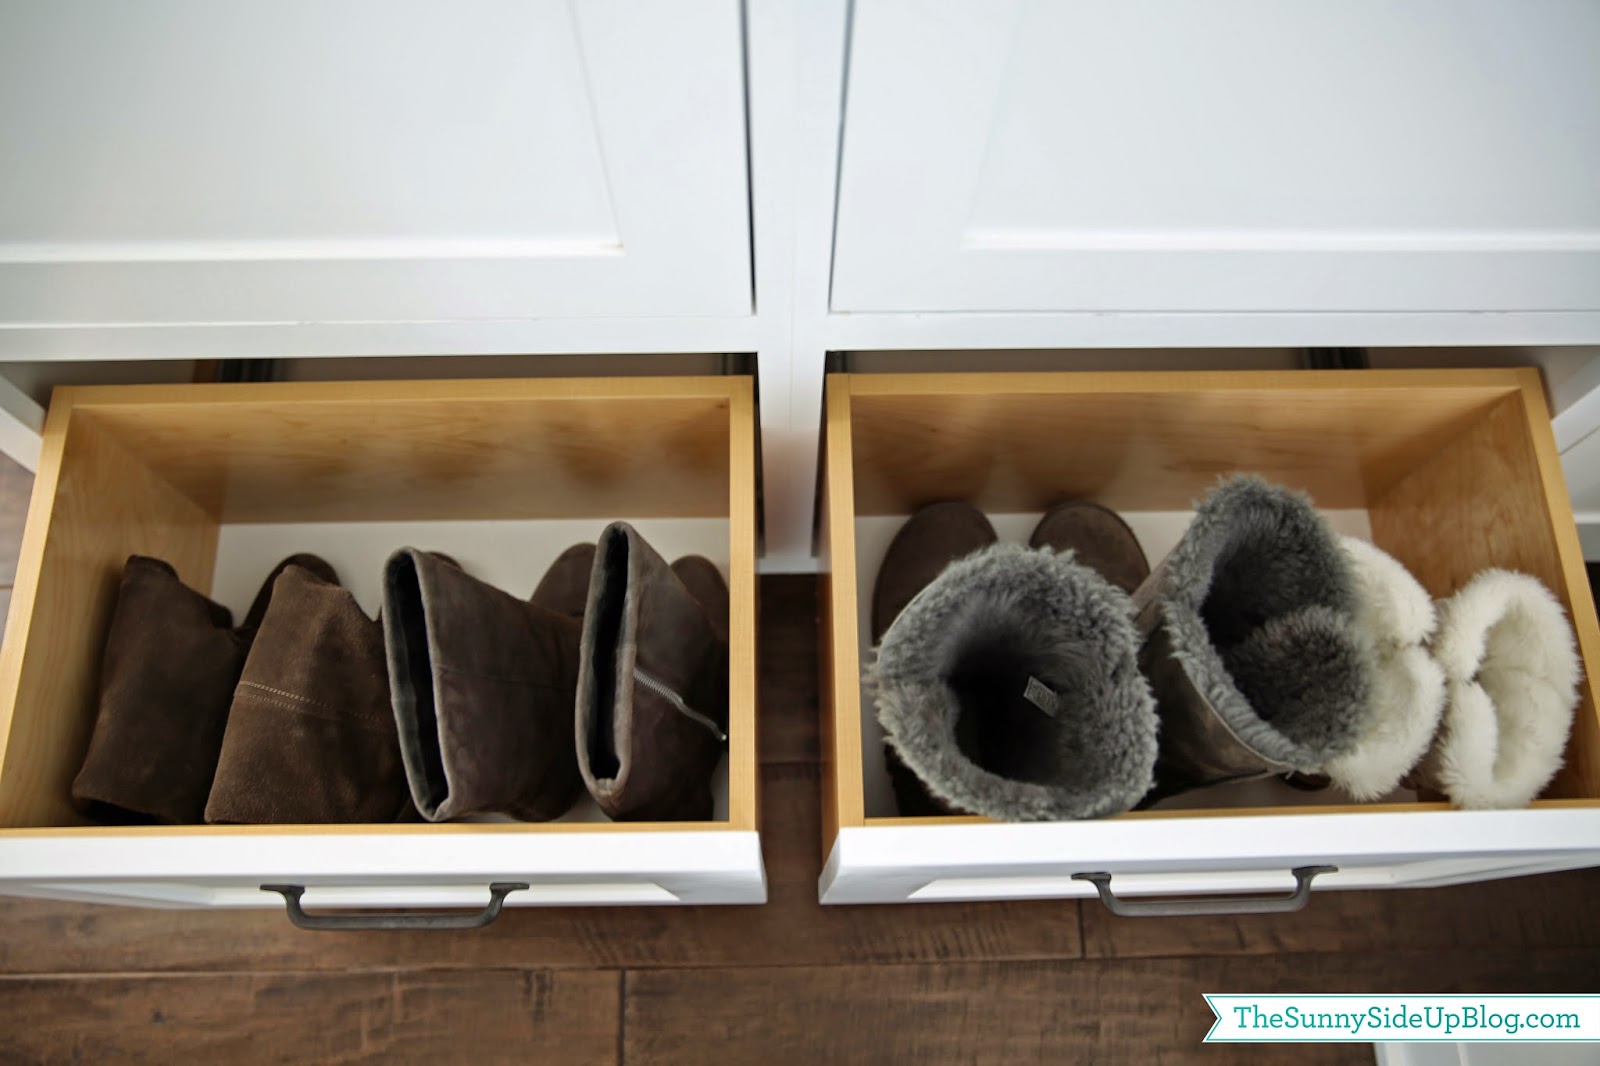
The drawers below them are really deep so they hold my most often worn boots.
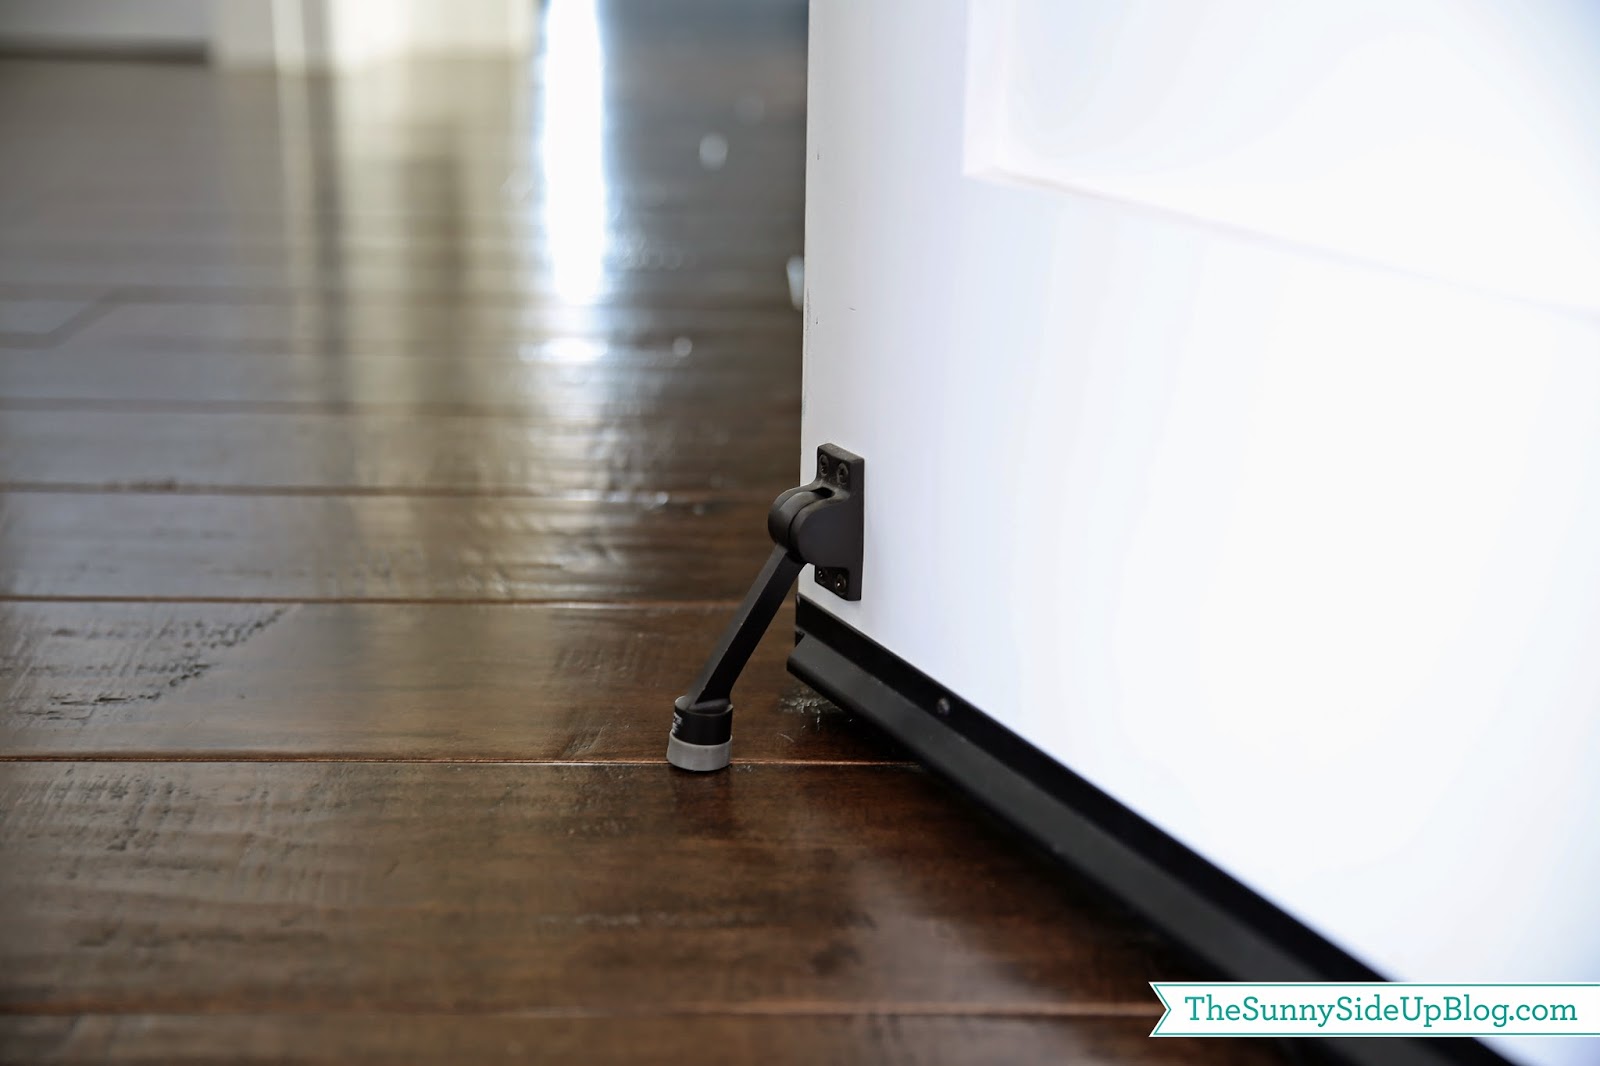
Another favorite about this room is my door stop! Such a simple thing, but it sure comes in handy each day as we are carrying things in and out of the house.
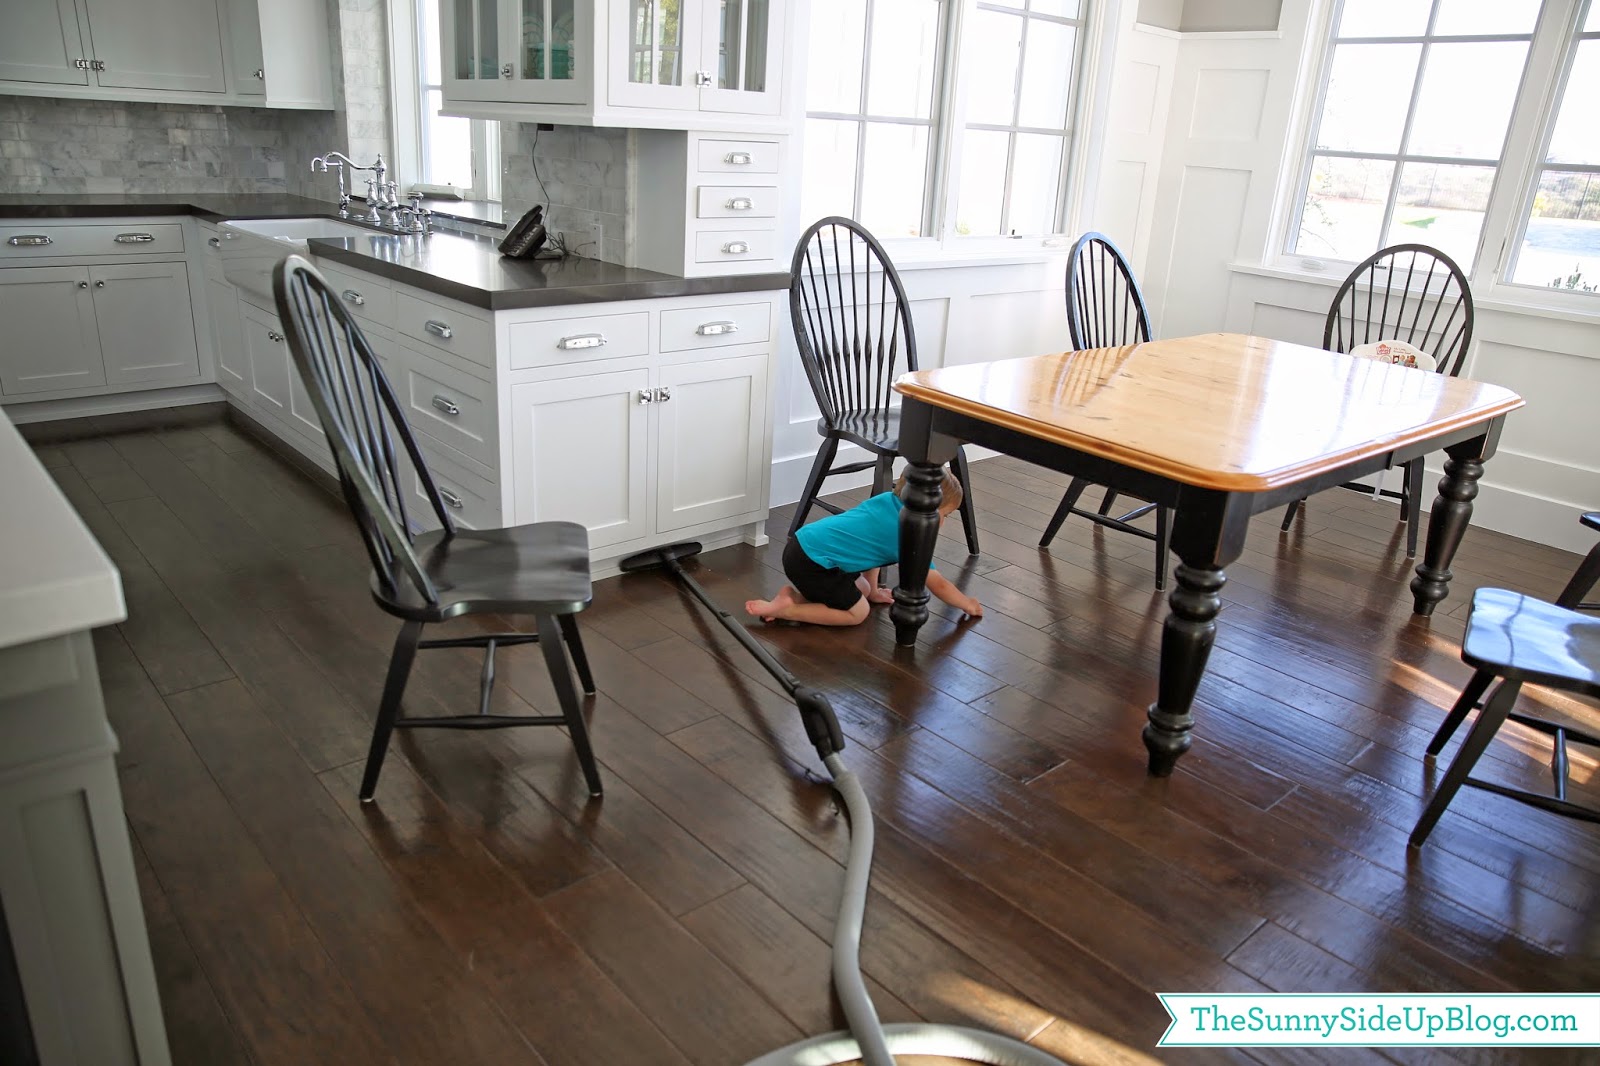
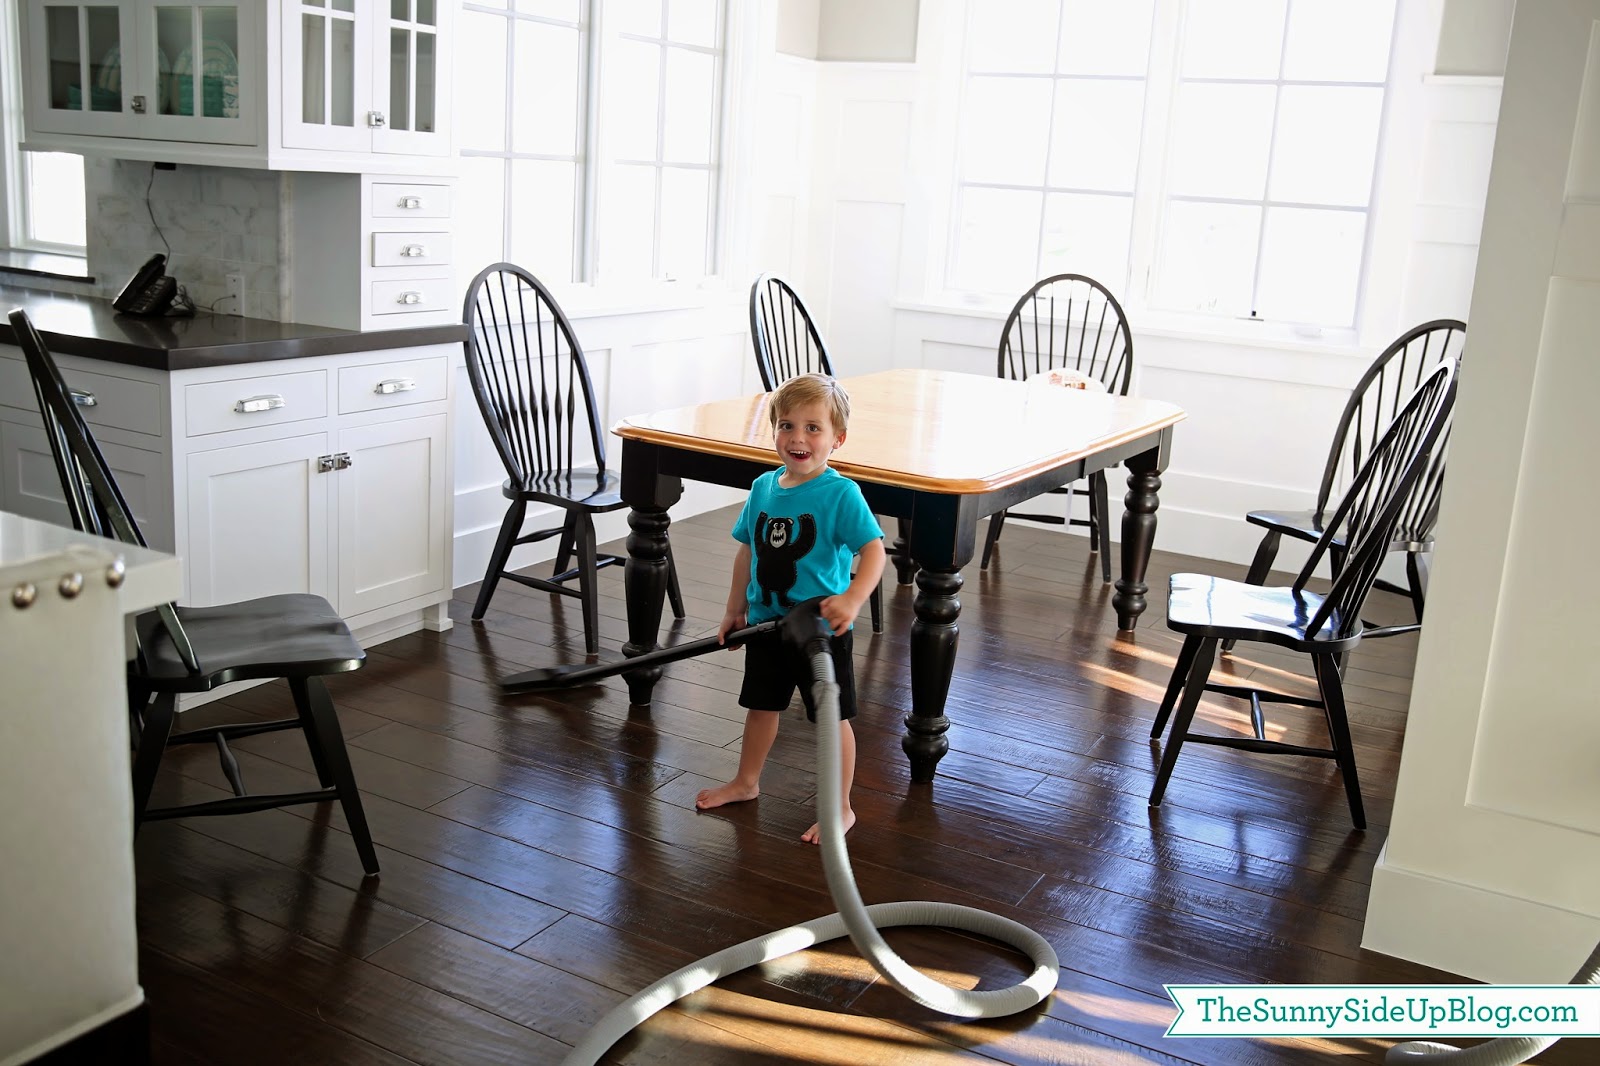
So that wraps up the tour of my mudroom! Aside from providing ample storage and organization for our busy family this room also serves as a great place for hide and seek.
You can’t ask for much more than that.
:)
**Have a question about this space? I answered them all
here.
*affiliate links used
xoxo, Erin


