I have been getting a lot of e-mails lately from readers. First of all let me just say that they are all so sweet! They have been the nicest e-mails that totally brighten my day. Several similar questions keep popping up about cleaning — “How do you keep your house so clean?” and “What is your schedule/routine for cleaning and laundry?”
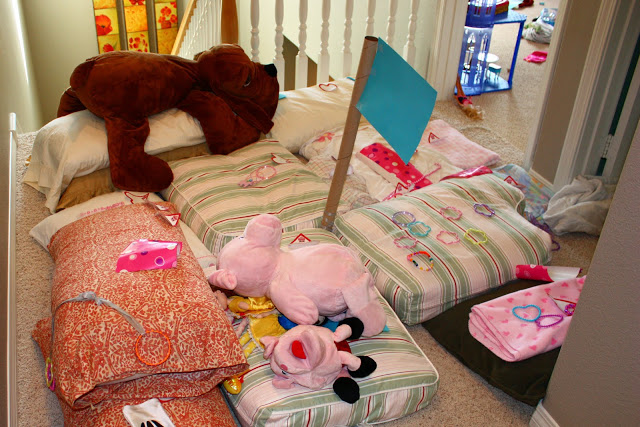
So! Thought I’d answer you all at once. :) First of all, my house is NOT always perfectly clean. If I’ve given you this impression, I’m truly sorry because just like a lot of you, I have children. And we all know that when you have children, messes are never ending. I have two girls whose goal in life is to drag out as many toys as possible and then have a party with them.
I also have a baby who like all babies, creates as much laundry, spills, spit ups, dirty diapers and messes as is humanly possible.
My house gets trashed on a daily basis and is by no means perfectly clean all the time. Just wanna throw that out there and keep things real.
That being said, I feel like I do a pretty good job of staying on top of my house work and I’m more than happy to share my secrets.
Secret #1) My personality. I have always been a clean freak. When I was a little girl my sister would beg me to play dodge ball with her, but I was too busy organizing my room and re-arranging the furniture. As teenagers, she would stay up late listening to music. I would stay up late scrubbing our bathroom and organizing our hair accessories.
I really like things to be clean and orderly. And while I don’t like to admit this to my husband, I actually enjoy cleaning. I love to turn on music and get lost in housework. Very therapeutic to just clean and let my mind wander. I feel the most content and happy when my house is clean and because of this, I clean a lot. A LOT a lot. My close friends who ask me how I keep my house so clean always get the same answer from me — I’m always cleaning!
Secret #2) I have to admit that I DO have a little help. I have hired house cleaners who come every other week and “deep clean” my house. They do in about two hours what would take me four days. Kenny’s not a fan of our cleaners (not them personally, but the idea of them). It drives him crazy that I spend the whole day before the cleaners come cleaning our house to get it ready for the cleaners! But before they can mop, dust, and scrub, I have to get everything picked up and put away. Plus I love to have all of my laundry done before they come so that for one peaceful day every other week I can feel like everything is “caught up.”
Am I grateful that I am able to afford some help with housework? Extremely.
Does having help make it easier to stay on top of things? For sure. I only have to deep clean every other week and if I can’t get to something, I know that the next week it will be done.
Does having help make it so my house is always clean and I don’t have to do much? I wish! But no.
Secret #3) I have a daily cleaning routine. I’m going to share my routine, but I recognize that this won’t work for a lot of you. It’s unique to my situation at the time with small children and a husband who works late a lot of nights. I’m sure once my kids are older, my routine will change. I do believe though that what you do and when you do it doesn’t matter. What matters is that a daily routine is in place so that your house never reaches the point of being completely out of control and overwhelming.
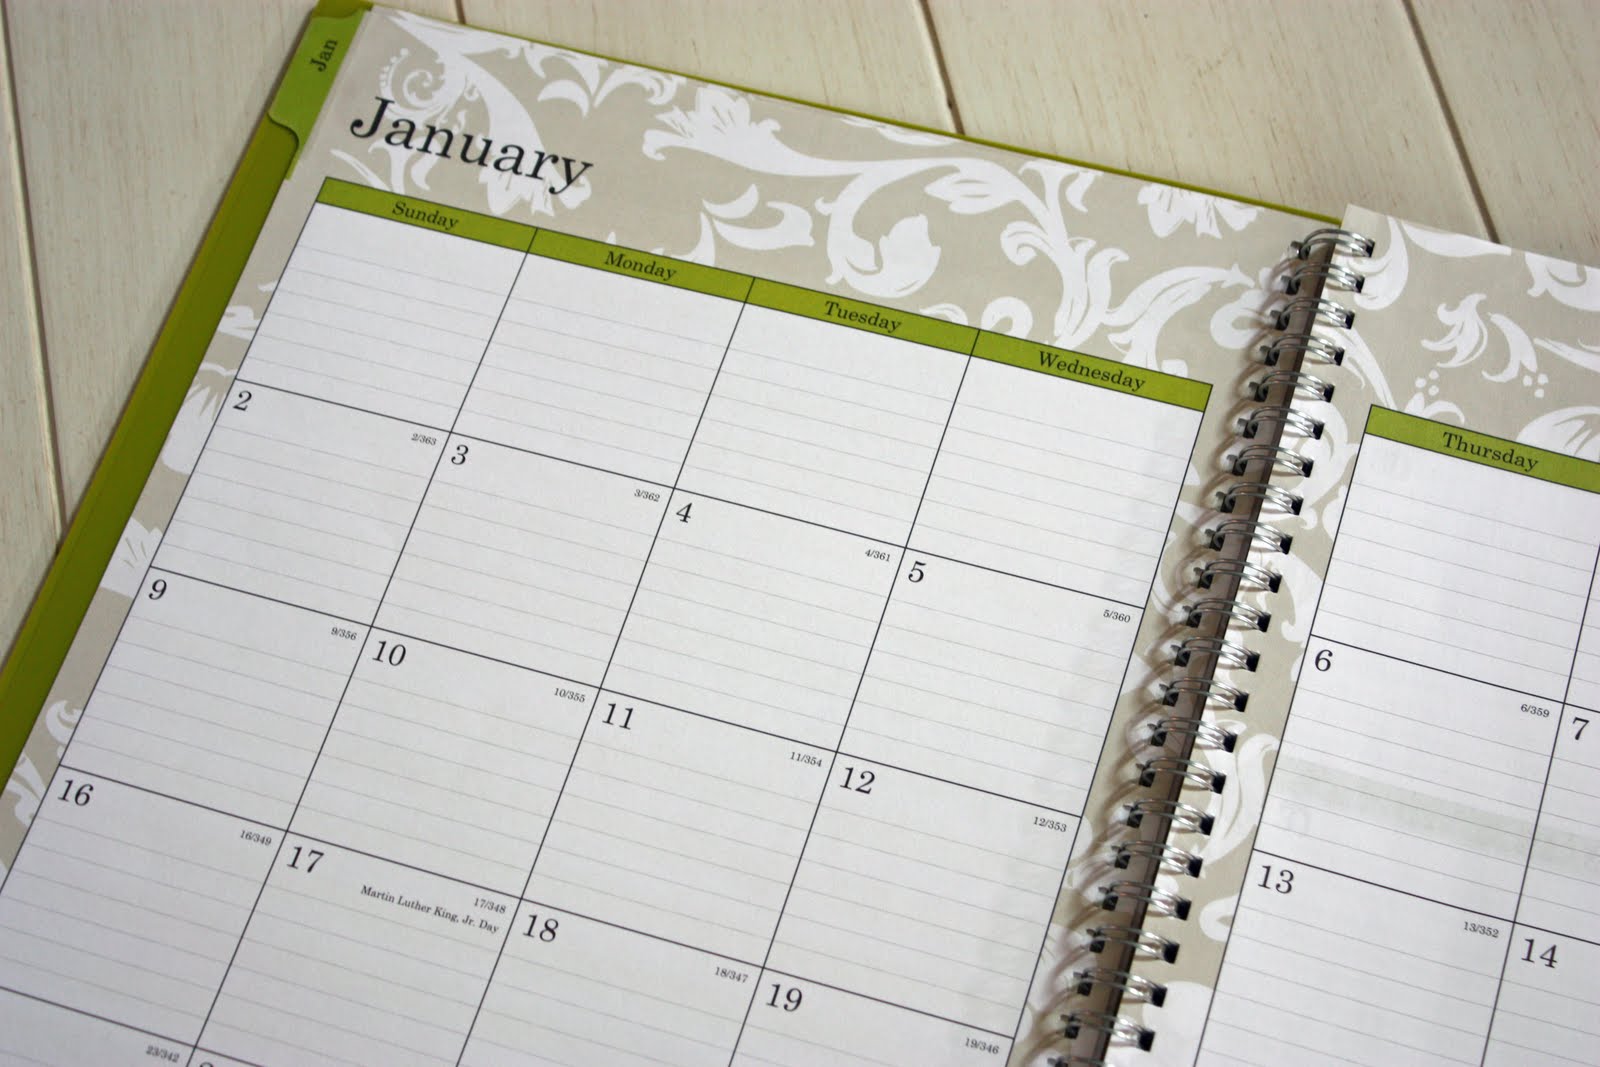
During the morning/early afternoon I don’t clean a lot – other than picking up messes we make from breakfast and snacks. I’m busy shuttling and entertaining my kids, exercising and running errands. If I am home and have some time, I work off of my to-do list in my binder. By 3 or 4 in the afternoon I like to have all of my kids home. In fact, this year my girls are taking gymnastics and swimming lessons on Saturday mornings so that during the week we have our evenings free. The time change we just had is my all time favorite! I love it when it gets dark earlier because it makes it easier for us to be home in the afternoons. After Ellie gets home from school I give my girls some time to relax and play and then around 4:00 we have a snack and do homework and DEAR time. Then it’s straight upstairs for a bath. This is when my cleaning starts.
Immediately after I put my girls in the tub I start a load of laundry. Then while they play in the water and the clothes are washing I attack one room at a time (upstairs). One room at a time is key! It’s easy to go to put something away in another room and get side tracked. I don’t lose my focus. I keep working on the same room until that room is totally picked up and clean. Then I move on to the next room. I work fast! I bustle around putting everything in its place, checking on the kids and switching out and folding the laundry. In the bathrooms I put items away and wipe off counters and mirrors. Because I do this every evening, bathrooms stay looking nice. I usually have time to get one load of laundry washed, dried, folded and put away during this time and another load going that I finish up later that night while Kenny is reading to the girls. Again, because I do a load or two every night, I don’t get too behind on laundry. A lot of nights a load is left in the dryer and that is what I start with the next night. I always run the dryer for 5 minutes again the following night to get wrinkles out and to have warm clothes to fold. :)
I wash the girls’ hair and get them out of the tub half way through my cleaning frenzy and then I put them to work!
Secret #4) My girls help. I’ve found that assigning them specific responsibilities is key – pick up the crayons in the playroom – put the barbies back in their bin – pull your pajamas out of the pile of laundry and put them away.
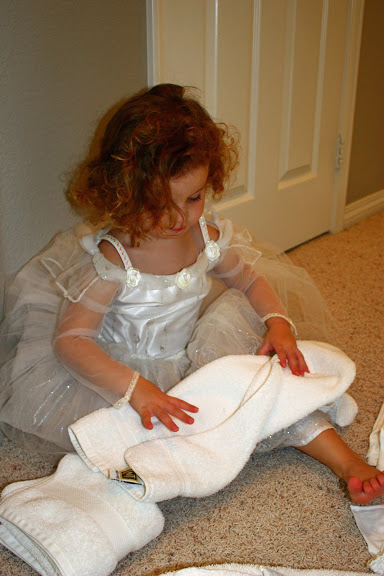 (Addison – age 3 – folding laundry in her bride dress)
I can’t say “clean your room” and expect anything to get done, but if I give them a specific task they do a lot better. Yes, in the beginning this was way more work than help, but because I involve them with the cleaning every evening they are actually starting to become better cleaners. My timer and quarters are great motivation on those nights that they aren’t feelin’ it. Some nights we play music (Gwen Stephani is a favorite for cleaning – lately Christmas music) and some nights we play “freeze” where the girls clean until I say freeze and then they freeze for a minute and then start cleaning again. I know. Sounds so silly, but any way I can make cleaning into a game helps to get my girls moving.
 (Just a few weeks ago – scrubbing the dining room chairs while mom mops the kitchen floor. In dress ups of course. My girls clean best when they look fancy. :)
After the upstairs is done, we all move downstairs and I make the kids dinner. While they are eating I pick up the living room/kitchen area. I would love to sit down together as a family to eat, but most nights Kenny isn’t home early enough to eat with us and aside from cleaning the downstairs I am also taking care of Kole (feeding and holding him) while the girls eat. That’s just our reality right now! Then Kenny gets home around 7:00 and I put Kole to bed and finish laundry while he reads to the girls and puts them in bed.
So I basically clean my whole house from 5-7 every evening.
My goal is to be sitting on my couch with kids in bed and everything clean by 7:30 – 8:00 PM. If nothing interferes with my afternoon at home, I manage to pull it off. Kenny and I eat a later dinner together and our popcorn is always popping by 8:00. :) Then it’s time to watch our shows and hang out together while I blog. My little treat at the end of a long day.
A few of my favorite cleaning supplies:
 1 – Resolve Carpet cleaner. Best carpet cleaner EVER. I love this for any little spills or spit ups on the carpet. Spray a little, wait a little, wipe a little. Magic. I am a freak about clean carpets and this stuff has been my best friend since having children.
2 – Cascade Complete for the dishwasher. Costs just a few dollars more than regular Cascade, but I see a big difference in the way it cleans my dishes.
3 – I so love Pledge! Always makes my tables so shiny and clean. Plus I just love the smell! Whenever I use it Kenny comes home and says “It smells good! You’ve been cleaning.” I always think – actually I’ve just been Pledging. :)
4 – Plain old Ammonia for mopping my tile floors and Comet for bathroom sinks and counters. Boring and unoriginal, but after trying all kinds of new products I always come back to the basics. They get the job done!
5 – Weiman Granite and Stainless Steel wipes. My FAVORITE. They are five bucks each at Target and I LOVE them. I wipe down my stainless steel appliances with a wipe every day. Takes two seconds and they shine like new. I use the granite wipes once a week on my granite counter tops and they really make my counters shine.
Those are the supplies that I use over and over again!
Tips that have helped me to stay on top of house work:
–Make a place for everything. Don’t let flat surfaces or that spare bedroom become a catch all for any and everything. Find a home for things and while you’re cleaning put them there. (same as my tips on staying organized)
-Attack one room at a time and don’t stop until that room is finished. Then move on to the next room.
–Create a daily routine (whatever works with your schedule) so that you are staying on top of the housework and not letting it get out of control.
–Involve your kids as much as you can. Teach them how to clean and make them responsible for cleaning up their own messes.
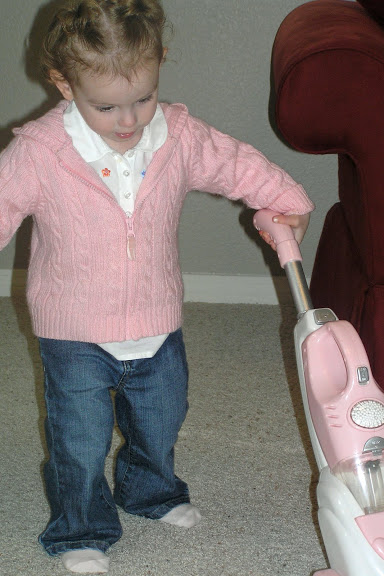 (Ellie – vacuuming with mommy – age two)
Hope that answers questions! Gotta go. I’m quite sure there is something in this house waiting to be scrubbed. :)
 What little jewelry I do wear I keep on/by my dresser.
 I found this jewelry box at Target several years ago and knew it was just the right size/style for me and my little stash.

 I also picked up this butterfly hook/hanger from Marshall’s for 6 bucks to use for necklaces and bigger earrings. I got this idea from my sister who hangs her necklaces in her room as part of the decor.
 Nice to have that finished!


